

For the dashboard
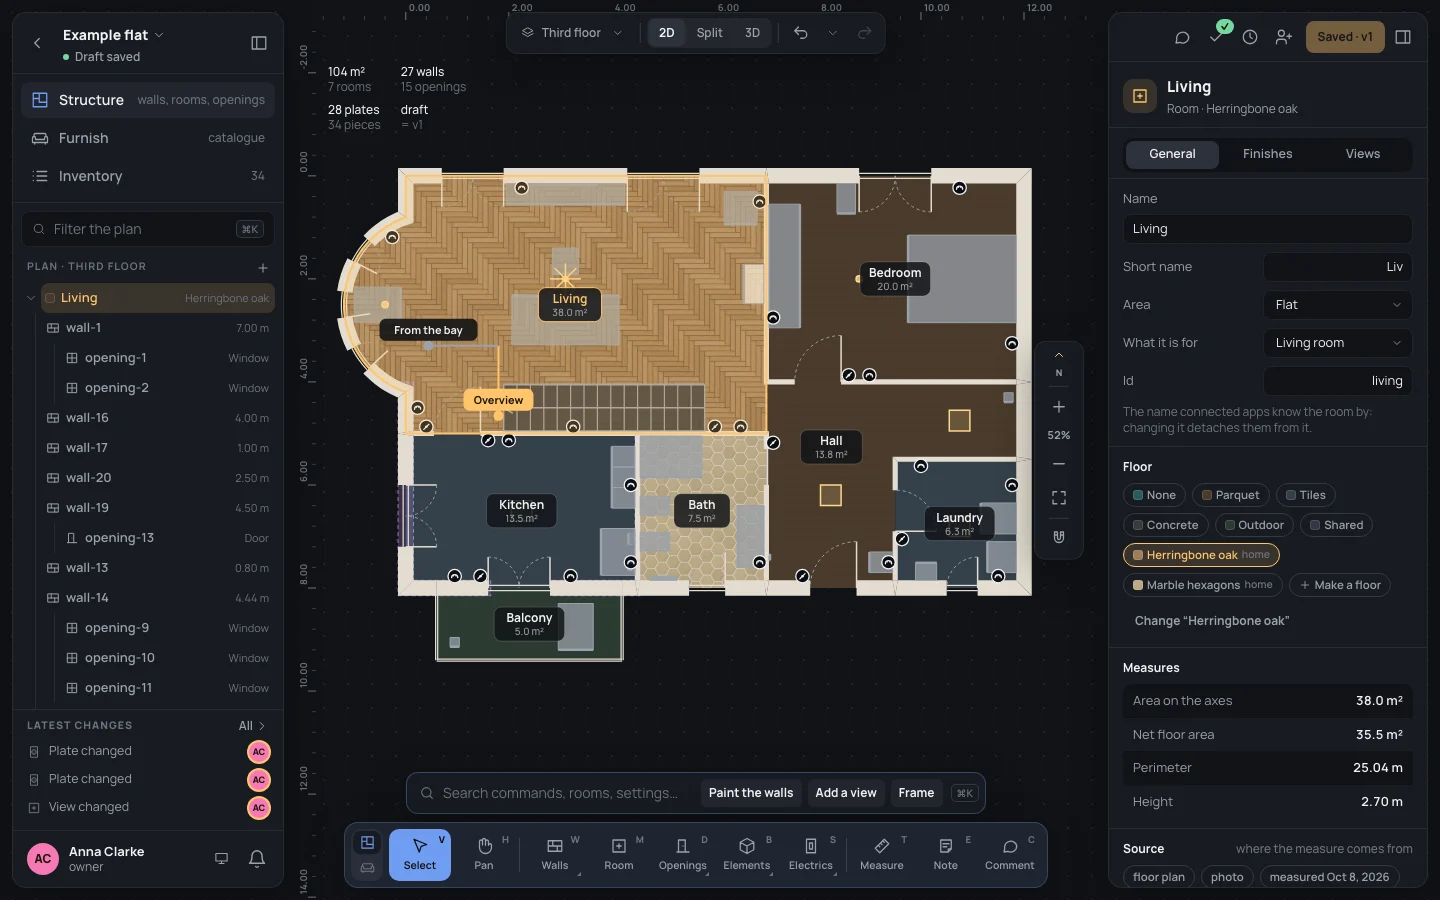
A home dashboard shows your home’s rooms and lets you tap what is in them. This tutorial gets the finished example flat ready for one: each room with the id and the use an app knows it by, the living room with two views, its light switches described, and the first version created, which is what a dashboard reads.
At the end the living room has an overview from the south and a view from the bay, its switches have their series, and the button at the top right reads Same as v1. It takes about 15 minutes.
What a dashboard reads
Section titled “What a dashboard reads”A dashboard never reads the draft you work on. It reads the last version saved: the home as it was when you saved that version, which never changes again. Everything below changes the draft; nothing reaches a dashboard until the last step.
1. Open the finished home
Section titled “1. Open the finished home”- Download
finished.home.jsonfrom the box above. - Start a new project (A new home): in the wizard, click Ready in the column of steps, then Open the editor. Then choose Import a home… in the project’s menu (its name, top left) and pick the file.
- The editor opens with the Wall tool in hand. Press VV for Select: you only pick things in this tutorial.
2. Each room’s id and use
Section titled “2. Each room’s id and use”An app knows a room by its Id, not by its name: you can rename the Living whenever you like, but a dashboard that
knows it as living loses it if the id changes. What it is for tells the app what kind of room it is.
- Click the Living in the left panel. The right panel opens on General.
- Check What it is for: Living room. Check Id:
living. - A dashboard’s buttons are small: give the room a Short name, Short name
Liv, and press ↵↵.
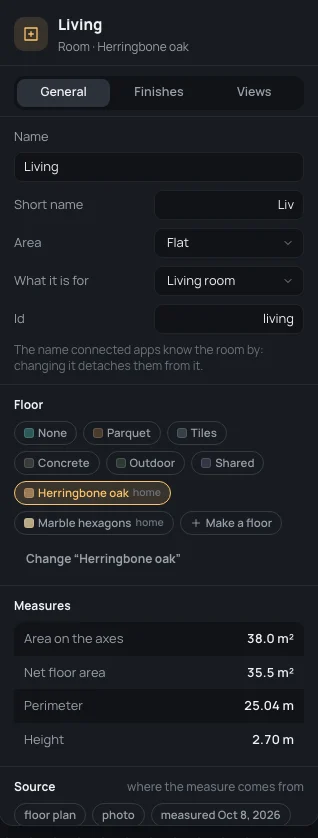
Do the same for every room. The example’s are already set:
| Room | Id | What it is for |
|---|---|---|
| Living | living |
Living room |
| Kitchen | kitchen |
Kitchen |
| Bath | bath |
Bathroom |
| Bedroom | bedroom |
Bedroom |
| Hall | hall |
Hallway |
| Laundry | laundry |
Laundry |
| Balcony | balcony |
Balcony or terrace |
| Mezzanine | mezzanine |
Study |
The Mezzanine is on the other level: choose it in the plan picker at the top of the plan. An id takes no spaces, and no two rooms share one: the field refuses with No spaces. or Another room already has this id. Every field is explained in Rooms.
3. The overview
Section titled “3. The overview”A view is how the dashboard looks at the room from above: from which side, how high, and which walls it lowers so they don’t hide the room. The first view is the overview, the one the dashboard opens the room with. A room with none is shown from the south.
- With the Living selected, open the Views tab and click Add a view. View 1 appears, looking from the south.
- Name: Name
Overview - Height above the horizon: Height above the horizon
50degrees. Empty, the dashboard uses its own. - Lowered walls: the camera stands south of the room, so tick the two walls of the south side, wall-19 and wall-20.
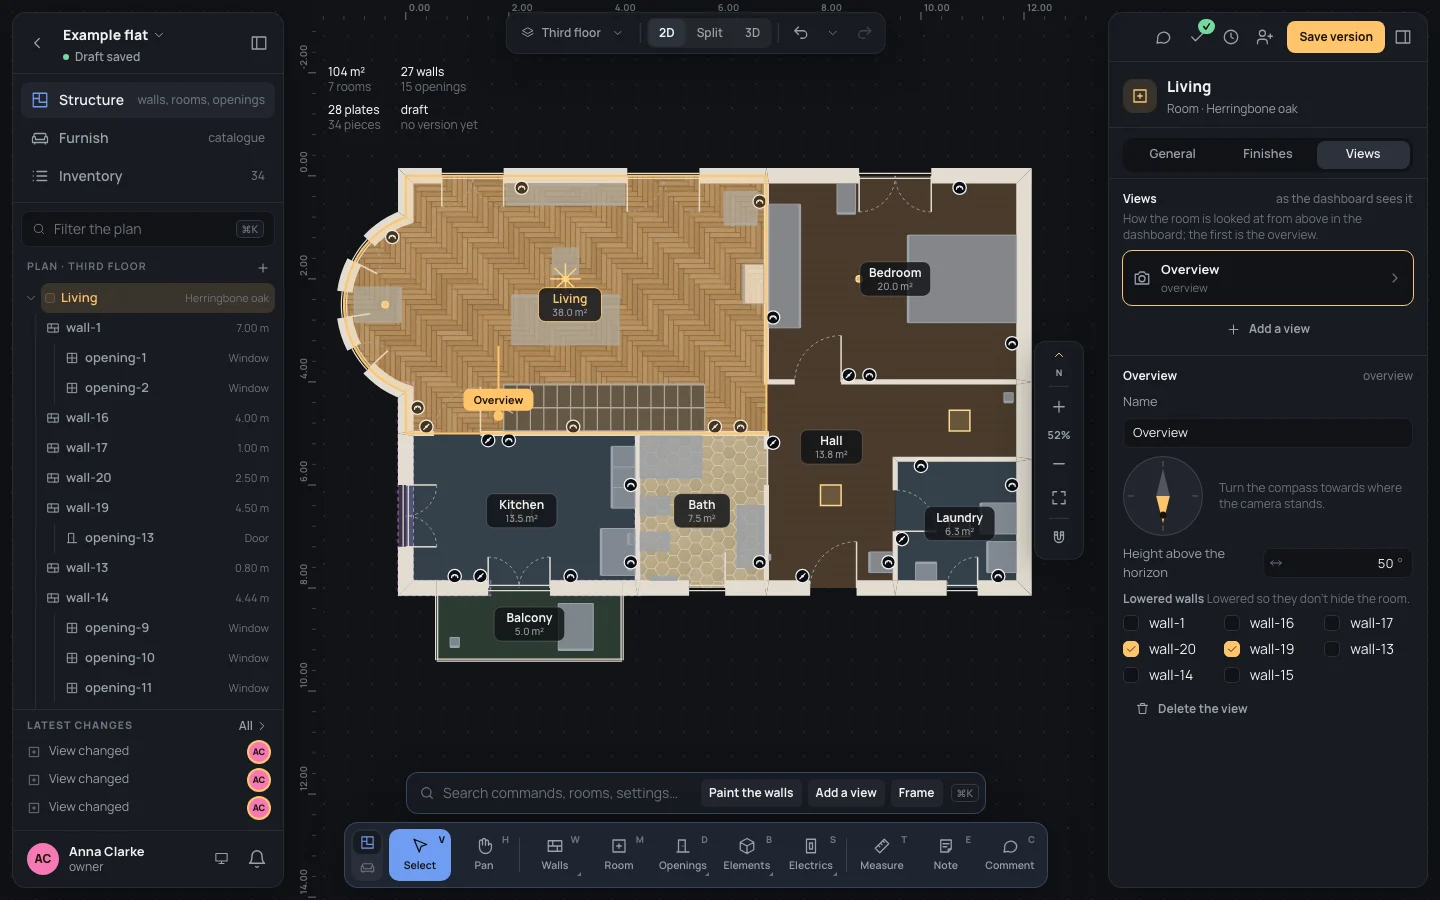
On the plan, an arrow goes from the room towards where the camera stands, with the view’s name; the overview’s is in the accent colour. The editor shows the view only as this arrow: the dashboard draws it.
4. A view from the bay
Section titled “4. A view from the bay”- Click Add a view again and name it Name
From the bay. - Turn Looking from to the west: click the compass and press ⇧→Shift+→ six times, 15° each, from 180° to 270°. (→→ alone turns it 1°; you can also drag it.)
- Under Lowered walls, tick wall-14, the bay.
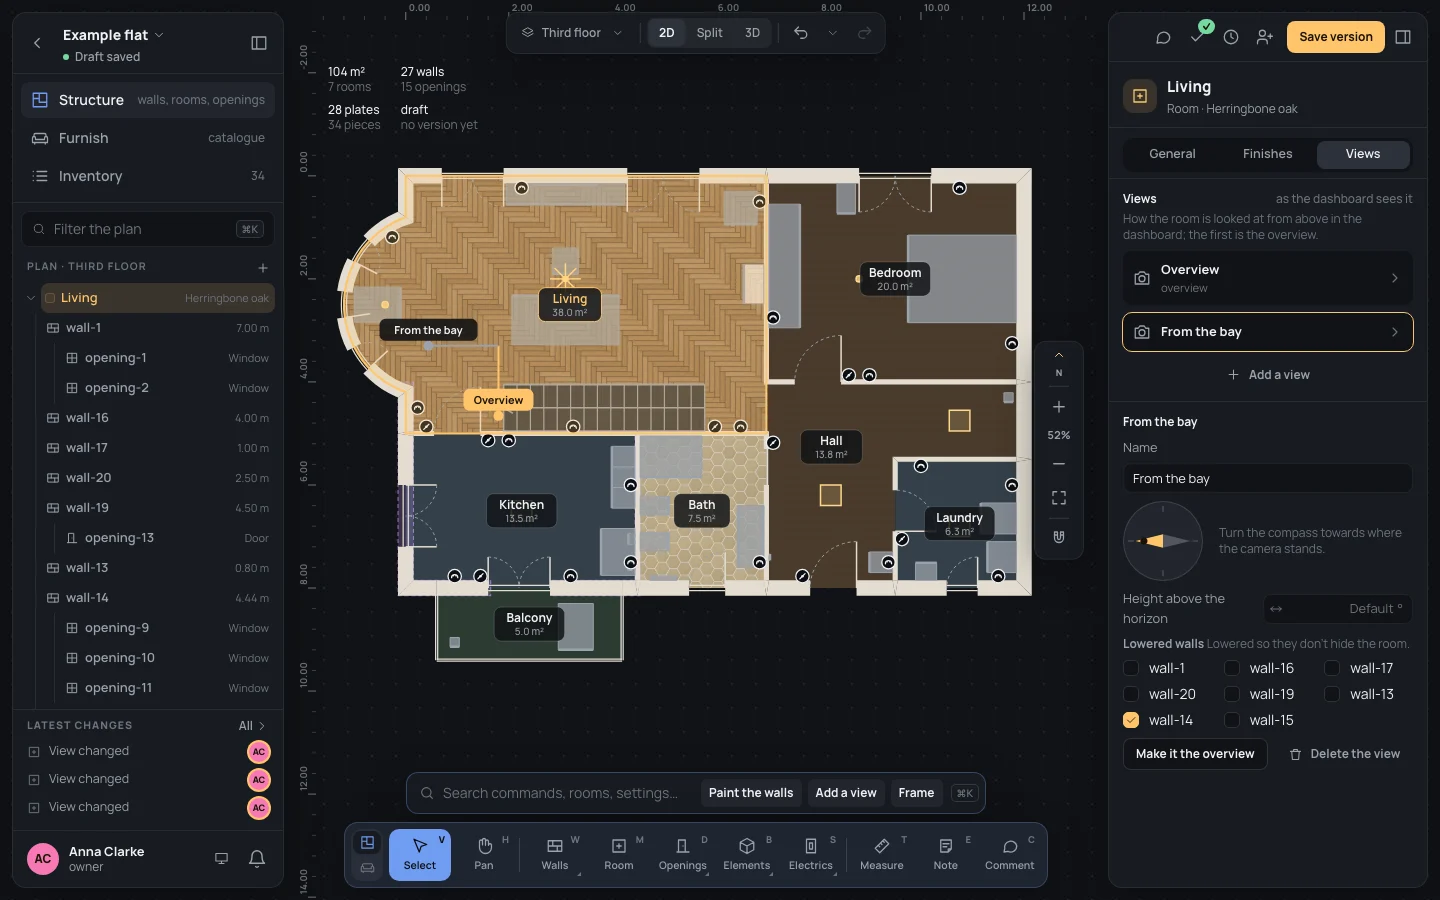
Make it the overview would move it to the top, so the dashboard opens with it. Delete the view removes it. Each change is one step: ⌘ZCtrl+Z takes it back.
5. The light switches
Section titled “5. The light switches”The example has its light switches already, one by each door and a two-way switch at the foot of the stair. Give the living room’s two their plate’s series and colour, so whoever reads the home knows what is on the wall.
- Click the living room’s switch by the kitchen door, on the plan (the round mark on its south wall) or in the left panel under Living. The right panel says Switch.
- Under Plate, in Series and colour, type Series and colour
BTicino Living Now · whiteand press ↵↵. - Click the switch at the foot of the stair, Two-way switch on wall-20, and type the same.
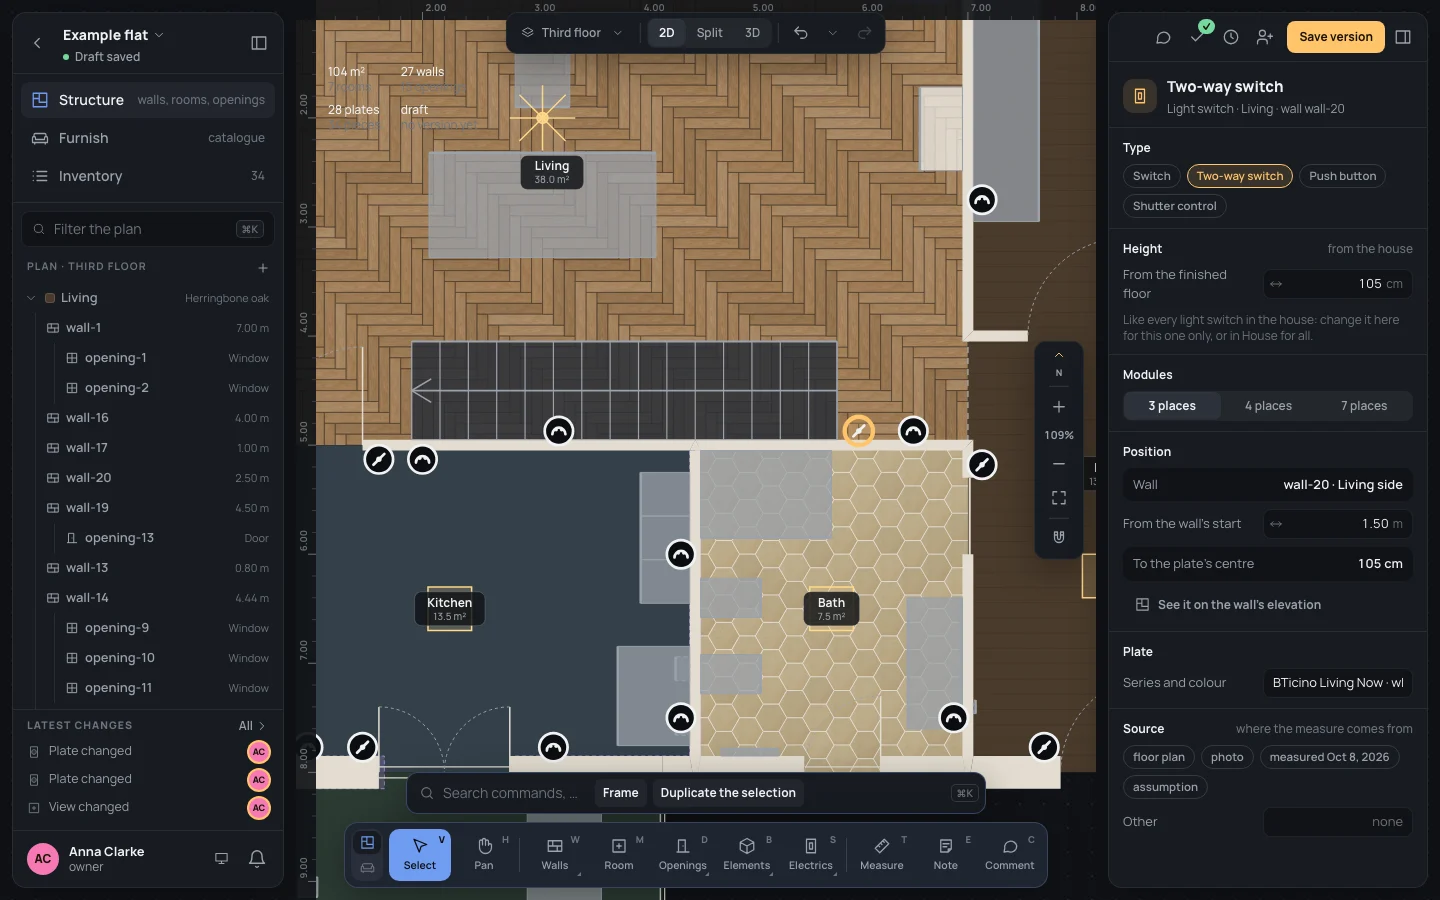
A switch belongs to the room its face looks into: the inspector says it (wall-20 · Living side). If a room has none, add one with the Light switch tool (SS). Types, heights and modules are in Switches and sockets.
6. Save the first version
Section titled “6. Save the first version”- Click Create version at the top right.
- The window lists What changes (the whole home, the first time) and the Checks: Walls, rooms and openings in order.
- Message: Message
Ready for the dashboard - Click Create version 1. The button now reads Same as v1.
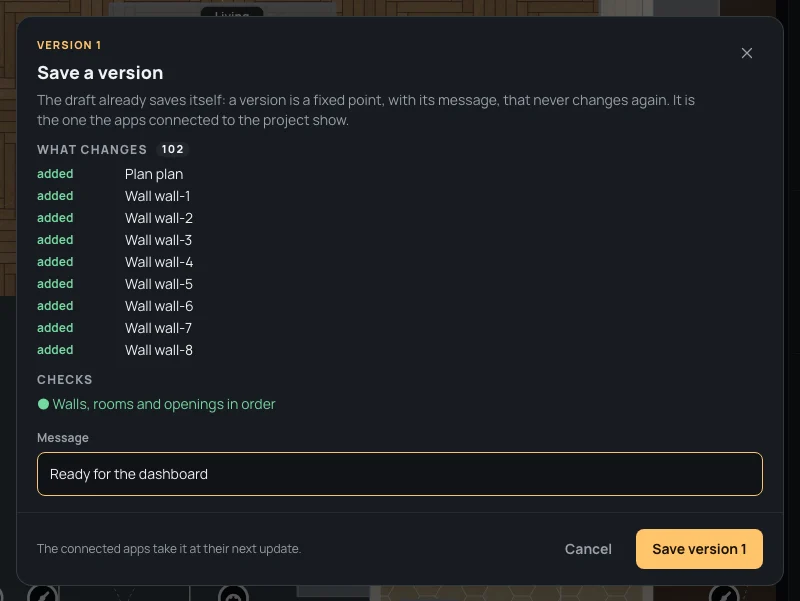
The window says it: the connected apps take it at their next update. From now on, a change to the draft reaches them only with the next version. More in History and versions.
7. Connecting the dashboard
Section titled “7. Connecting the dashboard”Open Share (the person with a plus, at the top of the right panel). Its last part, Connected apps, says where things stand today: connecting an app comes later, with its own keys.
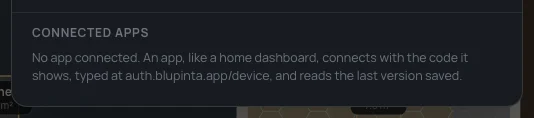
The rest of the window is for people: Inviting people.
What can go wrong
Section titled “What can go wrong”- Create version stays off. A check fails: the window lists what to fix (Checking the home). Or nothing changed since the last version.
- A room’s id was changed by mistake. ⌘ZCtrl+Z takes it back; once a version is saved, put the old id back and create the next one.
- The overview is the wrong view. Select the other one and click Make it the overview.
- A view’s height is refused. It goes from 1 to 90 degrees, or empty.
- Created a version too soon. A version never changes: fix the draft and create the next one.