

Snapping
While you draw a wall, drag a corner or measure, the pointer is pulled onto the points that matter: the end of a wall, its middle, a right angle. That is snapping. It is what makes walls meet exactly, without zooming in.
What it catches, and in which order
Section titled “What it catches, and in which order”When the pointer comes near, the first of these that is close enough wins:
- end: the end of a wall, or a point of the chain you are drawing (that is how a chain closes on its first point);
- middle: the middle of a wall;
- perpendicular: the foot of the perpendicular from the last point you clicked to a straight wall;
- on wall: any point along a wall, straight or curved;
- aligned: in line, across or down, with the end of a wall somewhere else, along a dashed guide (as in Figma); where the guide meets the angle’s direction, the point where they cross;
- angle: the direction from the last point pulled onto 90° and 45° when you are within 4° of it;
- a wall on the drawing, when there is one (The drawing under the plan): its centre line, and its thickness offered (wall on the drawing · 30 cm, like the outer walls);
- grid: the nearest point of the grid, when it is on.
Nothing near: the point is where the pointer is.
“Close enough” means 10 pixels on the screen, at any zoom: zoomed in you place finely, zoomed out you catch from further away.
The mark that says what it caught
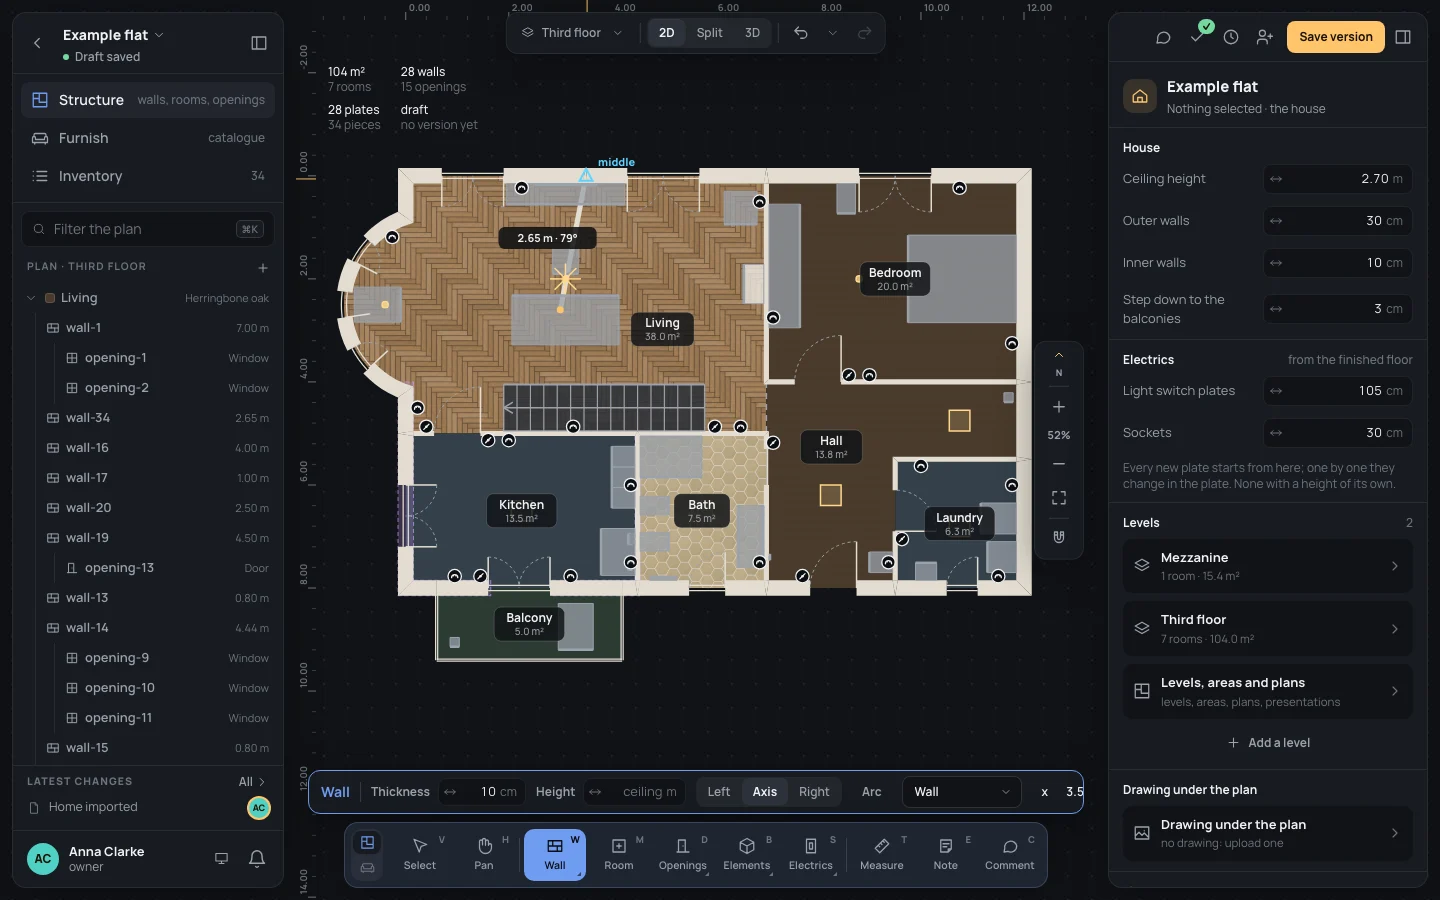
Section titled “The mark that says what it caught”Where it snaps, the plan draws a mark in cyan: a square for an end, a triangle for a middle, a cross for a point on a wall, a dot for the rest, with its name beside it (end, middle, perpendicular, on wall, aligned, angle, grid) and the guides it follows dashed.
On the example: open the finished flat, take the Wall tool (WW), click once in the living room, and move towards the north wall, between its two windows: a triangle and middle say you are on the wall’s middle, 3.50 m from its corner.
Keys you hold
Section titled “Keys you hold”| Hold | While you draw or drag |
|---|---|
| ⌘Ctrl | No snapping: the point is exactly where the pointer is. |
| ⇧Shift | 15° angles, 10 cm steps: the direction goes every 15° instead of 90° and 45°, always, however far off, as long as Angles is on. With the arrow keys, the same key moves a selection 10 cm instead of 1. |
| ⌥Alt | Go through a wall: a wall you move, bend or drag by its corner stops where it would run into another (stops against wall-3 · ⌥Alt to go through); held, it goes through. A wall you draw along one already there joins it (along wall-1: joins it · ⌥Alt to overlap); held, it overlaps it. |
These keys are read by the pointer, so they are shown in the keys’ page but can’t be changed.
The switches
Section titled “The switches”The magnet at the foot of the zoom column, on the right of the plan, opens Snapping: one switch per kind. Ends (ends and middles), On walls (points on walls and perpendiculars), Guides, Angles, Drawing (only when the plan has a drawing) and Grid 10 cm. Under them it reminds you that holding ⌘Ctrl switches it all off, and says the sheet’s scale (1 m = 100 sheet units).
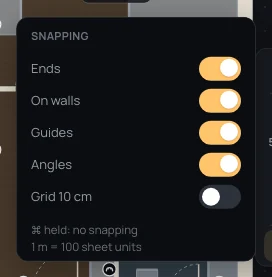
What is on when you open a project, and the grid’s step, are yours: settings, Editor, Snapping and Grid step (Your settings). The grid starts off, the rest on.
What doesn’t snap
Section titled “What doesn’t snap”The points of a calibration, a check or a straightening are clicked on the drawing, not on the plan: they never snap (The drawing under the plan).
What can go wrong
Section titled “What can go wrong”- The wall won’t go where you want: something near is catching it. Hold ⌘Ctrl, or zoom in so fewer things are within 10 pixels.
- A corner stops before the wall: it would run into another one. Hold ⌥Alt to go through, then normalise the crossing (Editing walls).
- No Drawing switch: the plan has no drawing under it.
See also
Section titled “See also”- The Wall tool: magnetic walls on the drawing, the arc, lengths typed.
- The Select tool: corners and walls dragged.
- Every key.