

Light
The Light tool puts lights on the plan: a ceiling light with one click (a bulb pendant, a bar pendant, a sputnik, a square ceiling light), or an LED strip from one end to the other.
Picking it
Section titled “Picking it”- Electrics in the dock, then Light, or LL.
- The search (⌘KCtrl+K): type Light.
The bar
Section titled “The bar”
The kind of light to place: Bulb (a bulb pendant), Bar (a bar pendant), Sputnik, Ceiling (a square ceiling light) or LED strip. It starts at Bulb and keeps the last one chosen while the project is open. Changing it drops a strip half drawn.
Using it
Section titled “Using it”A ceiling light:
- Choose its kind in the bar.
- Click where it hangs: it is placed there, at once.
An LED strip:
- Choose LED strip in the bar.
- Click one end, then the other; or drag from one end to the other. Between the two, the strip follows the pointer.
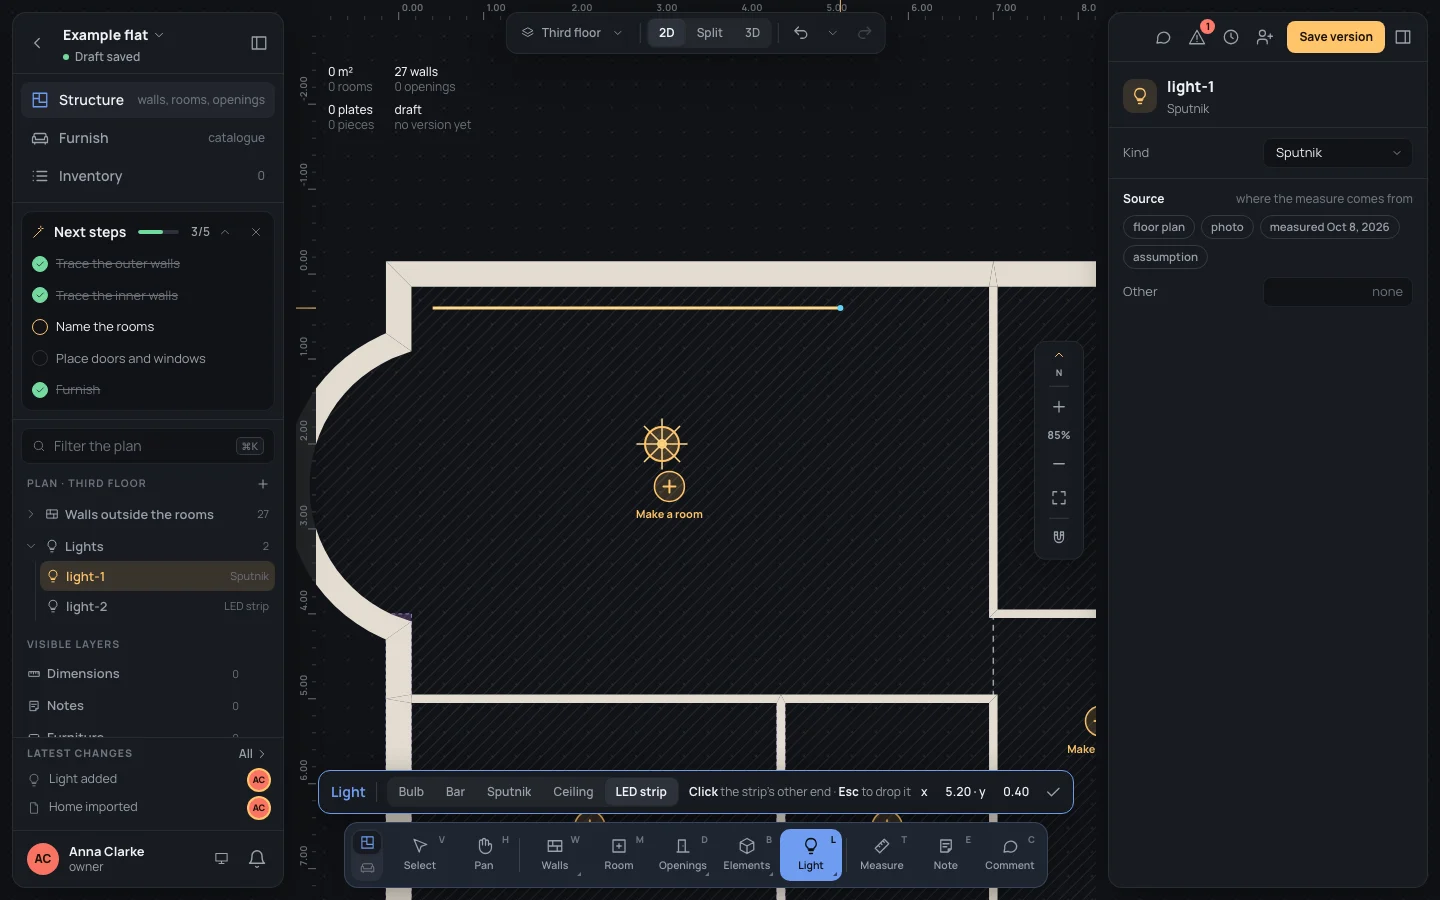
Keys inside it
Section titled “Keys inside it”- EscEsc: with a strip’s first end placed, drops it; otherwise back to Select. Done (✓): back to Select.
- ⌘Ctrl held: no snapping.
- ␣␣ held: move the view; ⌘Ctrl with the wheel: zoom.
- SS and OO: the other tools of Electrics.
What it snaps to
Section titled “What it snaps to”The point clicked, and both ends of a strip, snap as a wall’s corner does, within 10 pixels on screen: the walls’ ends and middles, a point on a wall’s centre line, the lines through the ends already there, and the grid if it is on. ⌘Ctrl held places it exactly under the pointer. See Snapping.
What it refuses
Section titled “What it refuses”Nothing, anywhere on the plan; a light outside the rooms is still a light. A strip needs a length: a second click too close to the first (within the snapping reach) starts the strip again from there.
The light is selected and its inspector open; the tool stays on for the next one. A ceiling light’s inspector has its Kind; a strip’s, its Length, Height measured (from the ceiling, 0.05 m, until you change it), Shines (down) and Intensity (1). See Elements. One step in the history (Light added).
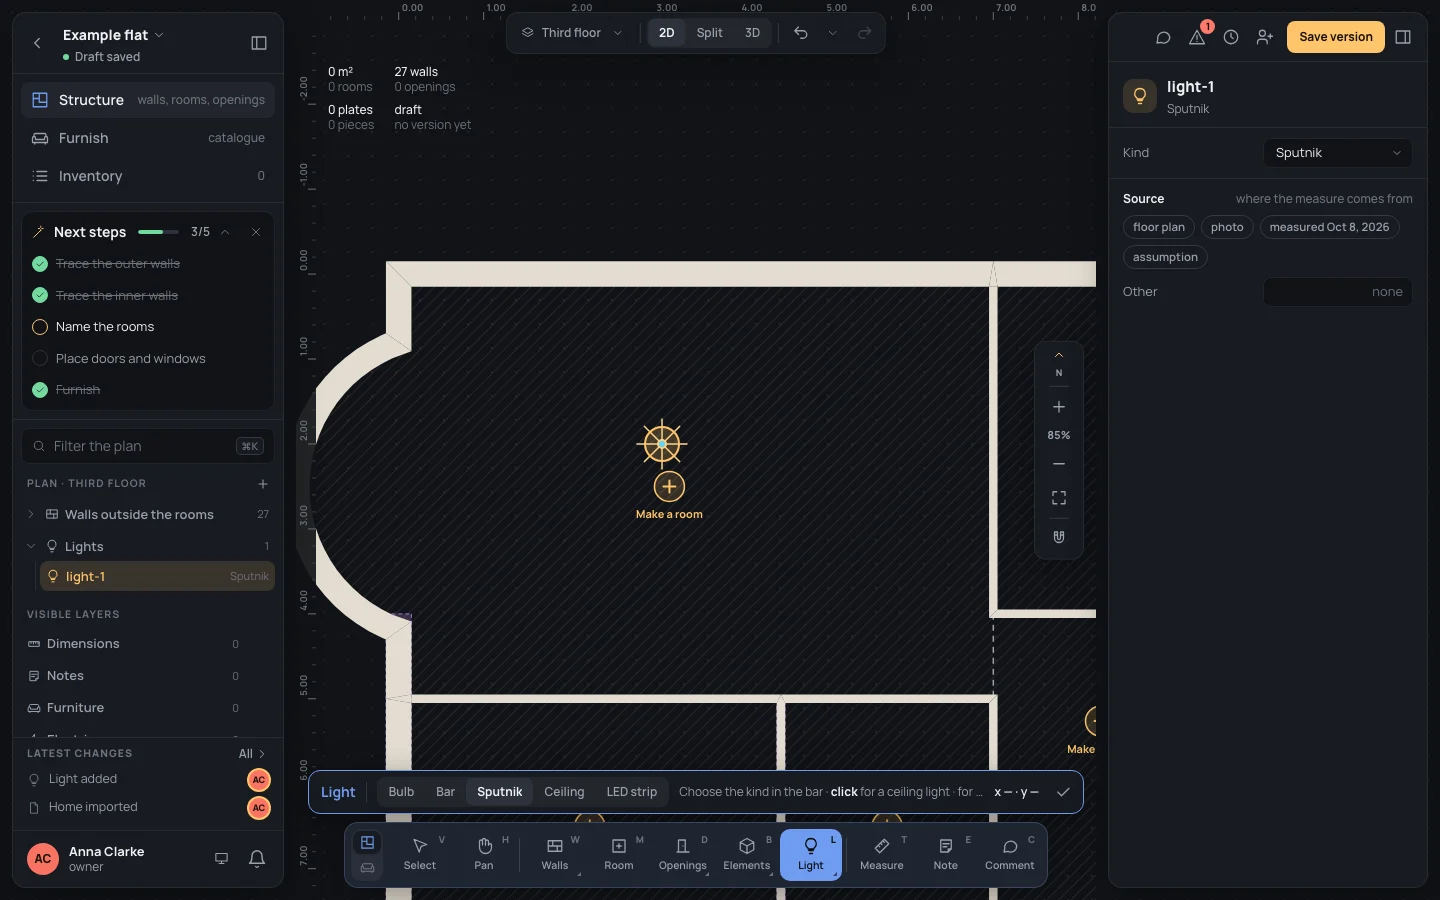
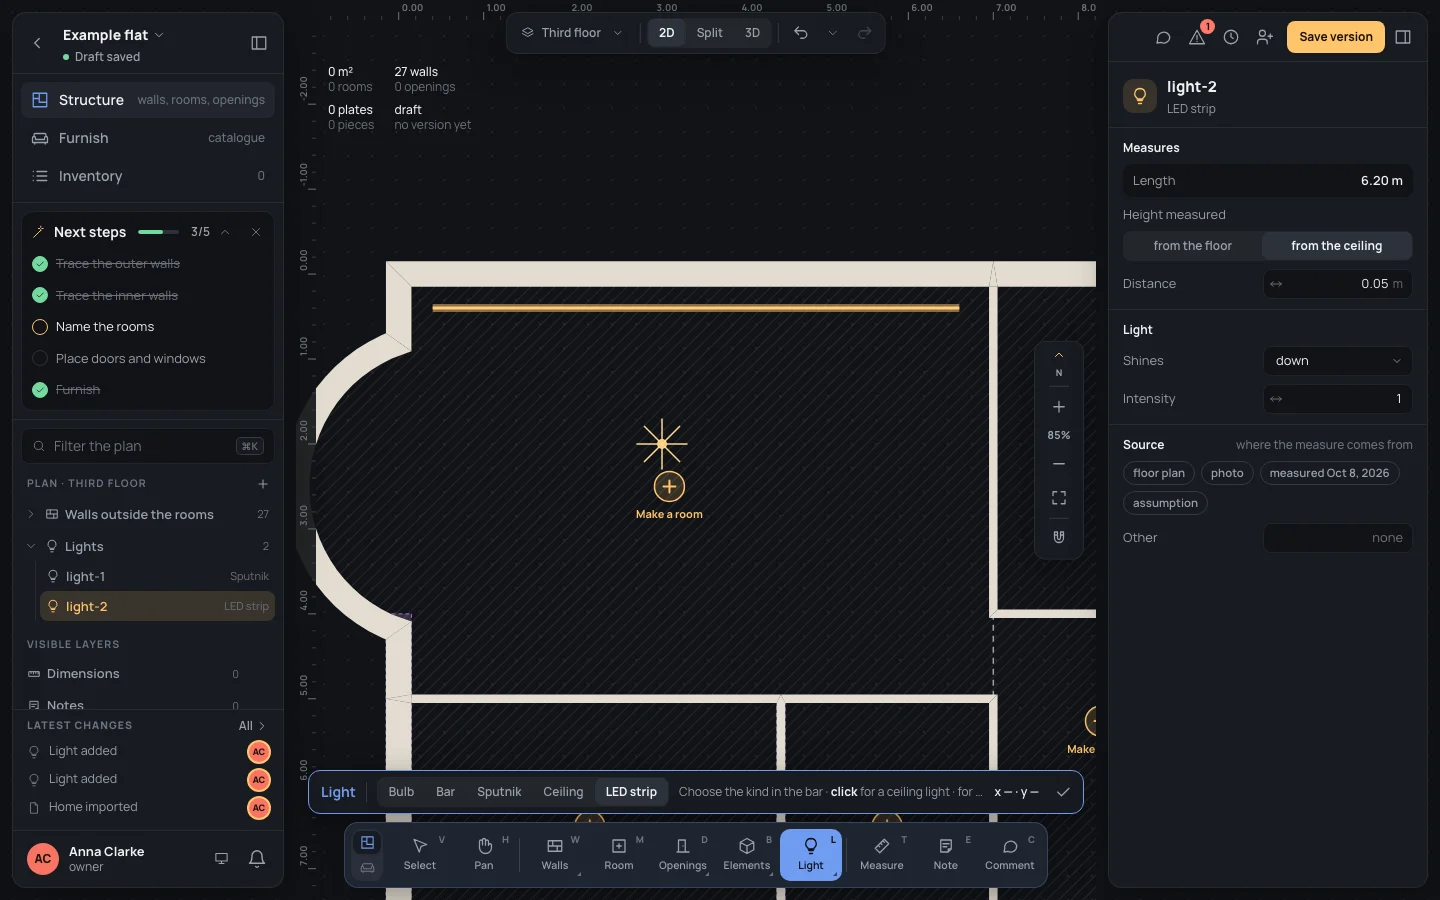
Example: the living room’s sputnik and a strip
Section titled “Example: the living room’s sputnik and a strip”On the bare example flat (walls only).
- Press LL and choose Sputnik.
- Move over the living room until the bar’s pointer reads x 3.10 · y 2.00, and click.
- Choose LED strip. Click near the north wall’s inner face at x 0.40 · y 0.40, then at x 6.60 · y 0.40. The inspector reads Length 6.20 m.
- To hide it in a cove 10 cm under the ceiling, type Distance
0.10in its Distance.
If something goes wrong
Section titled “If something goes wrong”- The strip’s first end in the wrong place: EscEsc, then click again.
- A light in the wrong place: ⌘ZCtrl+Z, or move it with Select (Selecting).
- A click on a hatched region’s Make a room button makes a room instead: click a little away from it.
See also
Section titled “See also”- Elements: lights and strips once placed, their inspector and 3D.
- Light switch · Snapping.