

The house's settings
What holds for the whole house, and what every new wall, plate and room starts from, is set in one place: the right panel when nothing is selected.
Opening it
Section titled “Opening it”Press EscEsc until nothing is selected (or click on nothing on the plan). The panel’s heading is the house’s name, with Nothing selected · the house under it. From anywhere, House settings in the search opens it too. At its foot: Select a room or a wall to change it; right click for its actions.
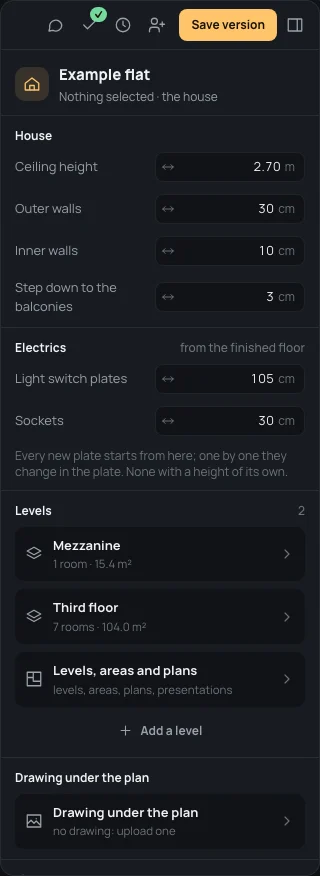
The house’s standard measures. Each number can be typed or dragged (Typing and dragging numbers), and must be above zero (A size above zero.).
- Ceiling height: of the plan open (each plan has its own), in your unit. Walls with no height of their own go up to it.
- Outer walls and Inner walls: the thickness, in cm, new walls of each kind start with. The Wall tool takes the inner one from then on. Walls already drawn keep theirs: change them in their inspector (Editing walls).
- Step down to the balconies: how far below the plan’s floor an outdoor floor sits, in cm; 0 for none.
On the example: the house has 2.70 m of ceiling, 30 cm outer walls and 10 cm inner ones. To draw the next inner walls 12 cm thick:
Inner walls12
Electrics
Section titled “Electrics”The heights new plates start with, from the finished floor to the plate’s centre, in cm: Light switch plates (105 cm to start with) and Sockets (30 cm). The line under them says how many plates have a height of their own, which a change here doesn’t touch. Plates have their own page: Switches and sockets.
Levels
Section titled “Levels”Each level of the house with its rooms and area, the highest first; Levels, areas and plans and a click on a level open the house’s structure, Add a level adds one. All of it is in Stairs and levels.
Drawing under the plan
Section titled “Drawing under the plan”A row named after the plan’s drawing (or no drawing: upload one), saying whether it is to scale, opens its page; the Opacity under it fades the drawing for you without opening it. See The drawing under the plan.
Library
Section titled “Library”- Opening types (7 in the house on the example): the house’s windows and doors, defined once (Opening types).
- Floors (5 from Blupinta · 2 yours · make your kit): opens the dialog that makes a floor (Floors and kits).
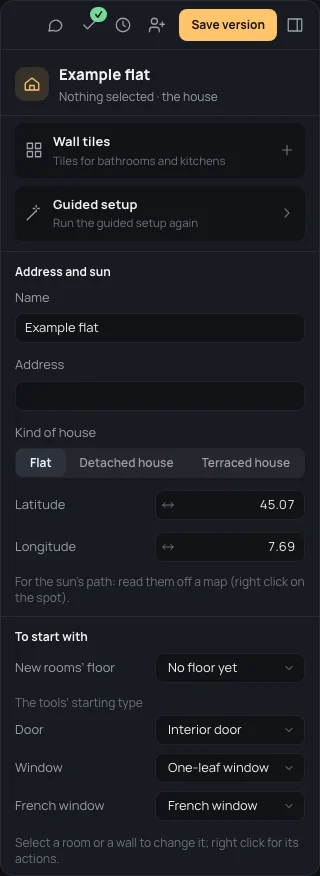
- Guided setup: Resume the guided setup when you left it half way, Run the guided setup again when it is done (A new home). When you hid the next steps before finishing them, Show the next steps brings them back.
Address and sun
Section titled “Address and sun”- Name: the house’s name, at the top of this panel. It can’t be empty (Give the house a name.).
- Address: free text, or one of the places suggested as you type (Suggestions from Google Maps): ↑ ↓ go through them, ↵↵ or a click takes one, EscEsc puts them away. A place taken writes the street and the town, and sets Latitude and Longitude with it, in one step. Coordinates pasted into it from a map (45.07, 7.69) place the house and leave the address as it was.
- Kind of house: Flat, Detached house, Terraced house.
- Latitude and Longitude, in degrees, for the sun’s path in the 3D: read them off a map (right click on the spot); the pair a map copies (45.07, 7.69), pasted into either field, fills both. Between −90 and 90, and −180 and 180. The example’s are 45.07 and 7.69, a town in northern Italy.
North, the other half of the sun, is set on the drawing’s page (The drawing under the plan).
To start with
Section titled “To start with”- New rooms’ floor: No floor yet, Parquet, Tiles or Concrete, for every room you make from now on.
- The tools’ starting type: for Door, Window and French window, which of the house’s types the tool places first (or No type). Choosing one here makes it the tool’s choice too.
The right-click menu on nothing
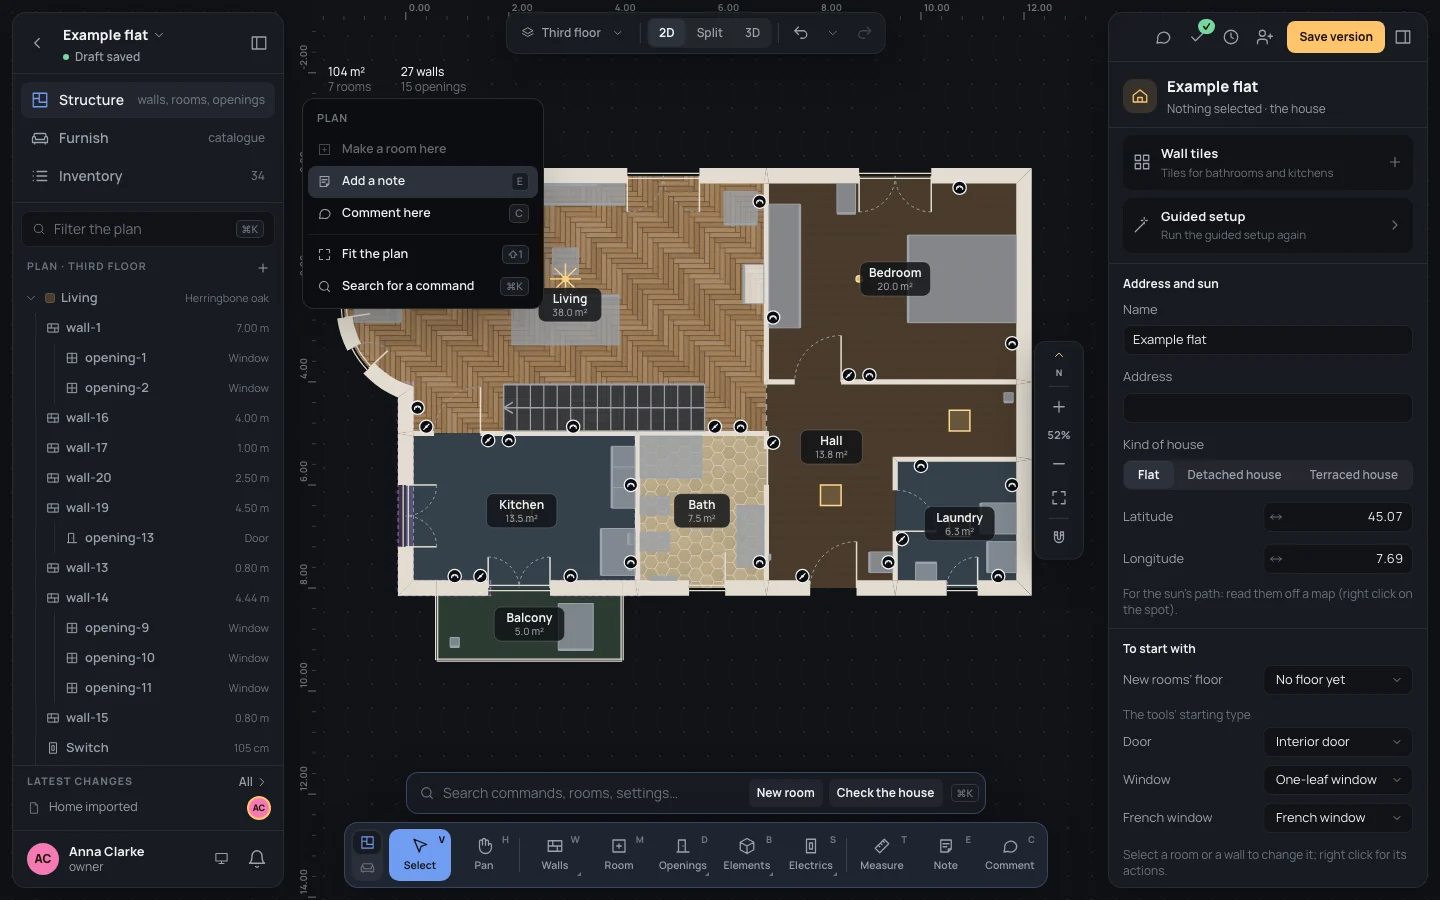
Section titled “The right-click menu on nothing”Right click on an empty part of the plan: the menu, titled Plan, offers Make a room here (where walls close a space with no room), Add a note, Comment here, Fit the plan and Search for a command, which opens the search on every command.
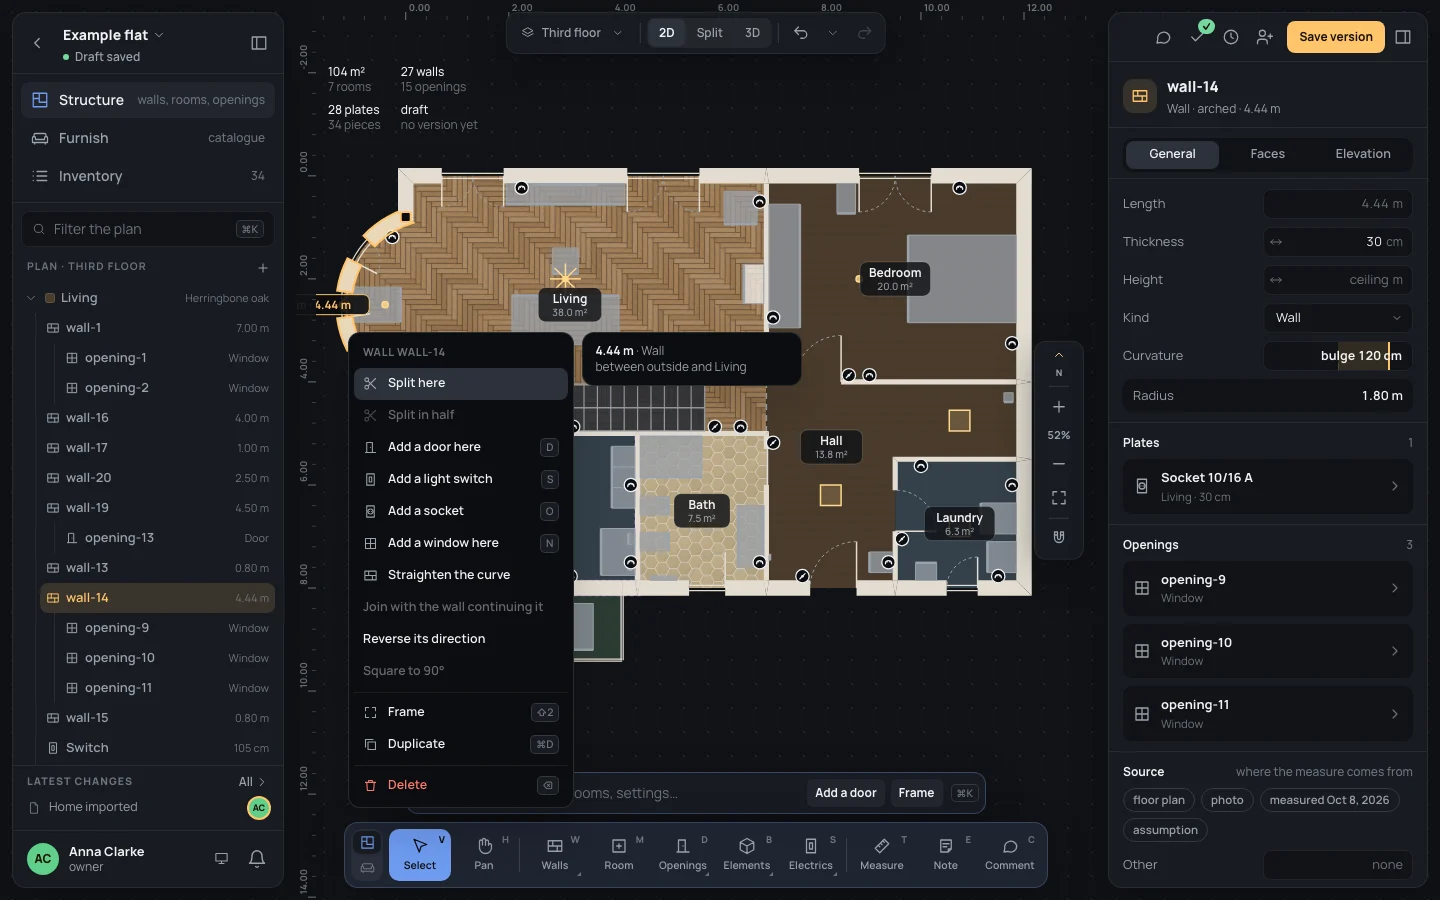
On a room, a wall or a plate, a card beside the menu says its measures: a room’s area on the axes, net and perimeter, and its floor; a wall’s length, its kind and the rooms on its two sides; a plate’s height and whether it is the house’s. Their menus are in Rooms, Editing walls and Switches and sockets.
What can go wrong
Section titled “What can go wrong”- Walls already drawn didn’t change thickness: the house’s thicknesses are for new walls. Select the walls and change them together (Typing and dragging numbers, several selected).
- A plate didn’t follow the new height: it has a height of its own. Back to the house’s height in the plate.
- Every change here is a step: ⌘ZCtrl+Z takes it back.