

The catalogue
The catalogue is where the home’s furniture and appliances come from: you find a product, choose how you want it (its size, its finish, what goes in its cells) and add it to the home, then place it on the plan.
Where it is
Section titled “Where it is”In Furnish and in Inventory the catalogue fills the left panel, under the workspaces. It has three tabs:
- Catalog: every product.
- In the home: only the products the home already has, the last one added first; the tab’s number counts them. With none yet it says Nothing in the home yet: drag a product from the catalog onto the plan.
- Sets: the home’s sets, to place again (Groups and sets).
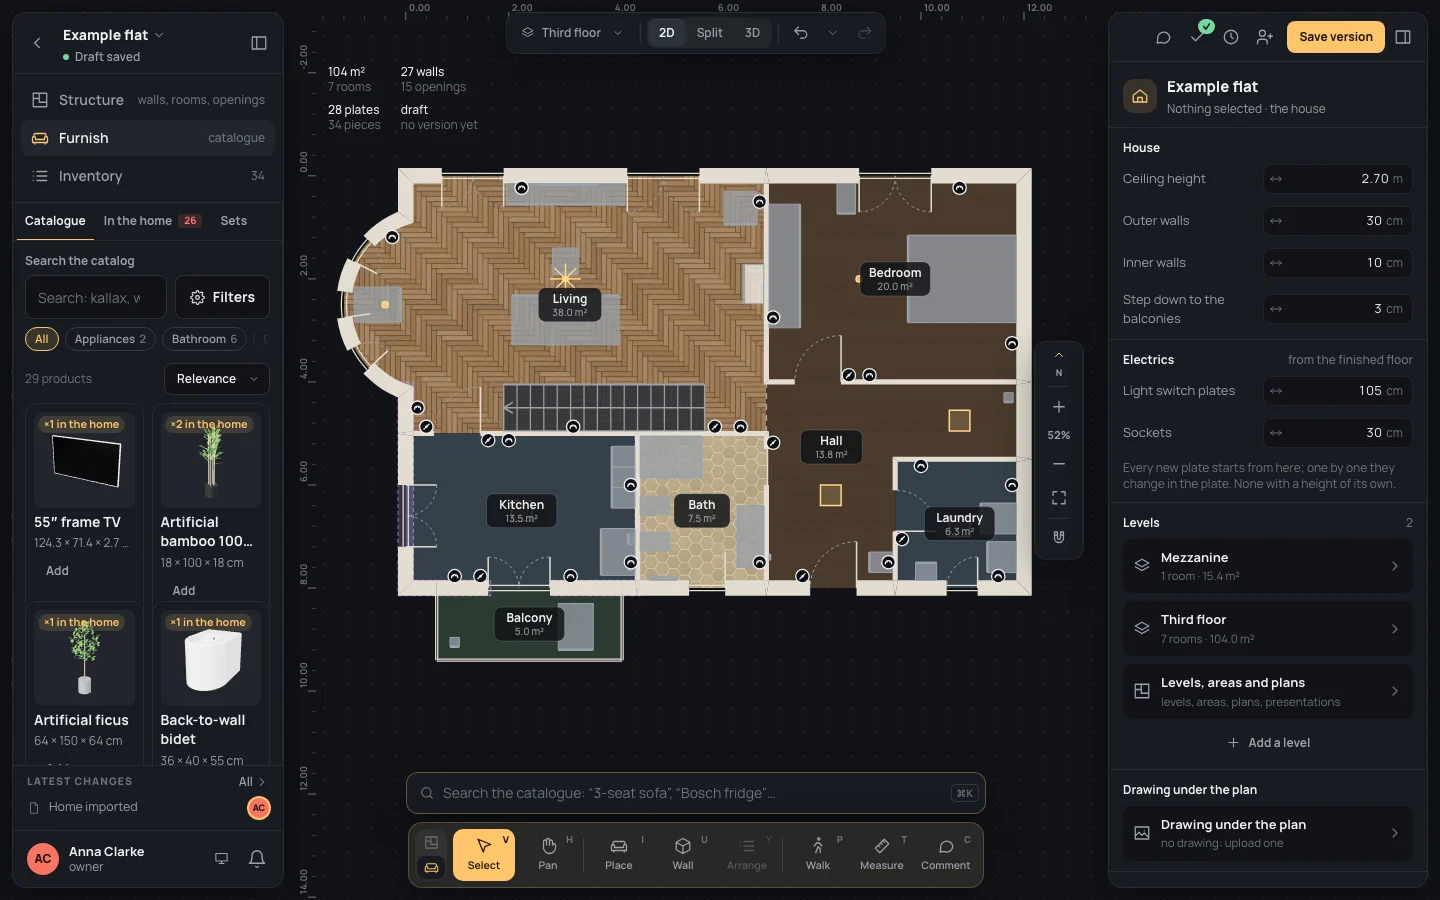
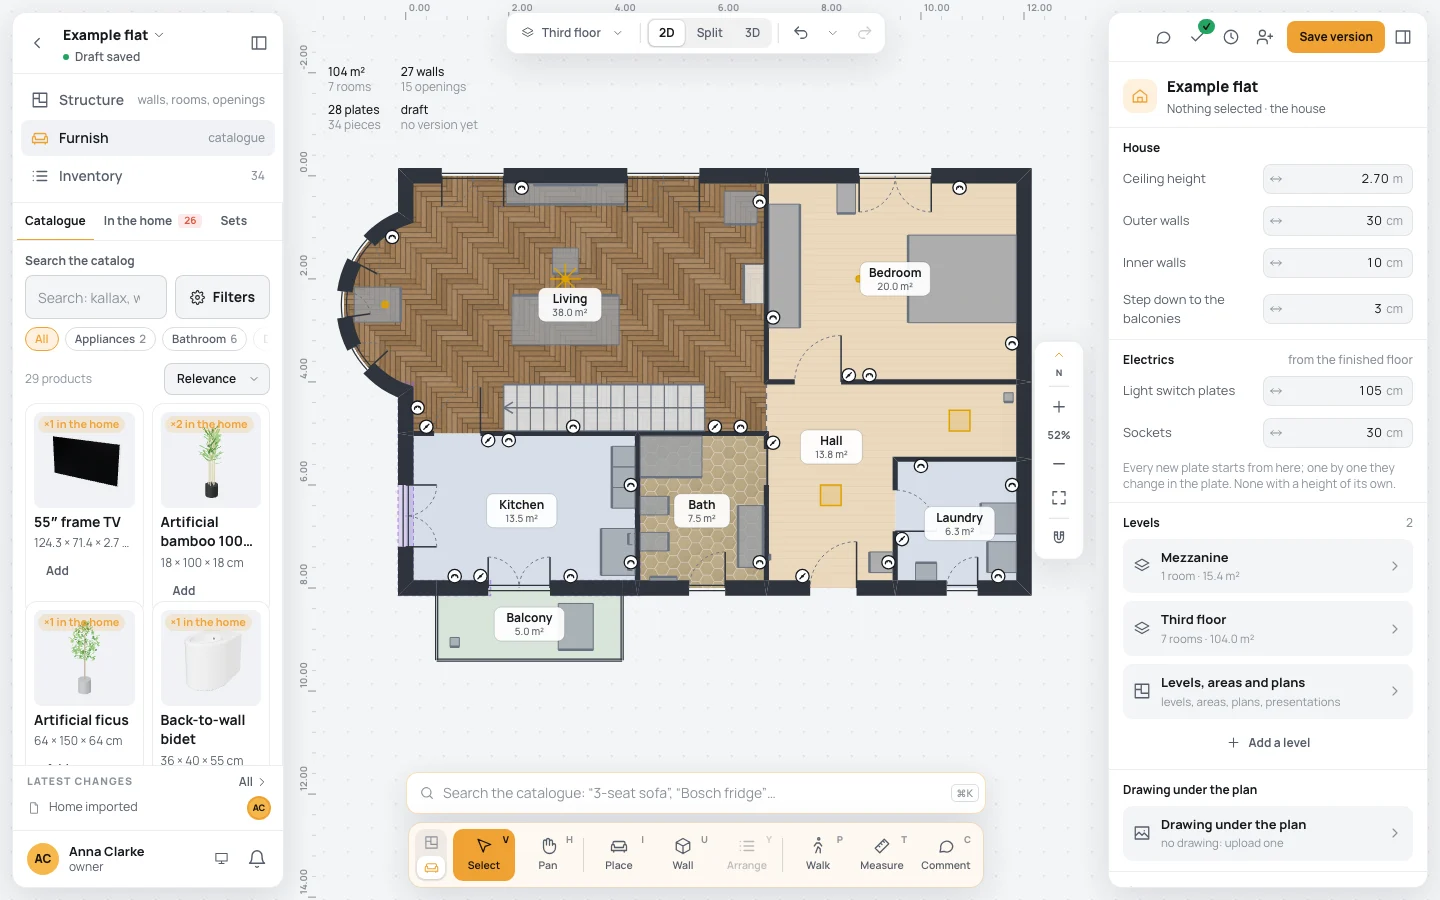
What the catalogue shows (the tab, the words searched, the filters, the order) is kept in the page’s address: a reload, or the link sent to someone in the project, opens it as it was.
Searching
Section titled “Searching”Type in Search the catalog: the results change as you type. Every word you type has to be found in the product, in its Italian or English name, its brand, the words it is known by or its category, so bookcase, libreria or cube shelving all work. A word of four letters or more may have one letter wrong (bokcase), and accents don’t matter.
Try Search the catalogcouch: one product is left, the sofa bed: couch is one of the words
it is known by.
The products the home already has always come first, with a badge on their picture: ×2 in the home.
Categories
Section titled “Categories”Under the search, a row of chips: All, and the top categories, each with how many products it holds (Storage, Bathroom, Lighting…). Click one: it shows on, followed by the categories inside it, again with their numbers. Click one of those to go further down; click a category on the way to go back up to it; the first chip, with its arrow, goes back to All.
Filters
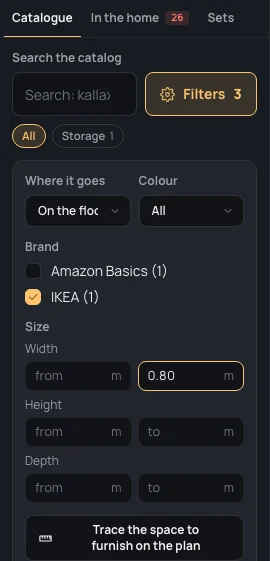
Section titled “Filters”Filters, beside the search, opens the rest under it. Each choice says how many products it would leave.
- Where it goes: On the floor, On a wall, On the ceiling, On a surface, Built in; only the ones the results have are listed.
- Colour: the colour of its finishes (White, Wood, Black…).
- Brand: tick one or more; a product of any of them stays.
- Size: Width, Height and Depth, each from and to, in your unit of length (80 cm, 0.8). A product that comes in several sizes stays if one of its sizes fits every range: the cube shelving unit 1 × 4 is 41.5 cm wide, so the cube shelving stays with a width up to 80 cm.
- Trace the space to furnish on the plan (in Furnish): the catalogue keeps what fits in a space you draw. It has a page of its own: What fits.
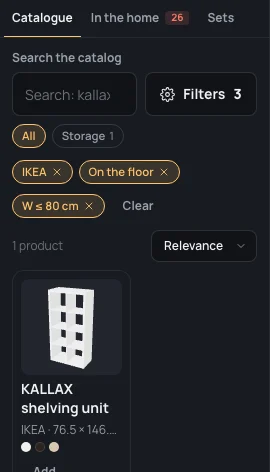
The Filters button counts the filters set (the category is not counted). Closed, the filters set stay as chips under the categories: a click on one takes it away, and Clear, when there are two or more, takes them all away (the category stays).
Example: something for the floor, from IKEA, at most 80 cm wide
Section titled “Example: something for the floor, from IKEA, at most 80 cm wide”On the finished example flat, in Furnish:
- Click Filters.
- In Where it goes choose On the floor; in Brand tick IKEA.
- In Width, in the to field, type Width, to
80 cmand press ↵↵. The button now says Filters 3. - Click Filters again to close them: IKEA, On the floor and W ≤ 80 cm stay as chips, and the results say 3 products: IKEA’s drawer unit, bookcase and cube shelving unit.
- Clear takes the three filters away.
The results
Section titled “The results”- Above the cards, how many products are found (88 products), or, with none, No product with these words and filters.
- Sort: Relevance (the best match first, then by name), Name, Smallest, Largest (by the space it takes at its usual size). The home’s own products come first whatever the order.
- Each card has the product’s picture, its name, its brand and size (as it usually comes), up to five dots for its finishes (+2 for more) and, when the home has it, how many.
- With the keyboard: the arrows move from card to card, ↵↵ or ␣␣ opens the one you are on.
- Add, on a card, puts one in the home as it comes, without placing it: it waits in the tray under the plan. Dragging the card onto the plan places it at once (Placing).
From the search
Section titled “From the search”In Furnish, Place (II) and the bar above the dock (Search the catalogue: “3-seat sofa”, “Bosch fridge”…) open the search on its Catalogue scope. A product chosen there opens its sheet in the catalogue panel. See Place and The search.
The product sheet
Section titled “The product sheet”Click a card (on its picture or name) and the sheet opens: the brand and the name, a line about the product when it has one, its picture, and:
- Size: width × height × depth, as it usually comes;
- its options, to choose (see below), and under them the size they give and, when the maker sells that very combination, its Article number;
- Source: where its measures come from (the maker’s page, a product sheet, a measure taken);
- Product sheet: the maker’s page, in a new tab.
At the bottom, Room (none, or a room of the home), Quantity (1 to 50) and Add to the inventory: that many pieces, configured as you chose, go in the home and in that room, waiting in the tray to be placed. The sheet closes with ✕ or EscEsc, and nothing is added.
Example: a black-brown cube shelving unit with two drawers for the living room
Section titled “Example: a black-brown cube shelving unit with two drawers for the living room”- Search Search the catalog
cube shelvingand click the Cube shelving unit’s card. - Size: choose 77×77. The picture changes to the 2 × 2 cells.
- Finish: click the dark swatch, Black-brown.
- Inserts per cell: click the cell bottom left, then choose Two drawers in Cell 1.
- Room: Living. Leave Quantity at 1 and click Add to the inventory.
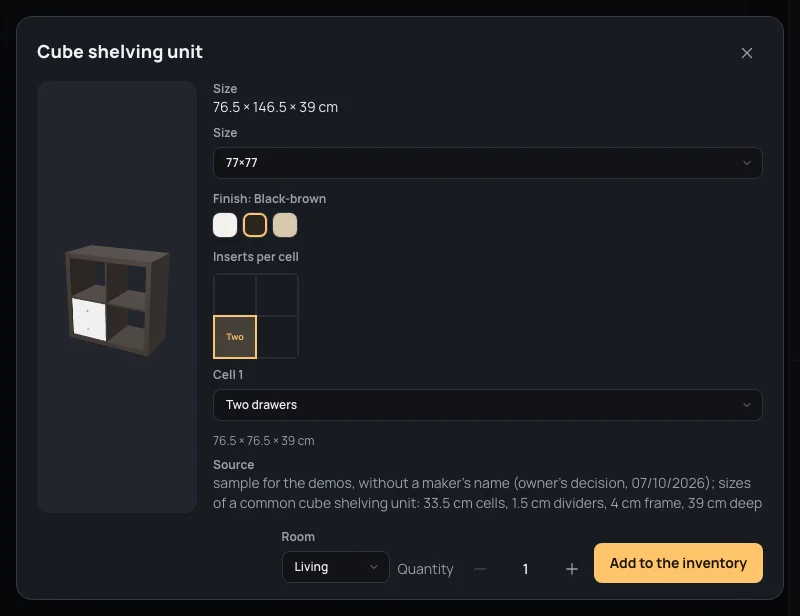
The shelving unit is in the home, in the living room, and waits under the plan in To place.
The options
Section titled “The options”A product’s options are the same in its sheet, in a placed piece’s inspector and in the inventory. Each kind has its own control:
- A choice (a size, a model): up to five choices side by side, more in a list (the cube shelving unit’s nine sizes).
- A finish: swatches, the finish’s name after the option’s (Finish: White).
- A number (a width, a height): a field with − and +, within the product’s limits and steps; the height-adjustable desk frame’s Width goes from 1.10 to 1.90 m, a centimetre at a time.
- Yes or no: a box to tick (the bookcase’s Top element (35 cm), the Displate’s Landscape).
- A text: a field, up to as many letters as the product allows. No product of today’s catalogue asks for one.
- The cells’ inserts: the product’s cells drawn as a small grid, counted from the bottom left as the shelves are. Click a cell, then choose what goes in it, or Empty.
- A picture inside the product (a Displate’s print): No picture, one of the project’s pictures, or Upload… a PNG, JPEG or WebP, which stays private in the project. The picture is cropped to the product’s shape: drag the frame to choose the part shown, and Zoom (20 to 100 %) makes the frame smaller or larger.
Some options depend on others, and show only when they apply: the bookcase has a Depth only at 80 cm wide, and its Top element only at 202 cm high. A value the product can’t take is never accepted: the option keeps the one it had.
What can go wrong
Section titled “What can go wrong”- Nothing found: look at the chips under the categories (a filter is still set) and at the tab (In the home shows only the home’s products). Take a word away: every word must be found.
- Added by mistake: ⌘ZCtrl+Z takes it away (Piece added), or delete it from the tray or the inventory.
- The option you want isn’t there: it may depend on another one (the bookcase’s depth on its width).
- No Add, no Add to the inventory: you can only look at this project; who can edit it adds the products.
See also
Section titled “See also”- Placing: from the catalogue onto the plan.
- The inventory: every piece of the home in one list.
- What fits and Place, the tools that lean on the catalogue.