

Your first home in 15 minutes
This tutorial takes you through a whole home once, from an empty project to the 3D, on the example’s floor plan. Each step is done the quick way; the pages linked from it have the rest.
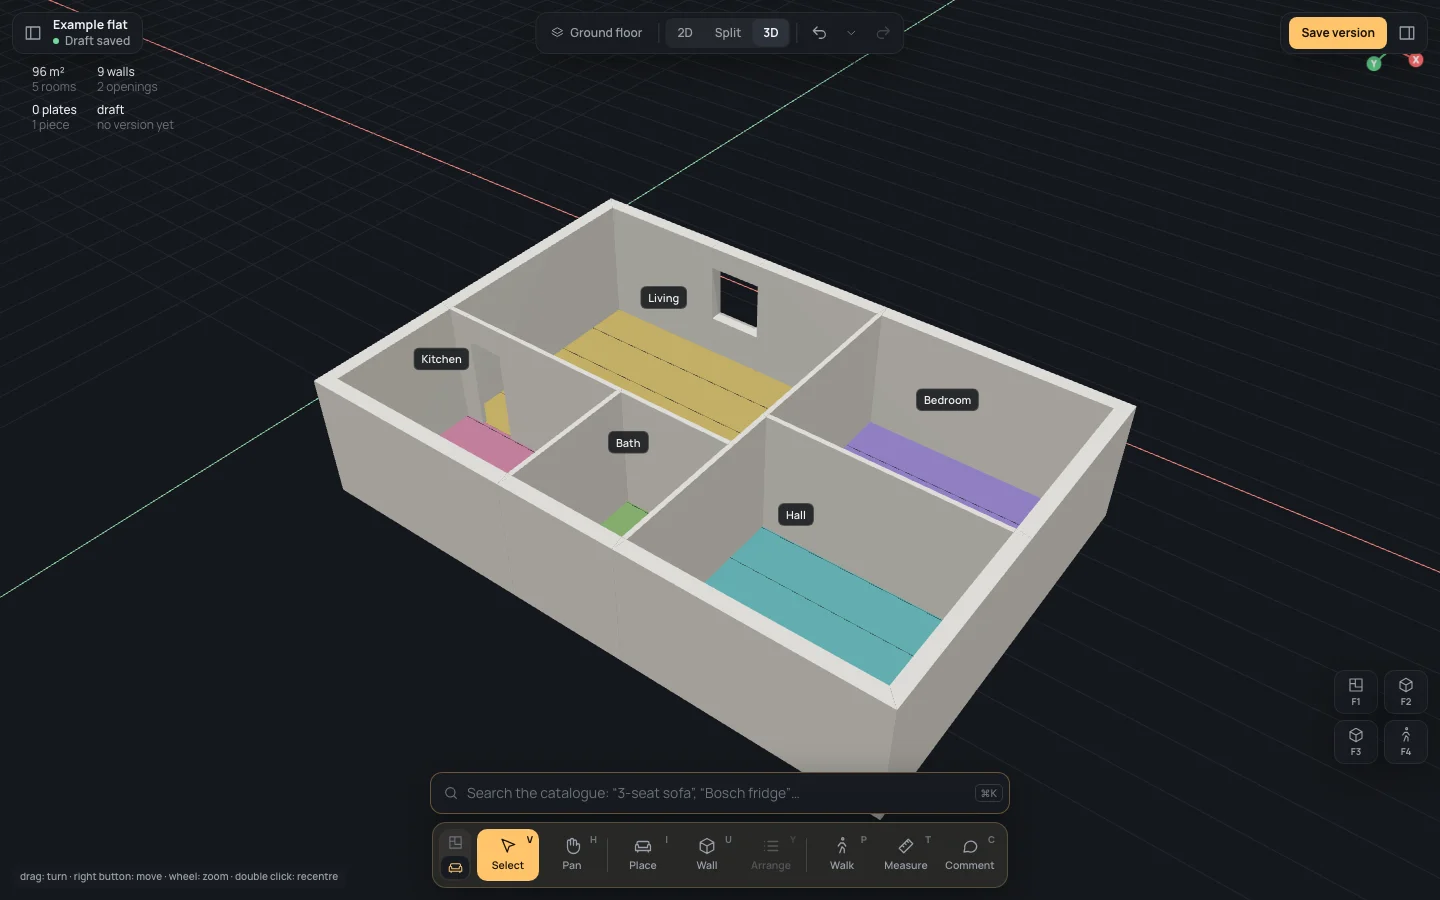
At the end you have a simple version of the example flat: its 12 × 8 m outline with 30 cm walls, five 10 cm inner walls, five rooms named (Living, Bedroom, Hall, Kitchen, Bath), a door, a window and a sofa, and nothing left for the checks to say. The curved bay, the balcony and the rest are for the other tutorials. It takes about 15 minutes.
You need drawing.png from the box above: save it where you can find it.
1. A new project
Section titled “1. A new project”- On your projects page, click New project (Your projects). The new project opens on its wizard, at Start.
- In House name, type House name
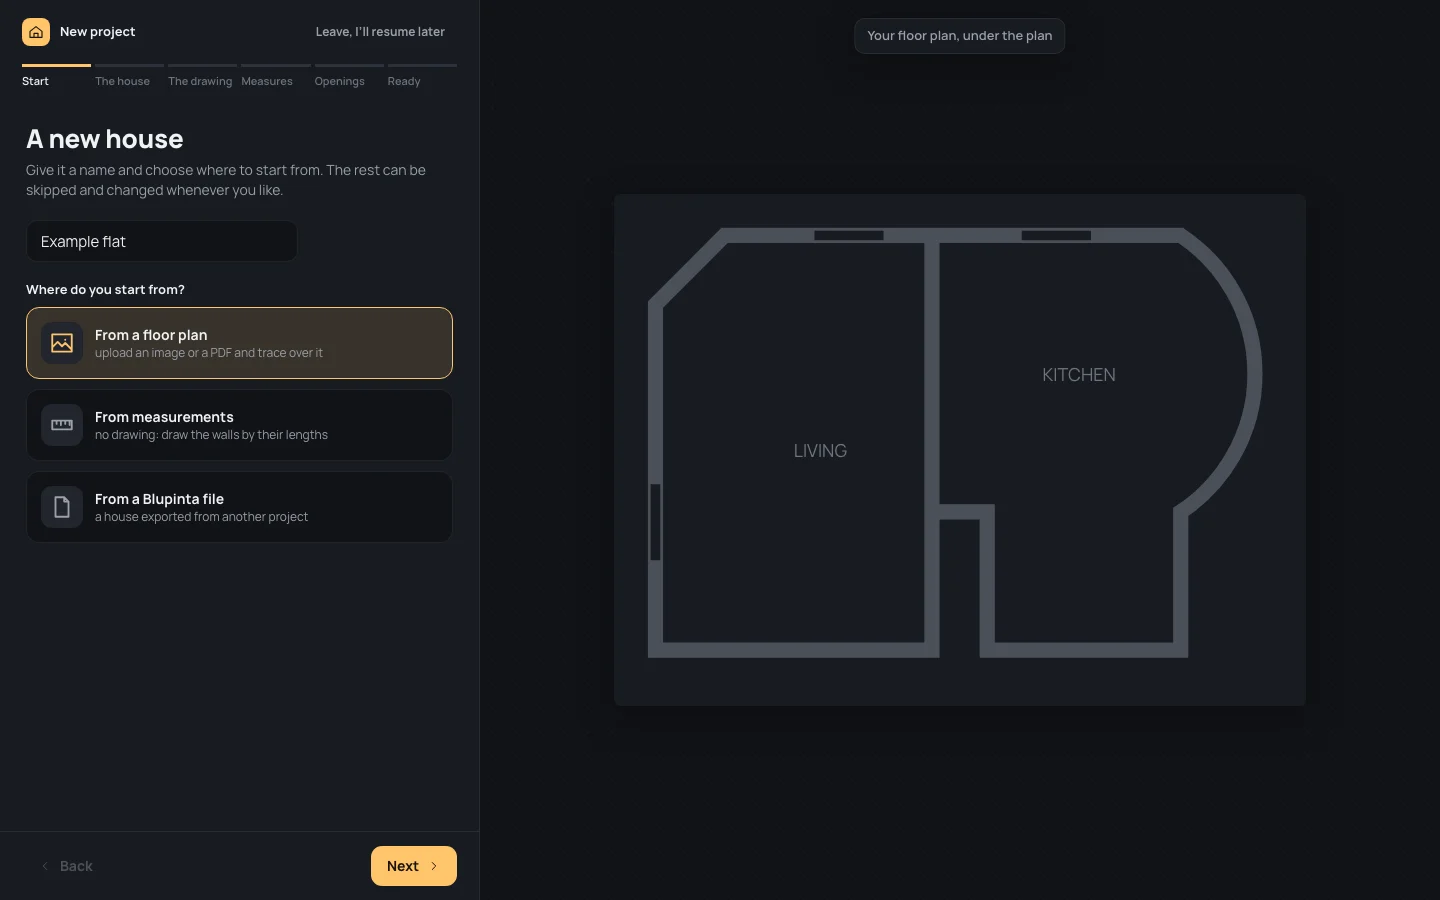
Example flat. - Under Where do you start from?, choose From the plans, then Next.
2. The house
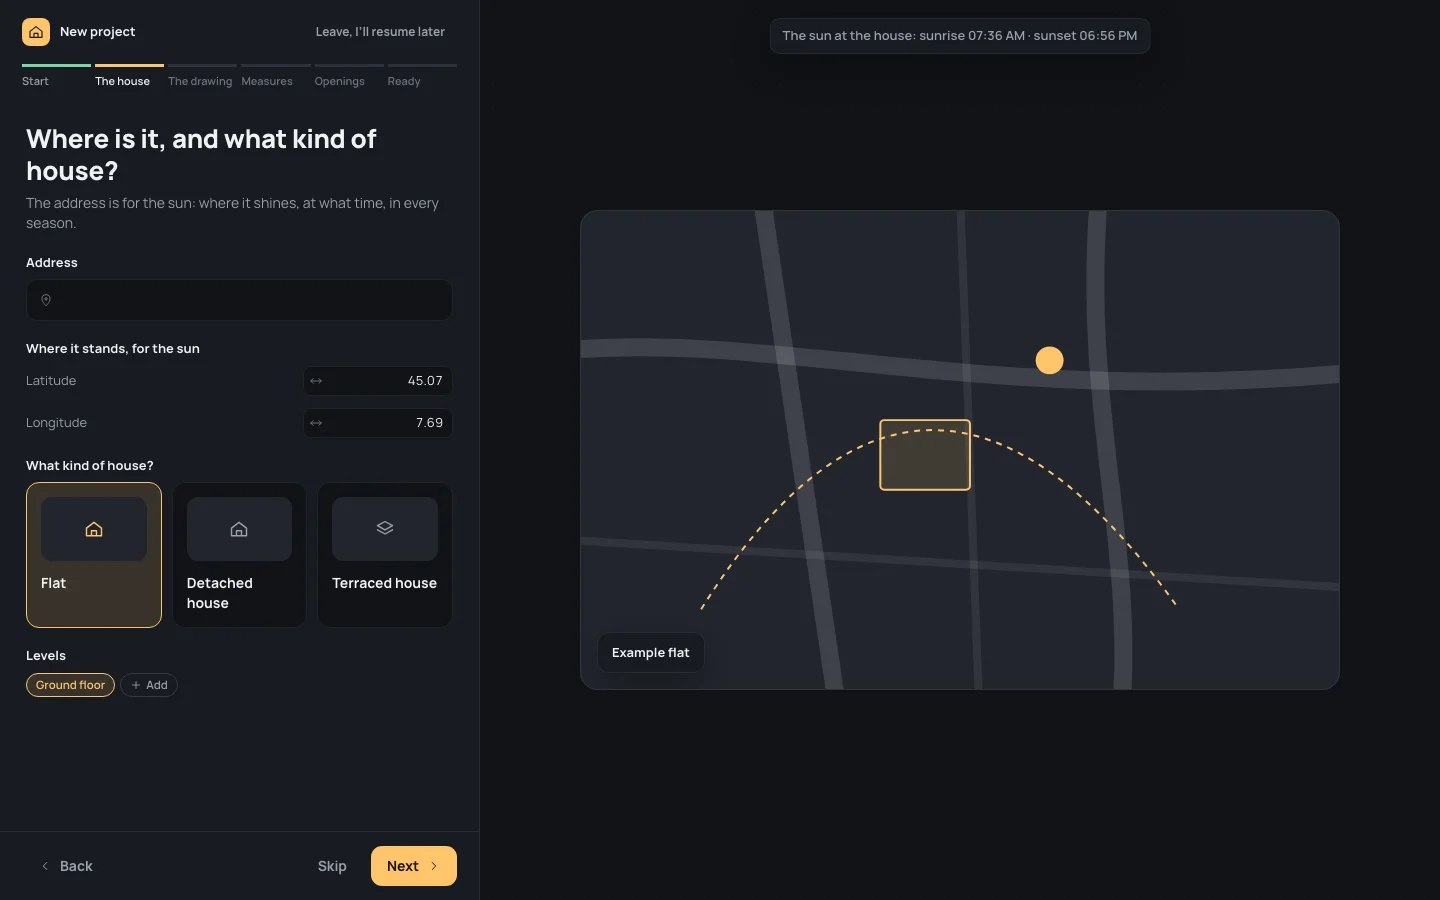
Section titled “2. The house”- Under Where it stands, for the sun, type Latitude
45.07in Latitude and Longitude7.69in Longitude, each followed by ↵↵. Over the map, the wizard says when the sun rises and sets there. - Under What kind of house?, choose Flat. Leave Levels as it is: one level, Ground floor.
- Next.
3. The drawing, to scale
Section titled “3. The drawing, to scale”- Drop
drawing.pngon Drop the image or the PDF here, or click it and choose the file. - On the drawing, click the tick at the left end of the 12.00 dimension, over the north wall, then the tick at its right end.
- In Distance, type Distance
12and press ↵↵. The wizard says To scale: 1 m = 100 units. - Next.
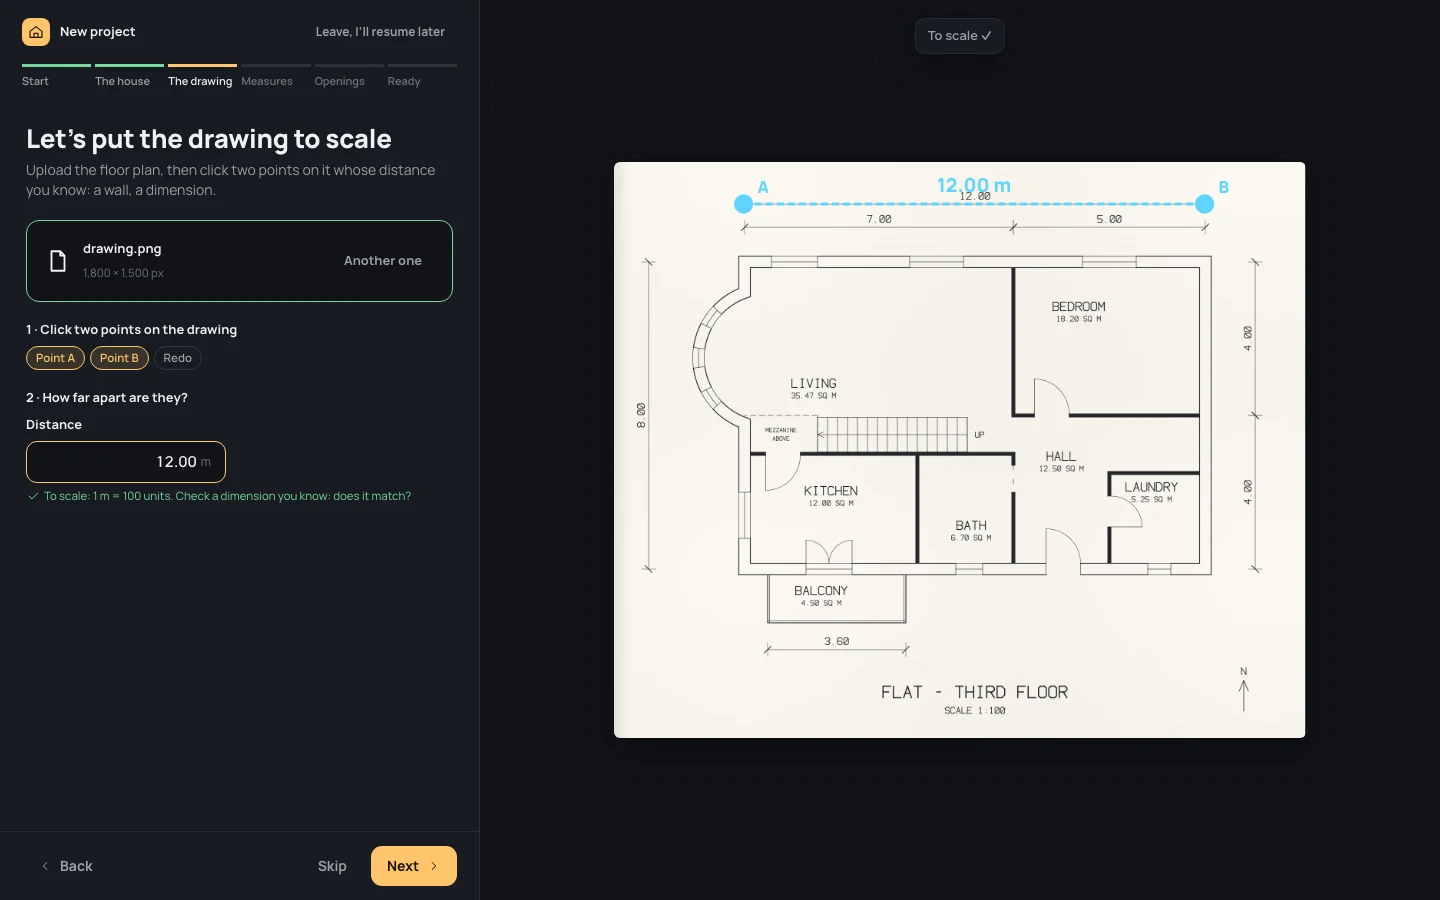
The 7.00 and 5.00 under the 12.00 now measure what they say. More on scale in A new home.
4. North
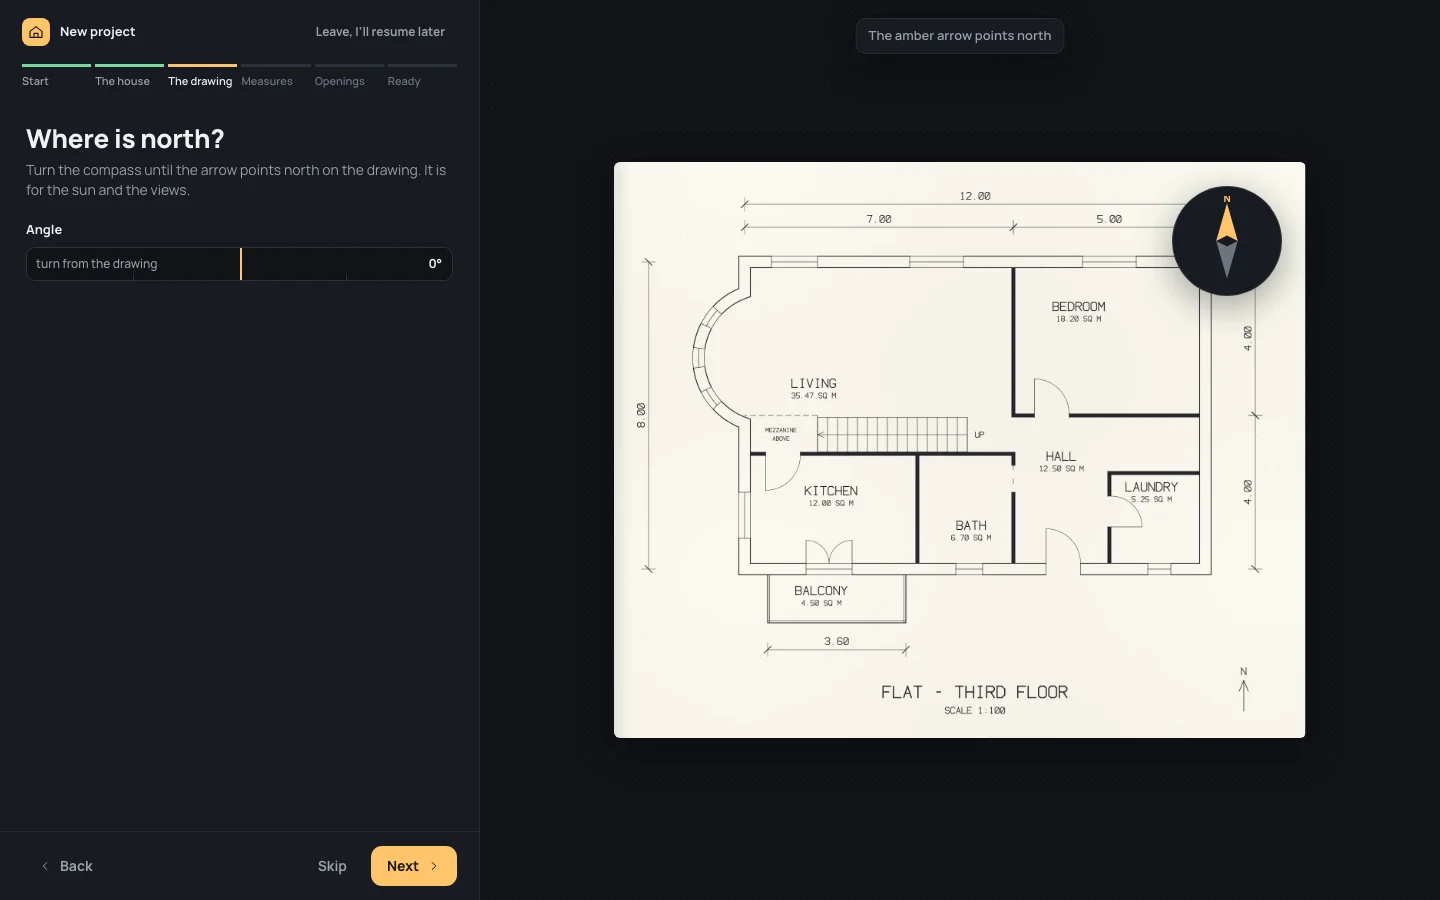
Section titled “4. North”The drawing is drawn with north up, as its arrow in the corner says. Leave Angle at 0° and click Next.
5. The usual measures
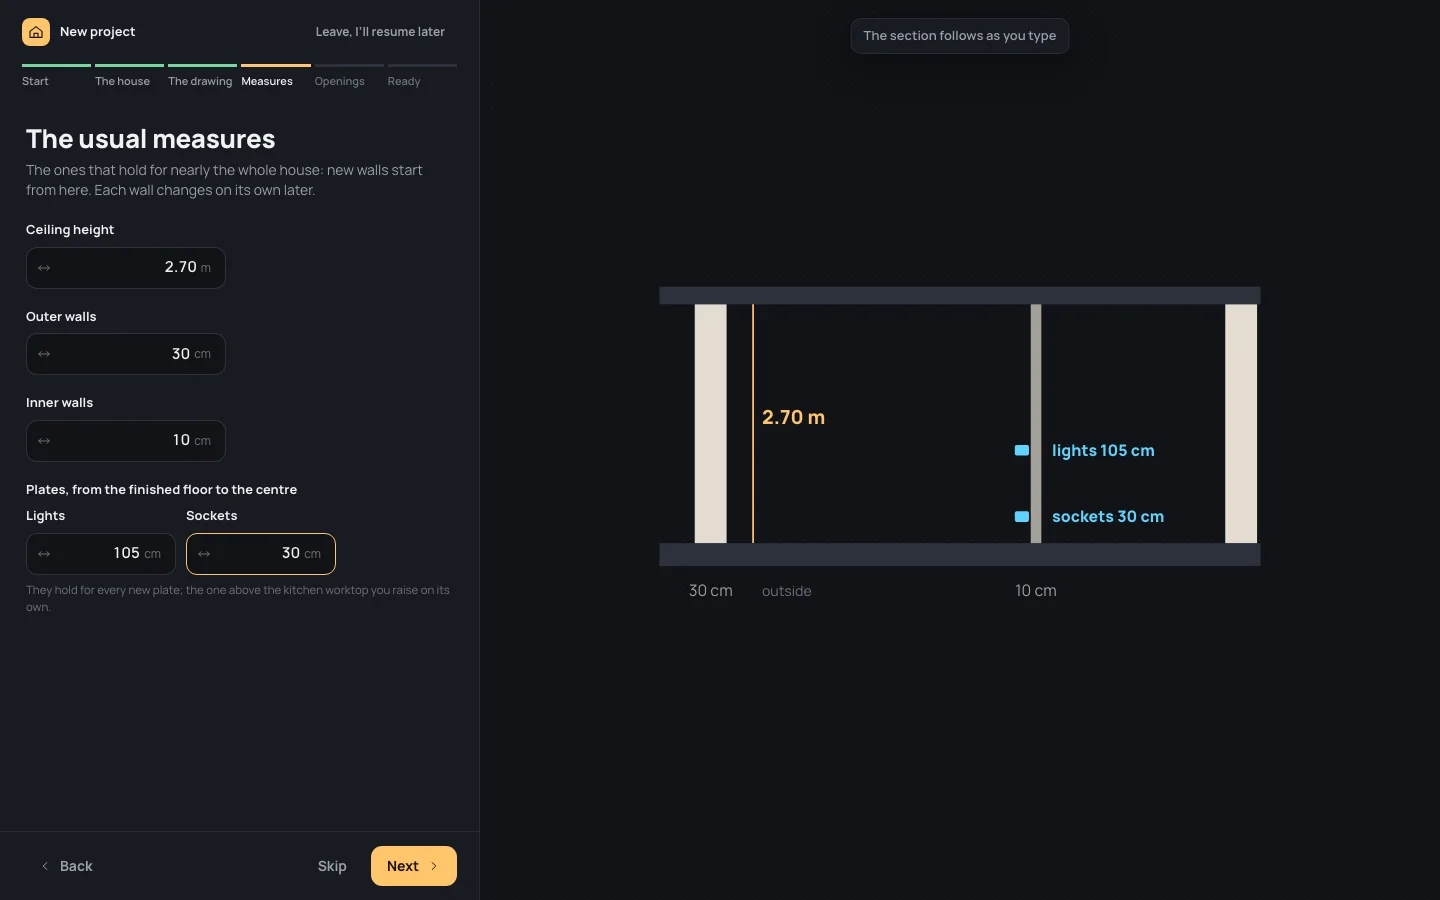
Section titled “5. The usual measures”- Type the example’s measures, each followed by ↵↵: Ceiling height
Ceiling height
2.70, Outer walls Outer walls30, Inner walls Inner walls10, Lights Lights105, Sockets Sockets30. - Next.
6. Windows and doors
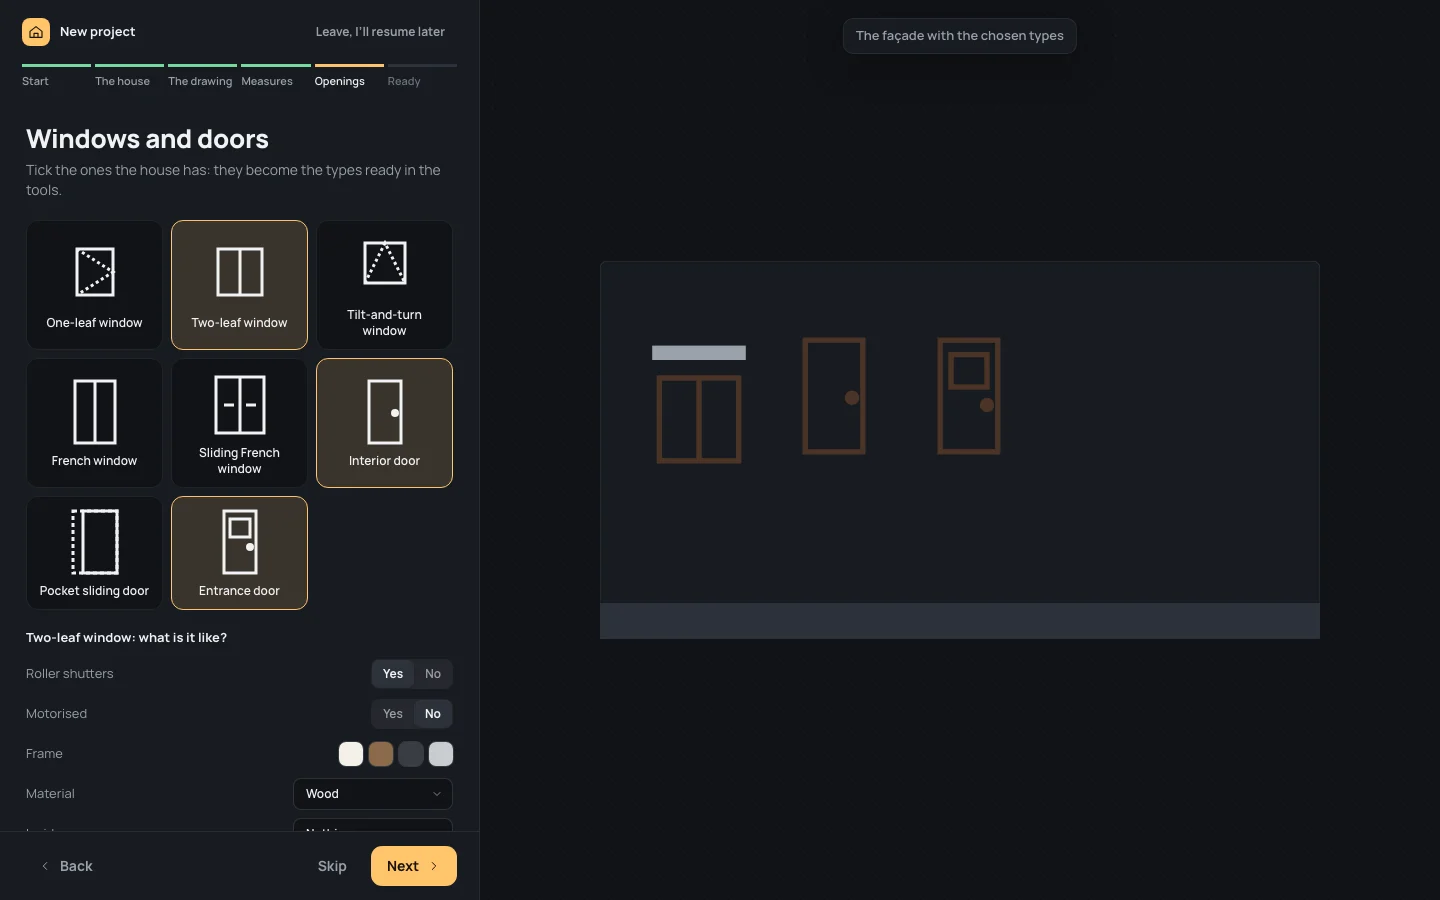
Section titled “6. Windows and doors”- Tick Interior door, Entrance door and Two-leaf window. Each becomes a type ready in the door and window tools.
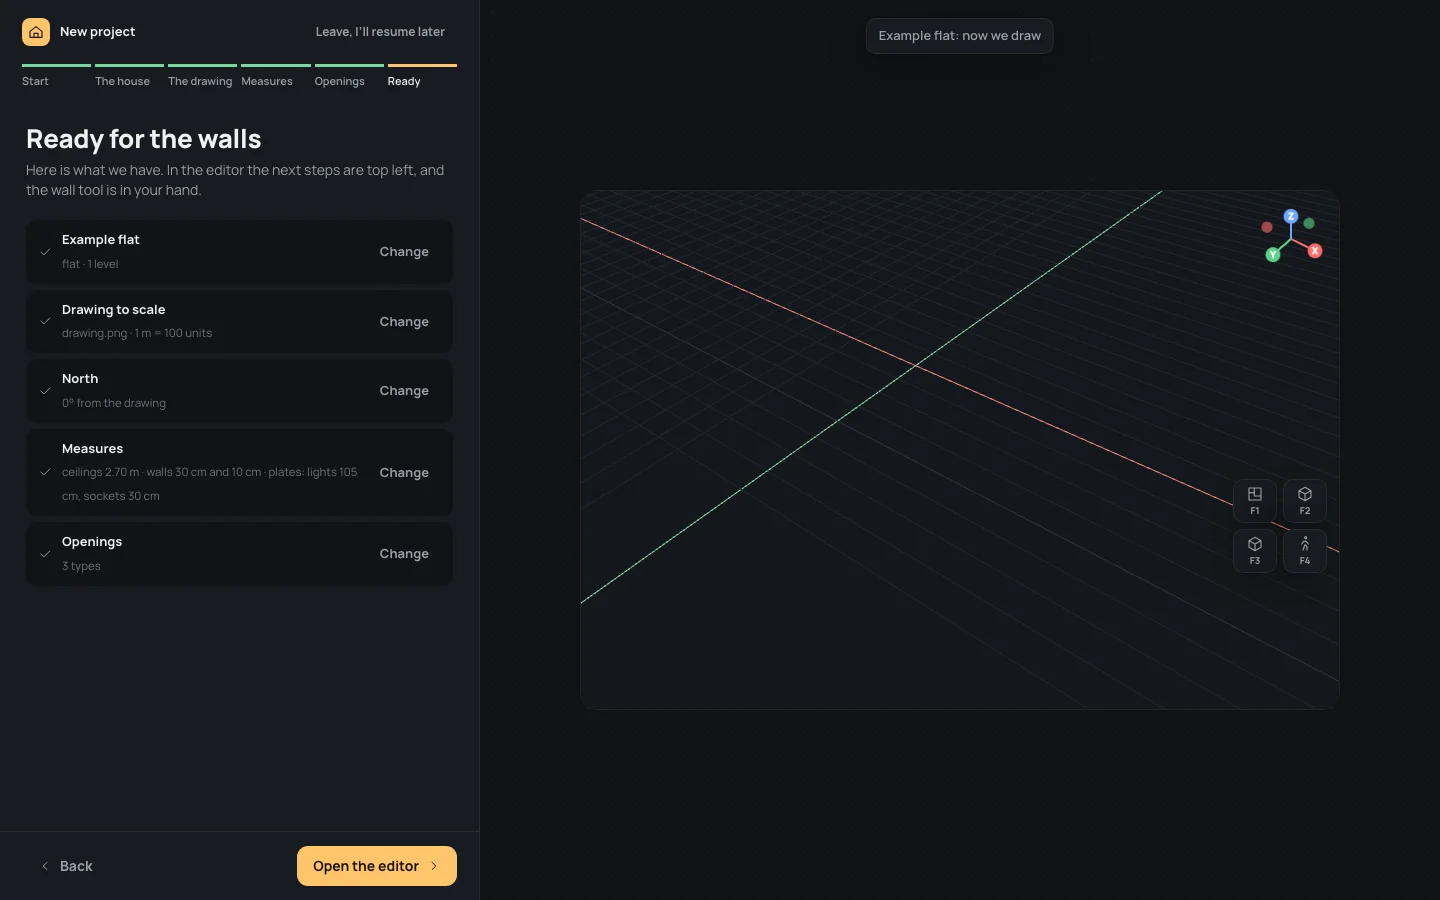
- Next: the wizard says Ready for the walls, with a line for each step.
- Click Open the editor.
7. The editor
Section titled “7. The editor”The editor opens with the plan and the 3D side by side, the drawing under the plan, the Wall tool already in your hand and the Next steps top left: they tick themselves as you go.
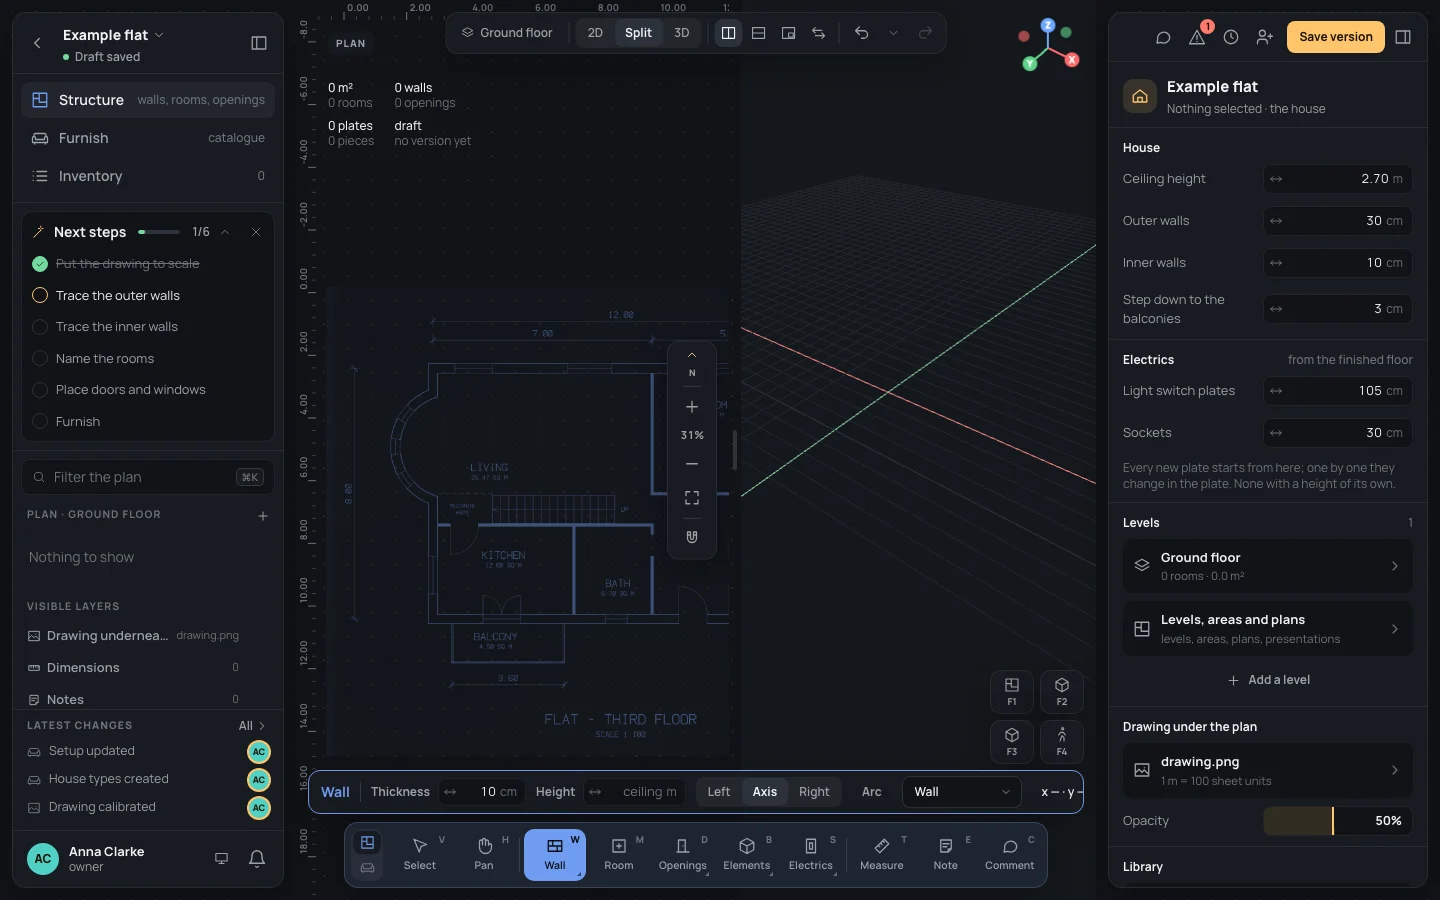
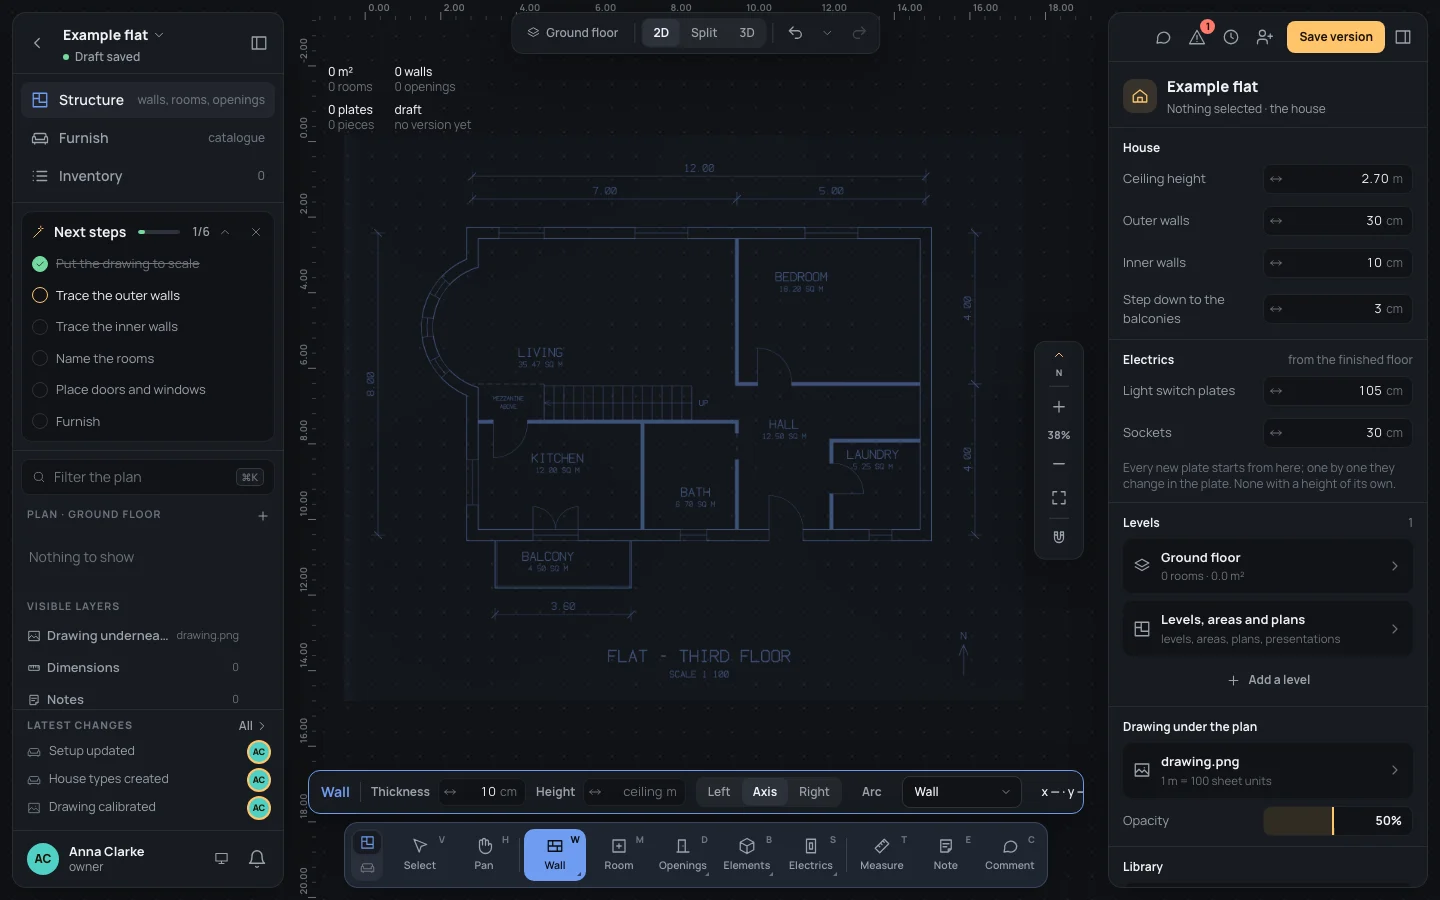
Click 2D at the top, for the plan alone and larger. The tool stays on.
8. The outer walls
Section titled “8. The outer walls”You trace the outline as a ring of four walls: a click on the first corner, then each wall’s length typed. The drawing’s walls pull the pointer onto their centre line: that is the magnetic walls (Wall).
- In the tool’s bar, type Thickness
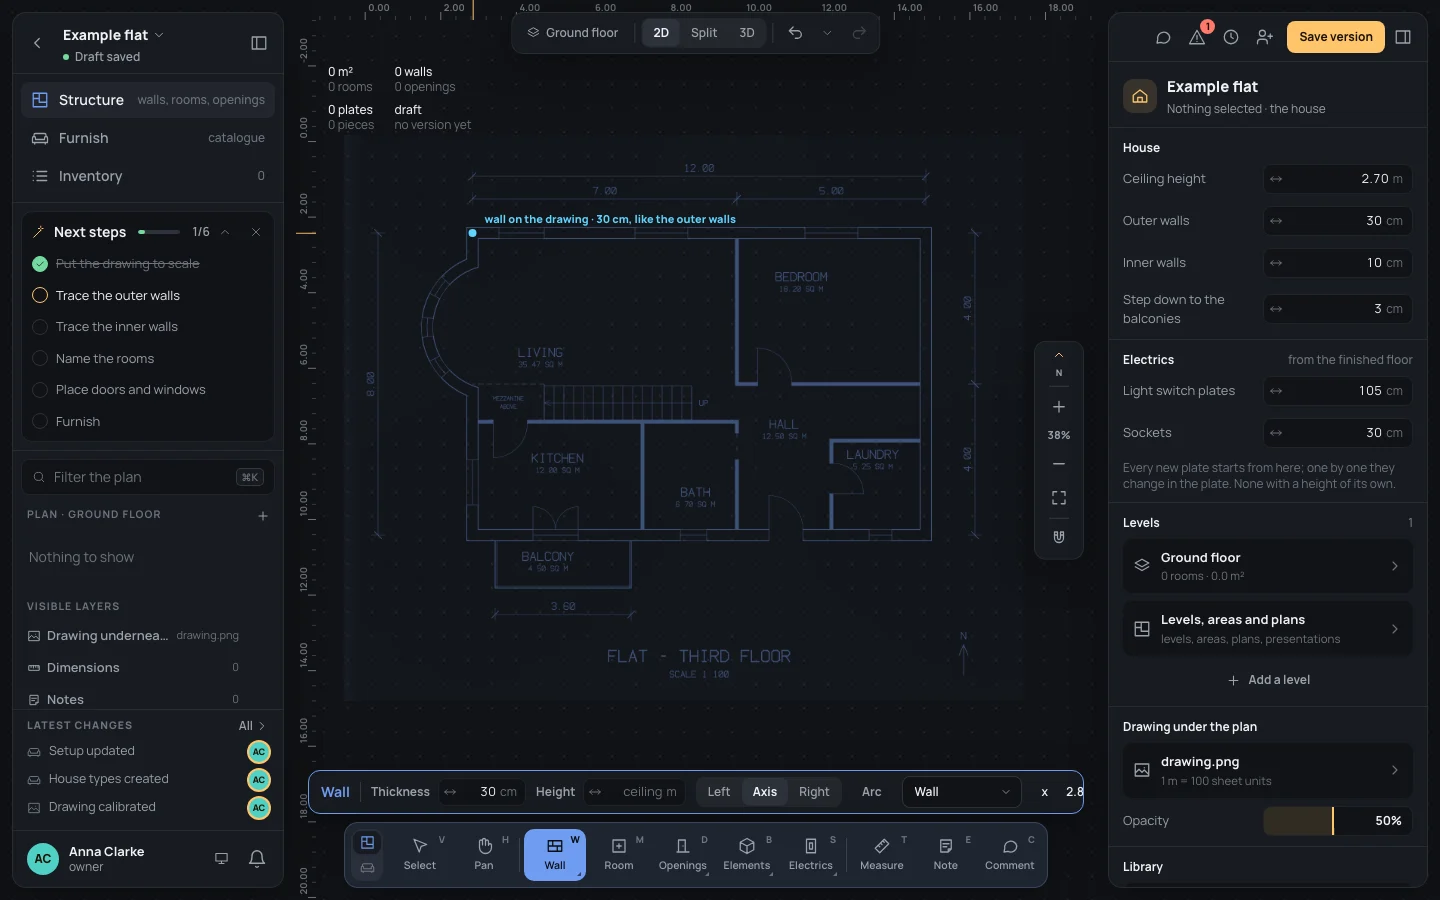
30in Thickness and press ↵↵. - Move the pointer onto the drawing’s north-west corner, where the north wall meets the straight part of the west wall. The label says wall on the drawing · 30 cm, like the outer walls. Click.
- Move the pointer east, along the north wall. Type Length
12and press ↵↵: the corner goes 12 m away, in the direction of the pointer. - Move the pointer south, type Length
8, ↵↵. - Move the pointer west, type Length
12, ↵↵. - Move back to the first corner: it is ringed in green and the label says end. Click: the chain closes into a ring, and the four walls are made.
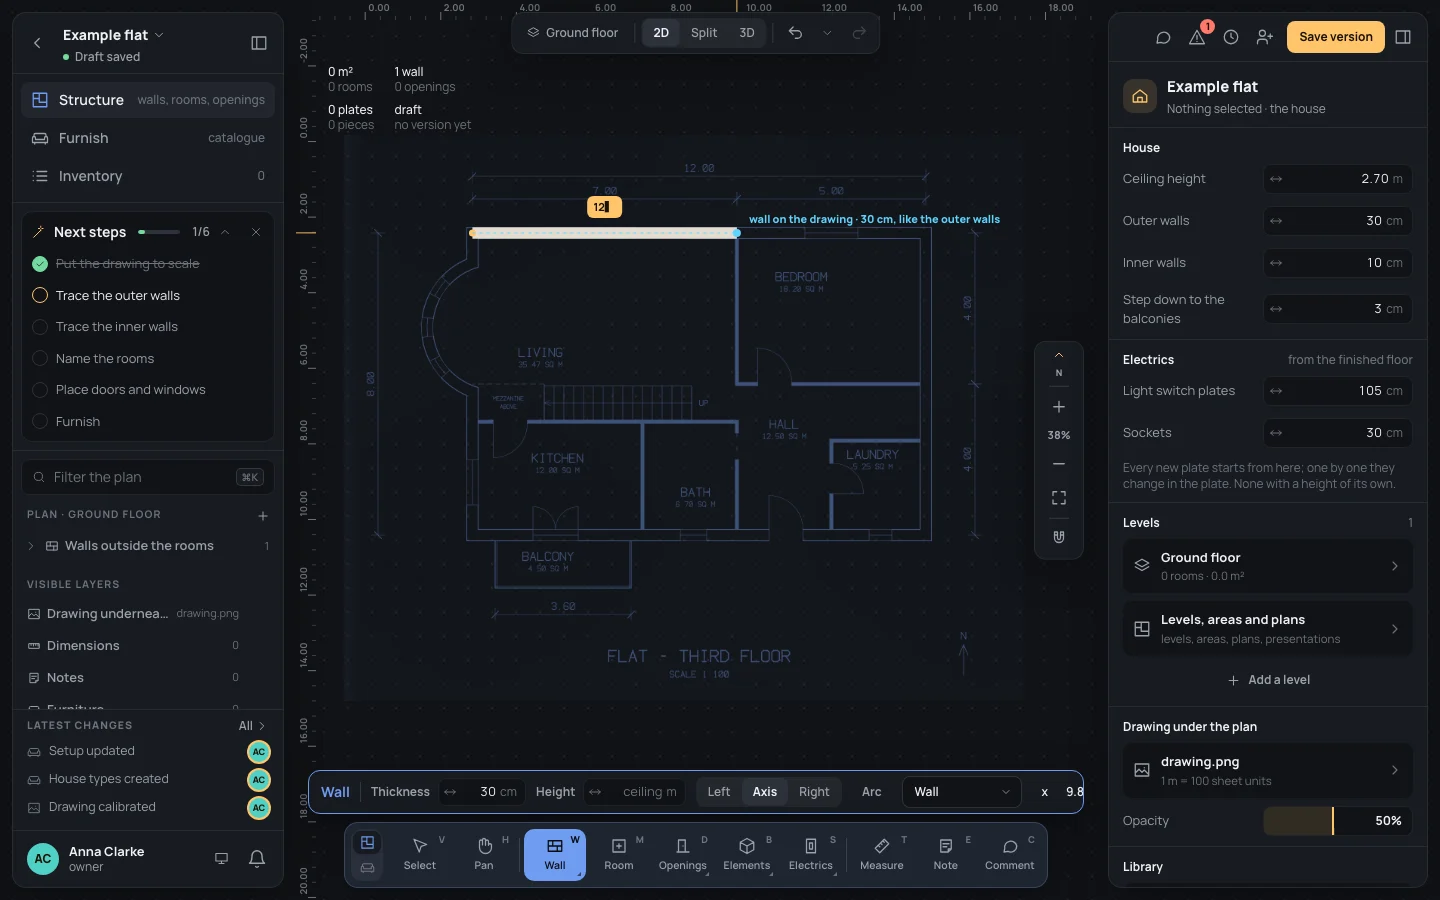
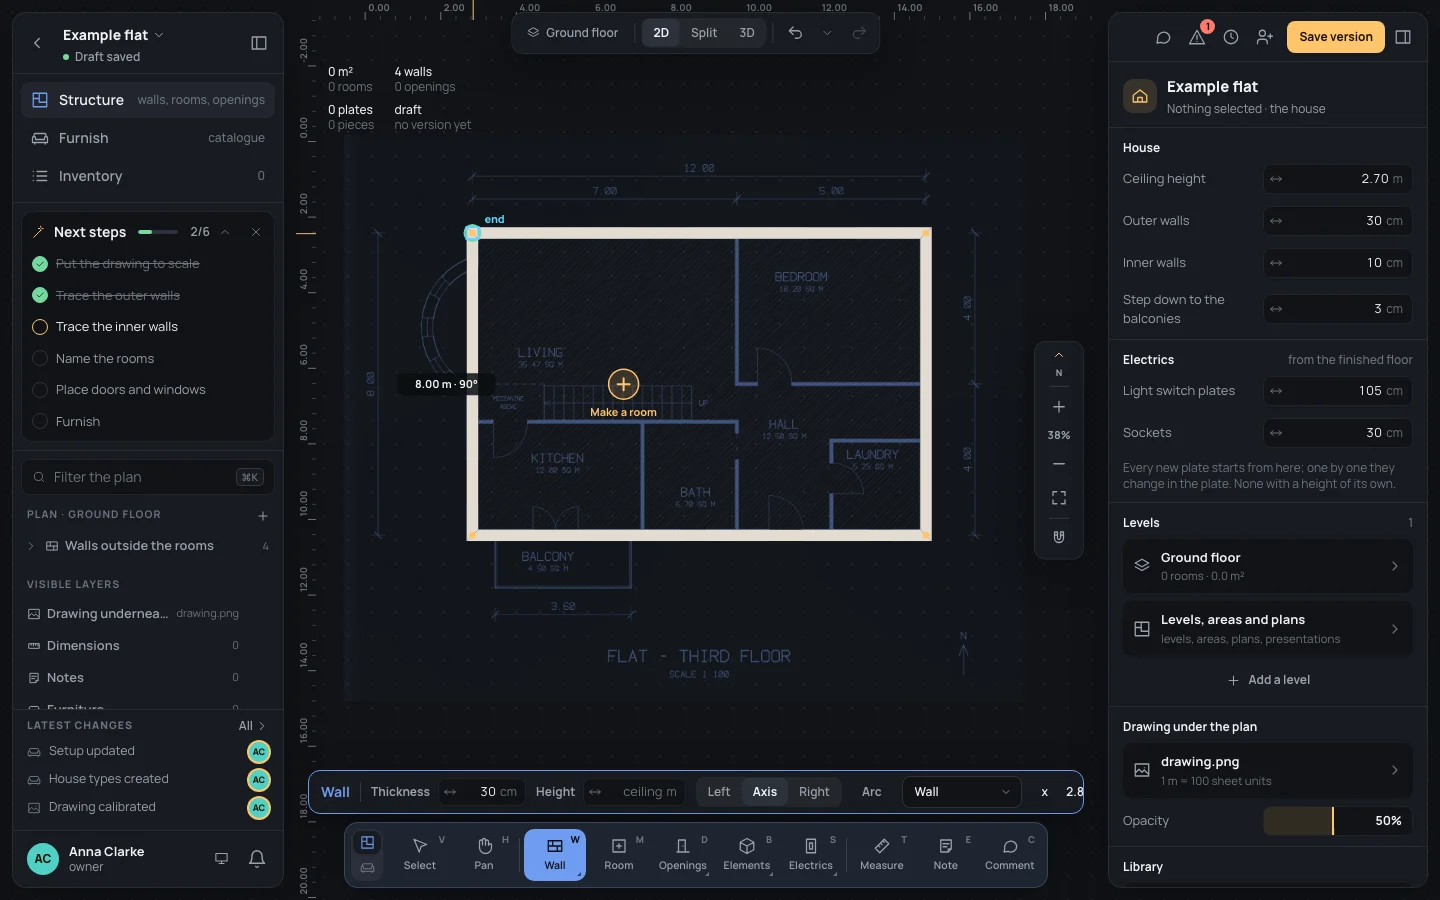
The straight outline leaves the drawing’s curved bay outside, on purpose: From a drawing traces it with an arc.
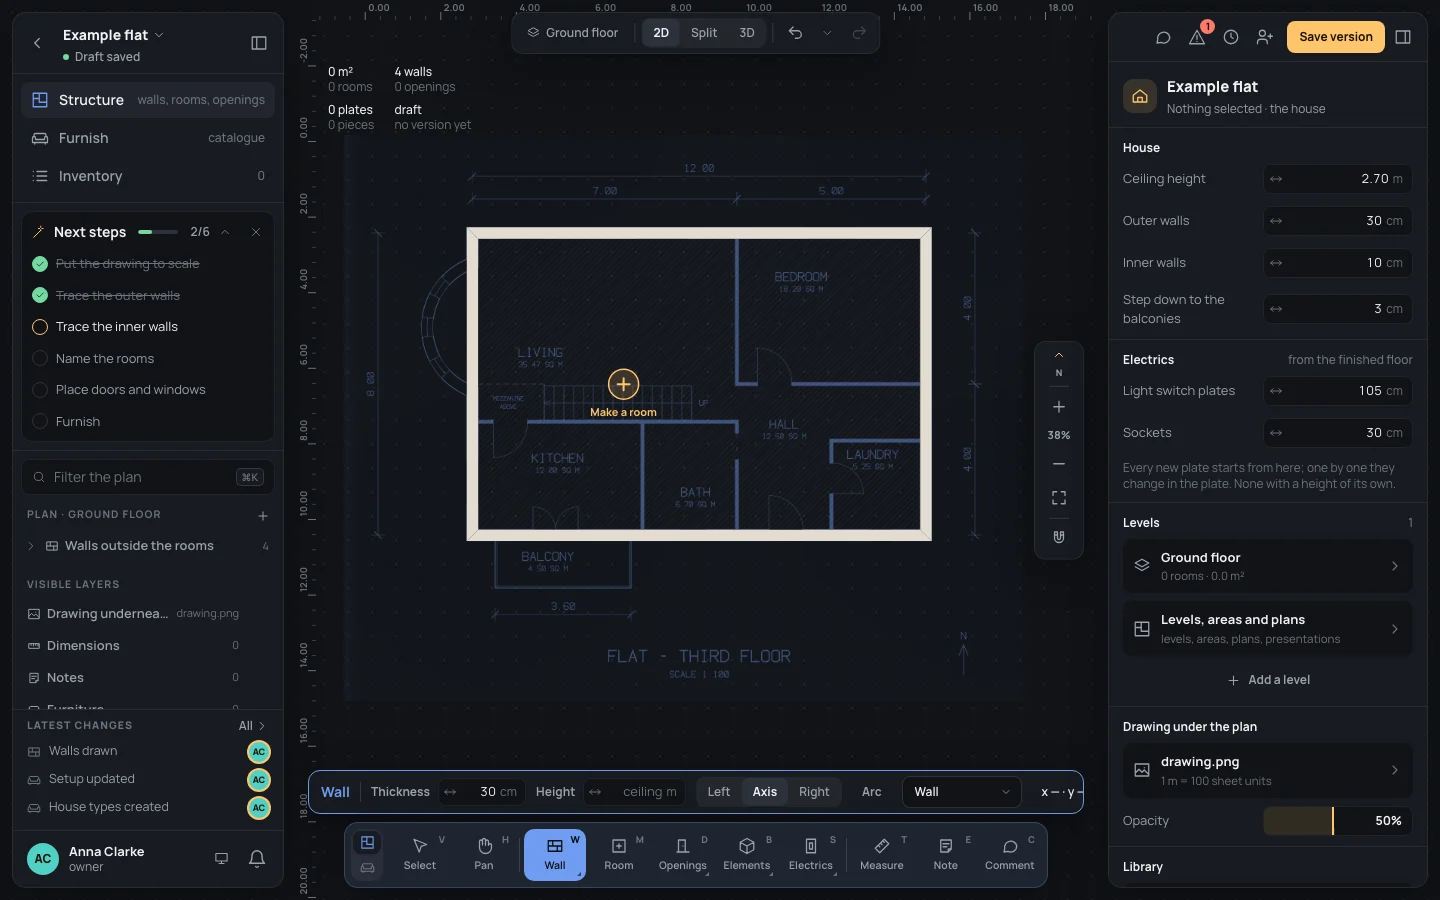
9. The inner walls
Section titled “9. The inner walls”Four strokes, each from a wall to a wall. Starting on one wall and ending with a click on another where the mark says perpendicular keeps each new wall square to the one it meets.
- In Thickness, type Thickness
10and press ↵↵. - Between the living room and the kitchen: click on the west wall where the drawing’s wall between the two meets
it. Move the pointer east, type Length
7, ↵↵. Then move north to the north wall, along the drawing’s wall between the living room and the bedroom, and click on it. Press EscEsc to end the chain. - Between the bedroom and the hall: click on the east wall where the drawing’s wall meets it, then on the wall you drew in step 2. EscEsc.
- Between the kitchen and the bath: click on the south wall at the drawing’s wall, then on the wall between the living room and the kitchen. EscEsc.
- Between the bath and the hall: click on the corner where the wall of step 2 turned north (the label says end), then on the south wall. EscEsc twice: the second one puts the tool down.
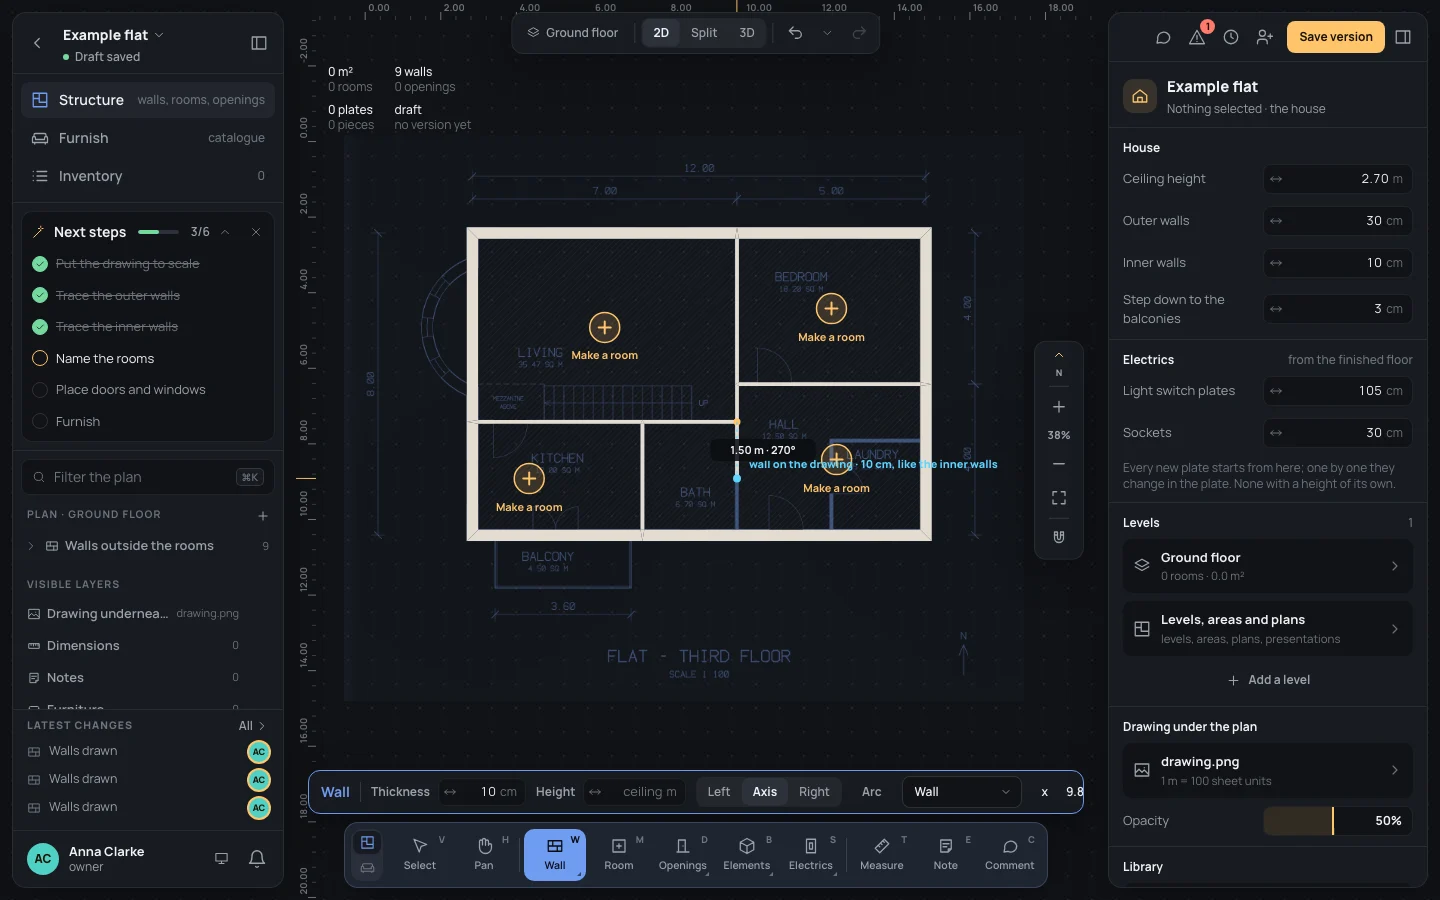
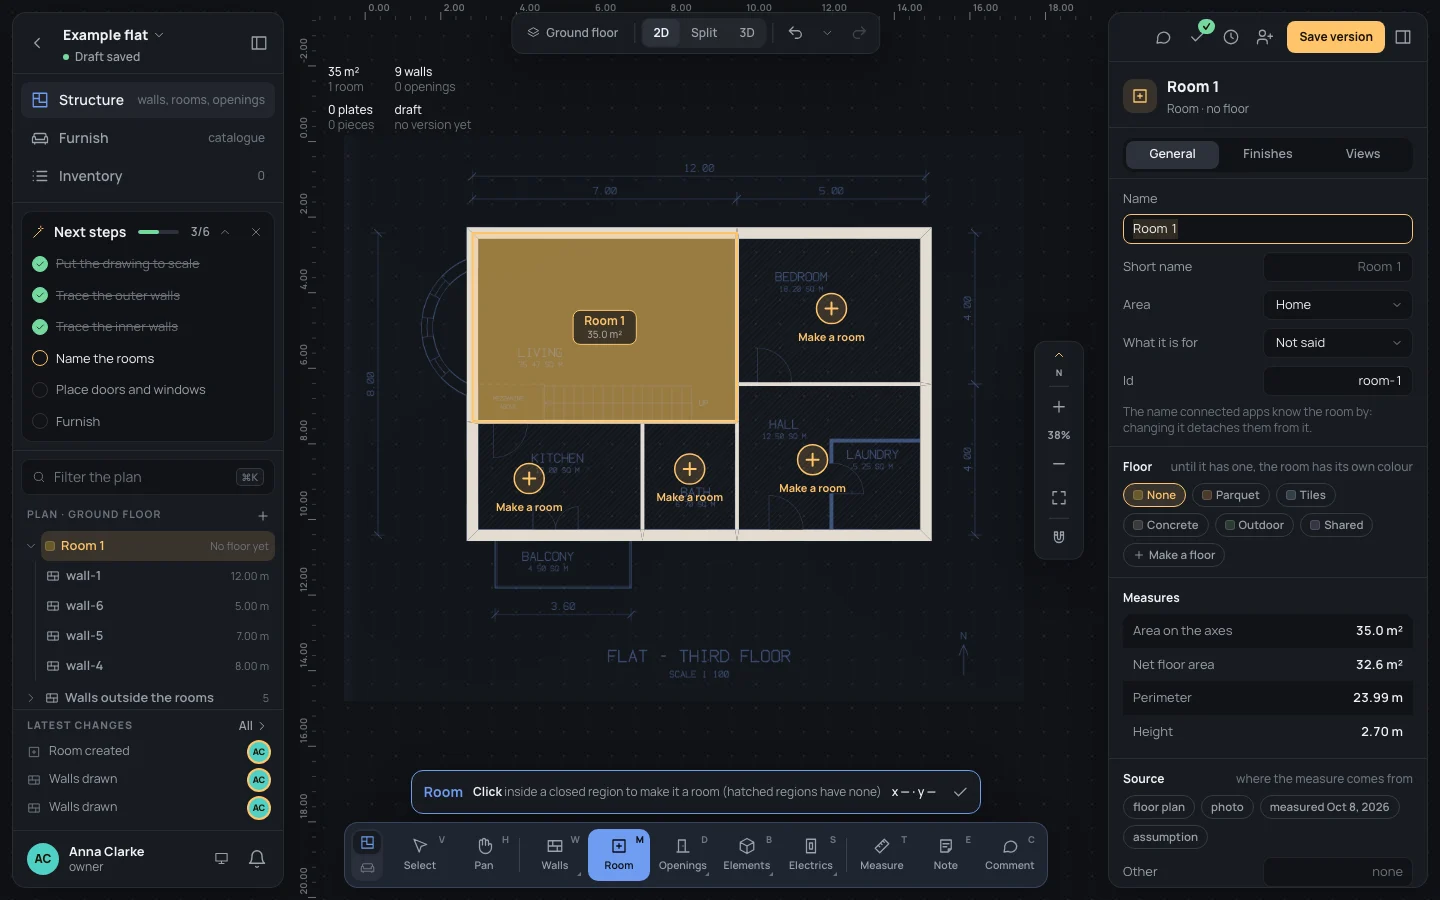
Where the walls close a space, a + with Make a room shows in its middle: five of them.
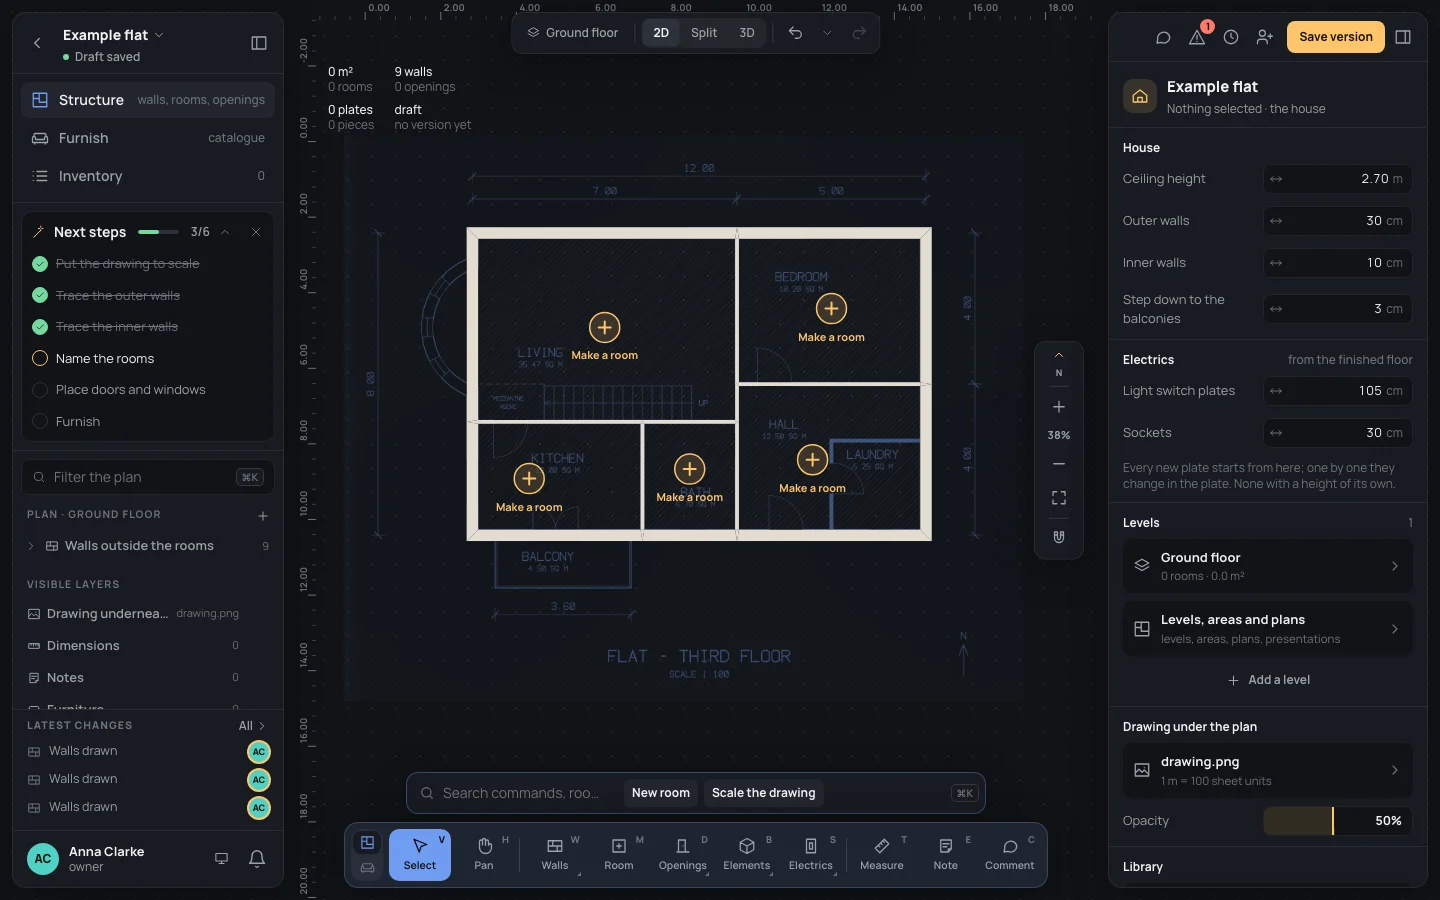
10. The rooms
Section titled “10. The rooms”- Press MM for the Room tool.
- Click inside the living room’s space. The room is made as Room 1 and the inspector opens on it, its Name selected.
- Type Name
Livingand press ↵↵. - Do the same in the other four: Name
Bedroom, NameHall, NameKitchen, NameBath. Then EscEsc.
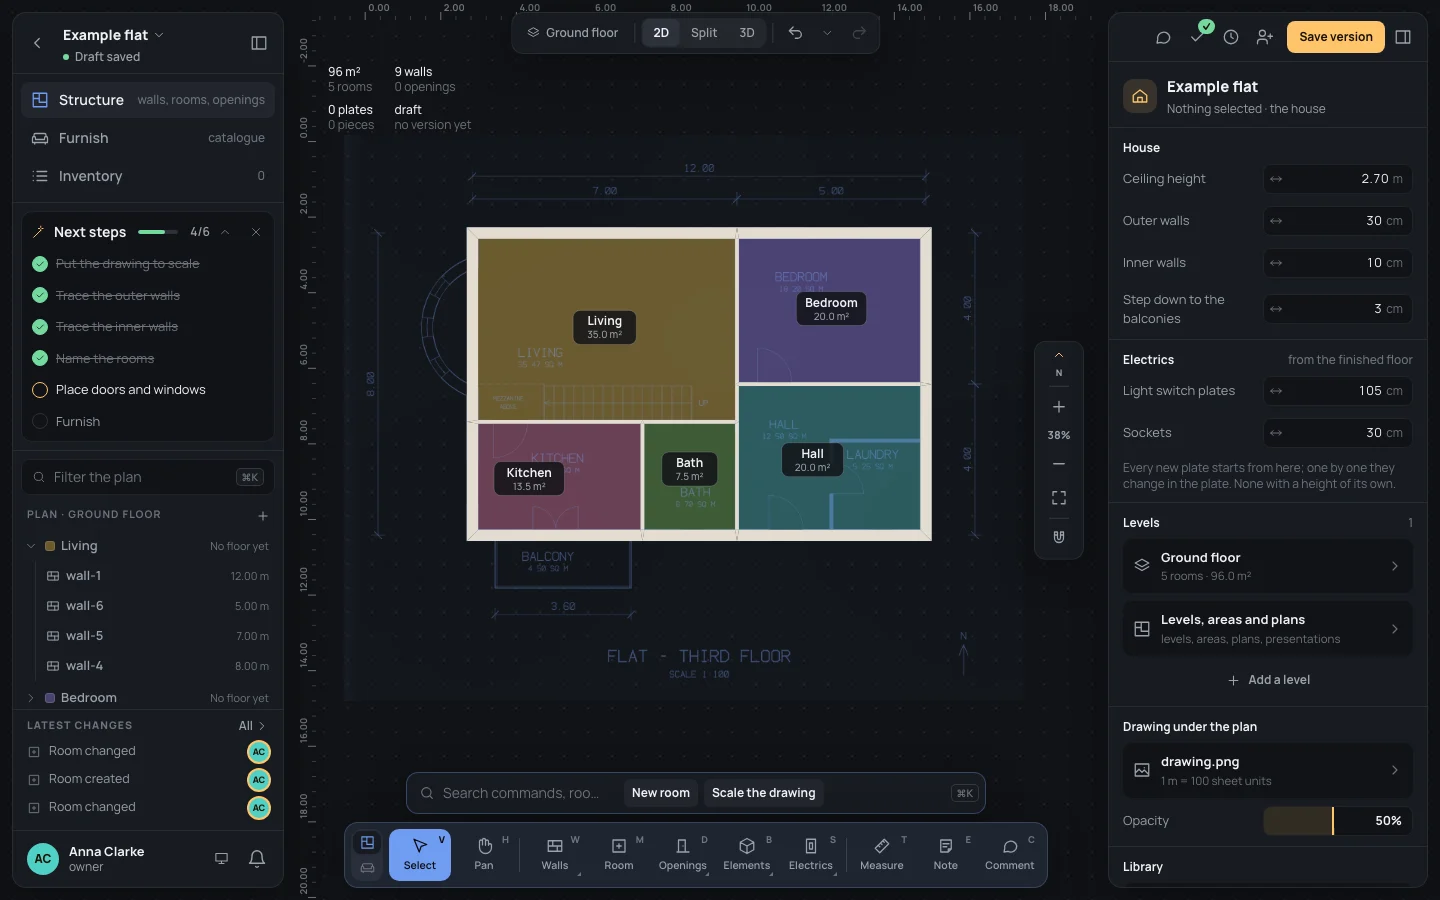
A room’s use, floor and the rest are in its inspector: Rooms.
11. A door and a window
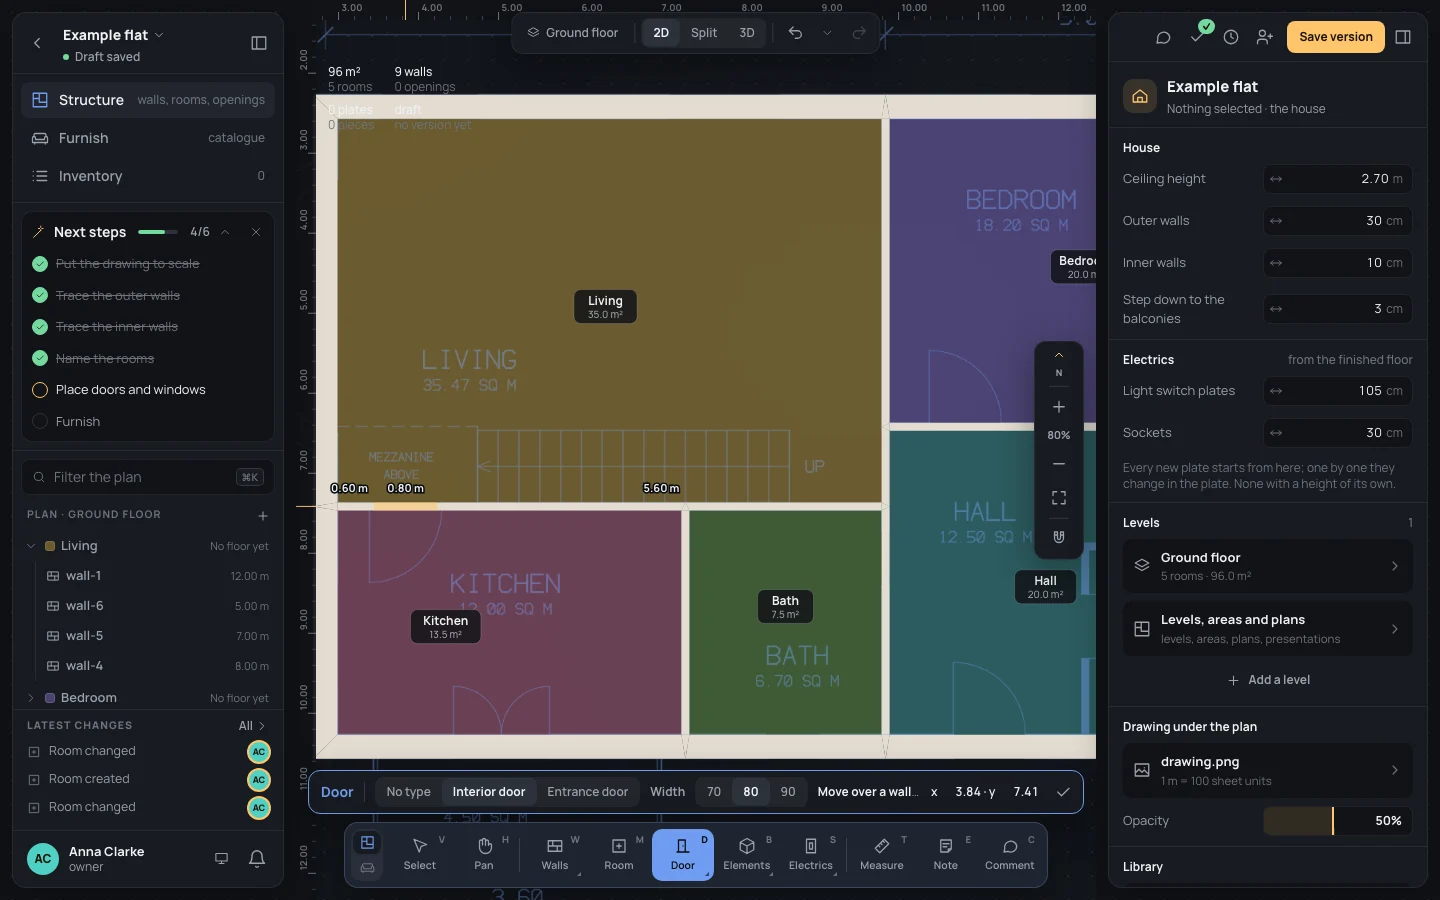
Section titled “11. A door and a window”Zoom in on the living room first: ⌘Ctrl and the wheel over it.
- Press DD for the Door tool. In its bar, choose Interior door; Width stays at 80.
- Move over the wall between the living room and the kitchen, near its west end. The door’s stretch lights up with its distances: move until it reads 0.60 m from the wall’s end, and click.
- Press NN for the Window tool and choose Two-leaf window in its bar.
- Move over the living room’s north wall, on the drawing’s window, and click. Then EscEsc.
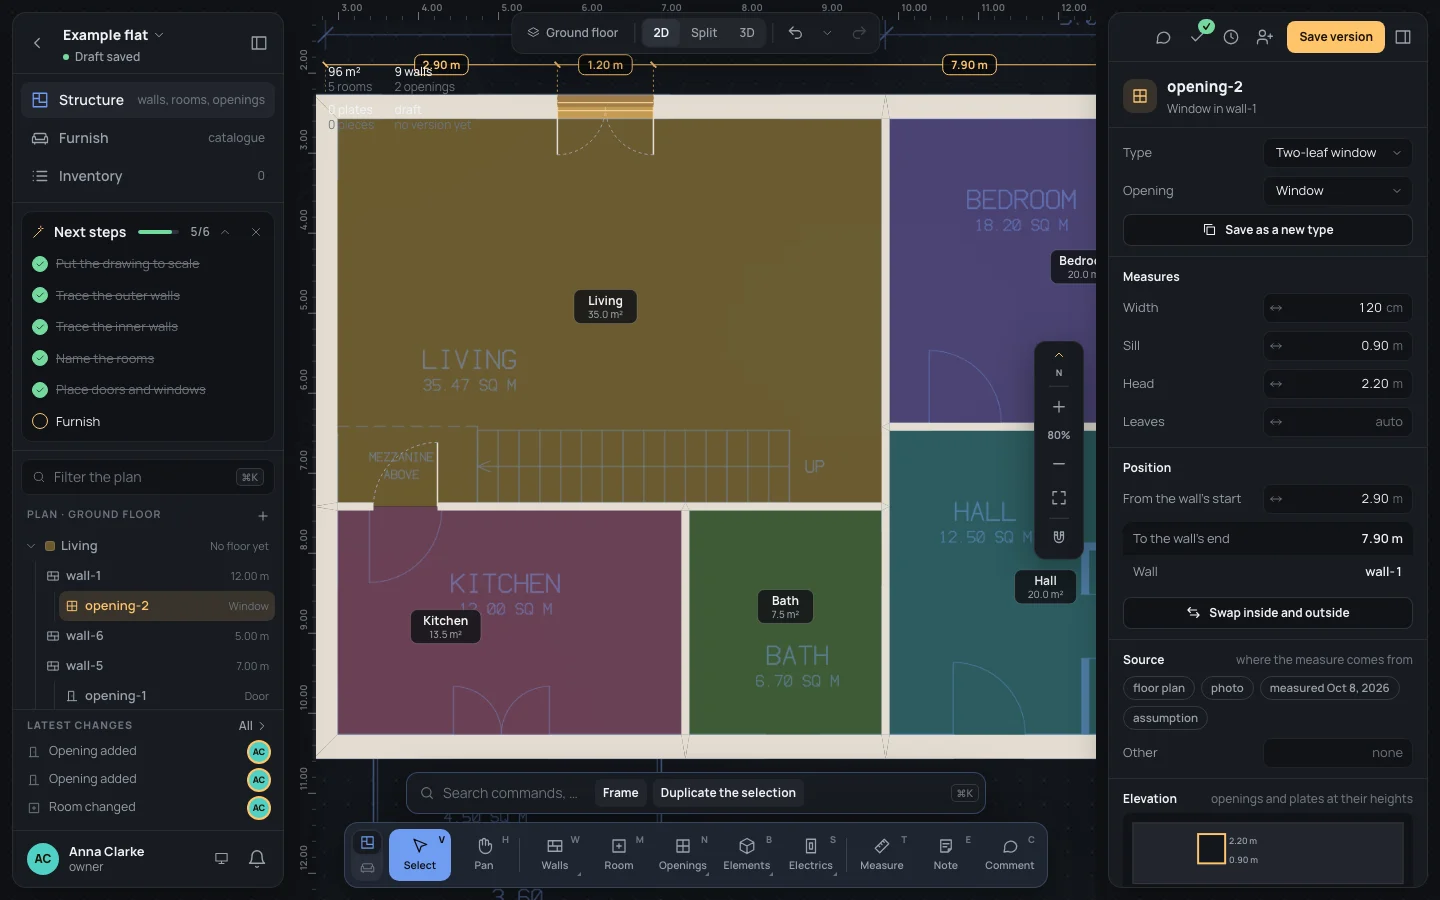
Their types, sizes and the rest: Door, Window and Openings.
12. A sofa from the catalogue
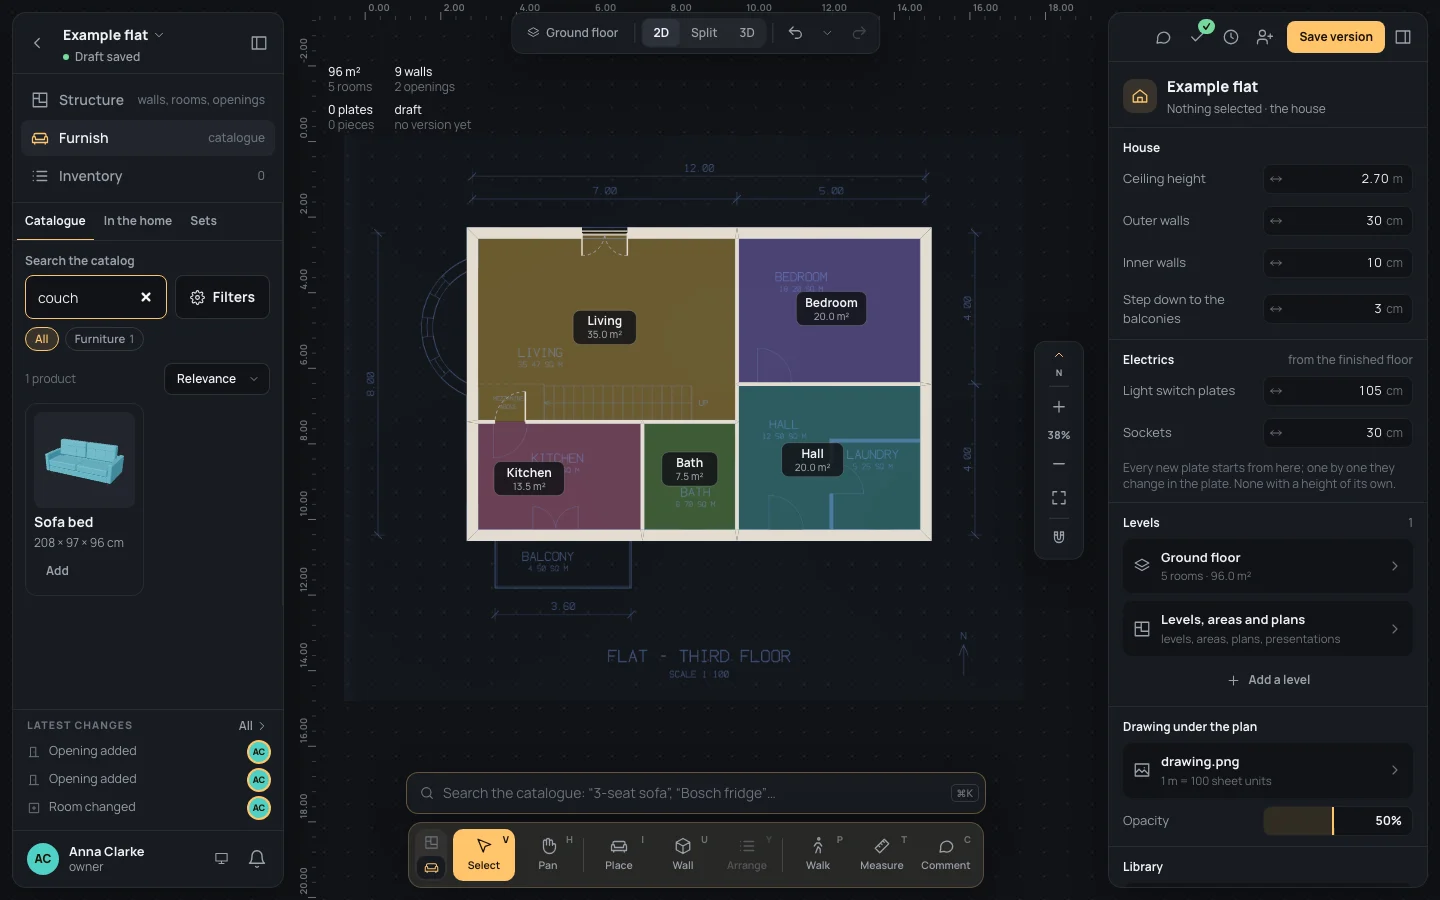
Section titled “12. A sofa from the catalogue”- Click Furnish at the top of the left panel. The catalogue opens in its place.
- In Search the catalog, type Search the catalog
couch. The Sofa bed comes up: couch is one of the words it is known by. - Drag its card onto the living room and let go just in front of its south wall, the one towards the kitchen. Let go within 30 cm of the wall and the sofa turns its back to it and stands against it.
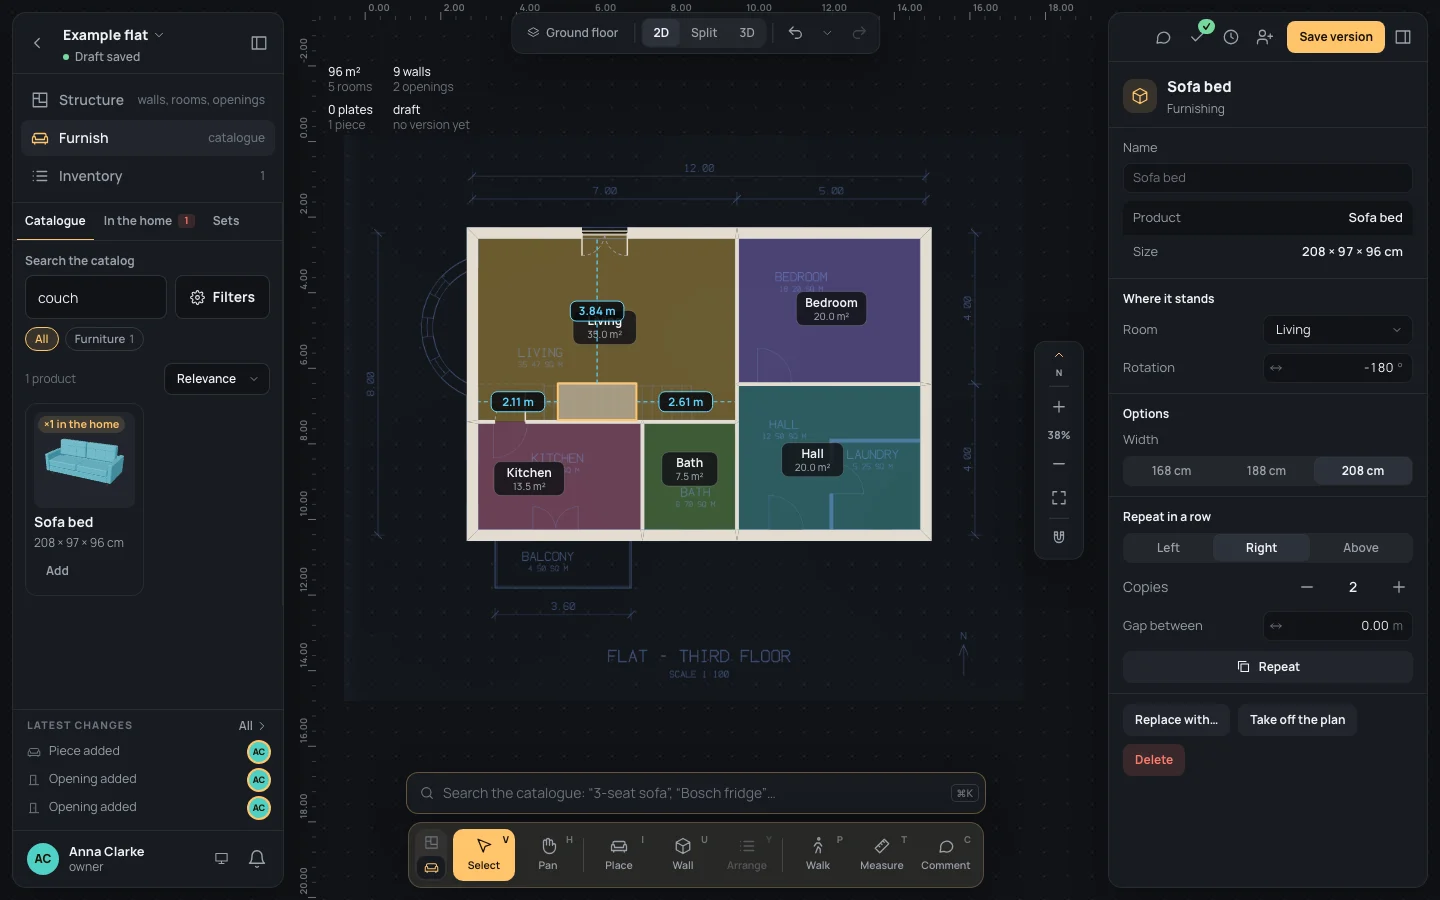
Its width (168, 188 or 208 cm), turning it and the rest: Place and Placing furniture. Furnishing a living room goes on from here.
13. In 3D
Section titled “13. In 3D”Click 3D at the top. Drag to turn round the house, the wheel to zoom; ⌘\Ctrl+\ closes the side panels for a larger view (The plan and the 3D).
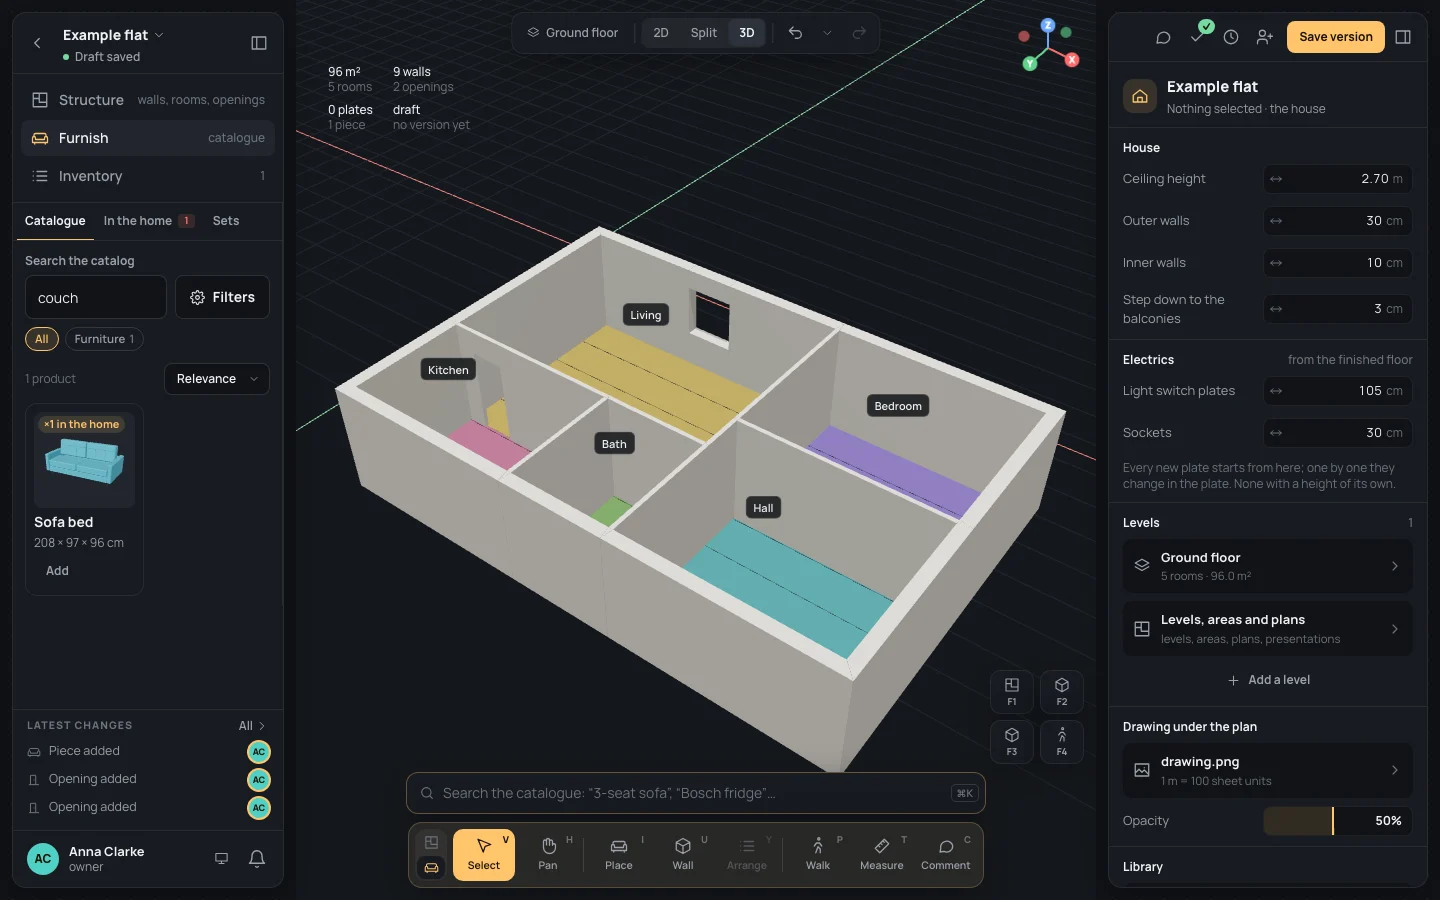
The checks’ badge, at the top of the right panel, is a green tick, All good: nothing is left to fix. The editor saves as you go (Saved, top right, beside Create version); nobody else sees the house until you invite them (Inviting).
What can go wrong
Section titled “What can go wrong”- Typing a length does nothing. A length is typed after the first corner: click the first one.
- A wall went the wrong way. The length goes towards the pointer. ⌫⌫ takes the last corner back while drawing; ⌘ZCtrl+Z takes back walls already made.
- The outer walls came out 10 cm. Thickness was still 10: ⌘ZCtrl+Z, type 30, and draw again.
- No Make a room in a space. Its walls don’t meet: a wall stops short. Draw it again, ending with a click on the other wall.
- The checks’ badge shows a warning: The wall “wall-9” is almost square, but not quite. A wall ended a hair off the other one. Click the badge, then Square it (Checks).
- The sofa stands in the middle of the room. It was let go more than 30 cm from the wall: drag it nearer.
- From a drawing: the whole flat traced, with the bay and the separator.
- A balcony and a stair: the balcony, a second level and the stair to it.
- Furnishing a living room.
- The editor: what is where on the screen.