

The drawing under the plan
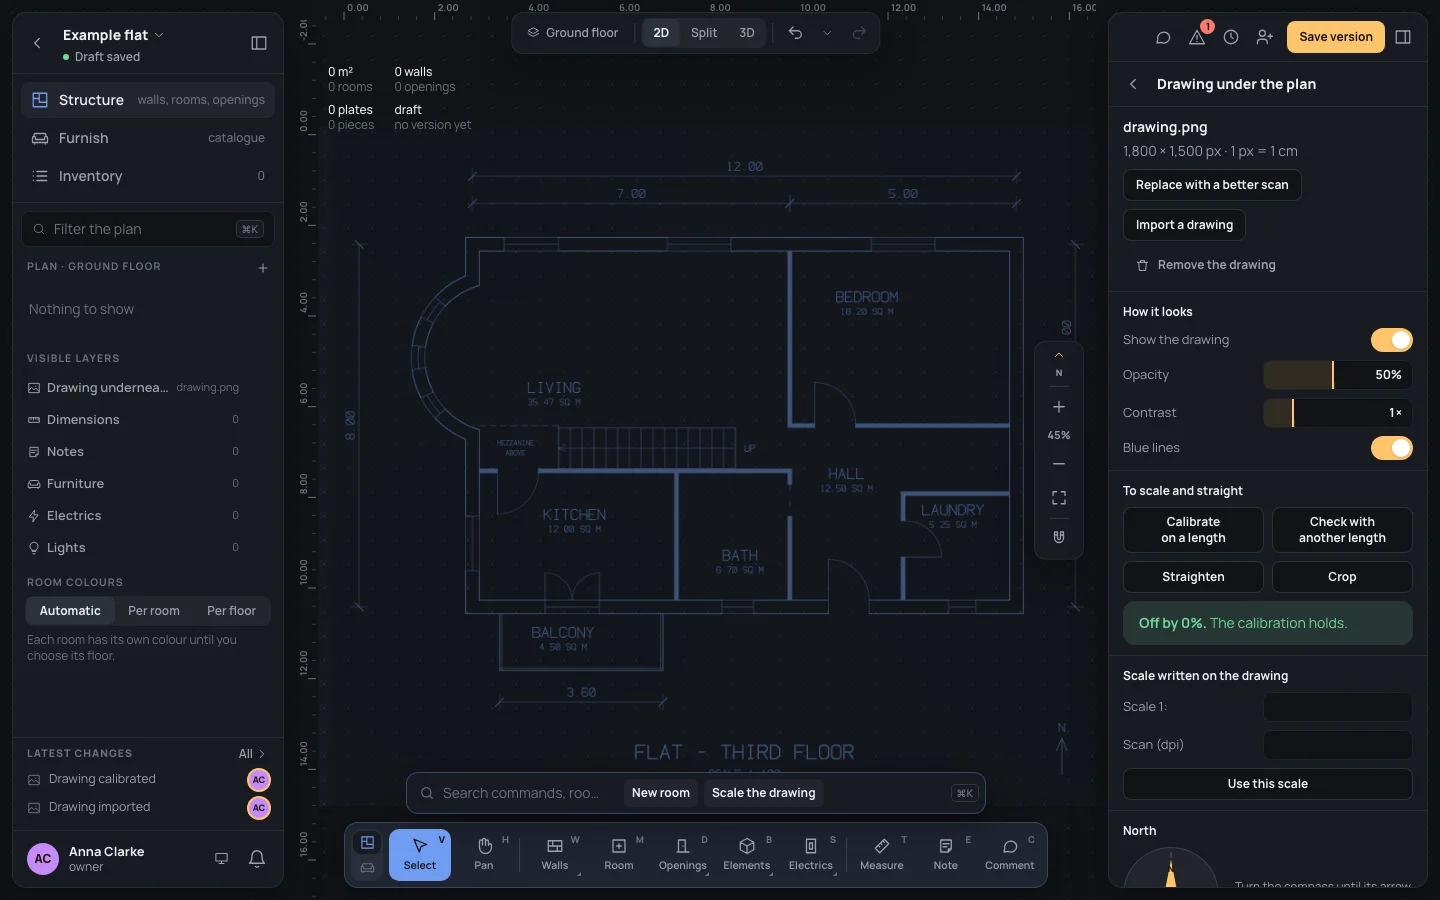
The drawing is your floor plan (a scan, a photo, a page of a PDF) laid under the plan, so you can trace the walls over it. It belongs to the sheet the plan is drawn on, so each plan usually has its own. Once it is to scale, what you trace on it measures what the house measures.
Where it is
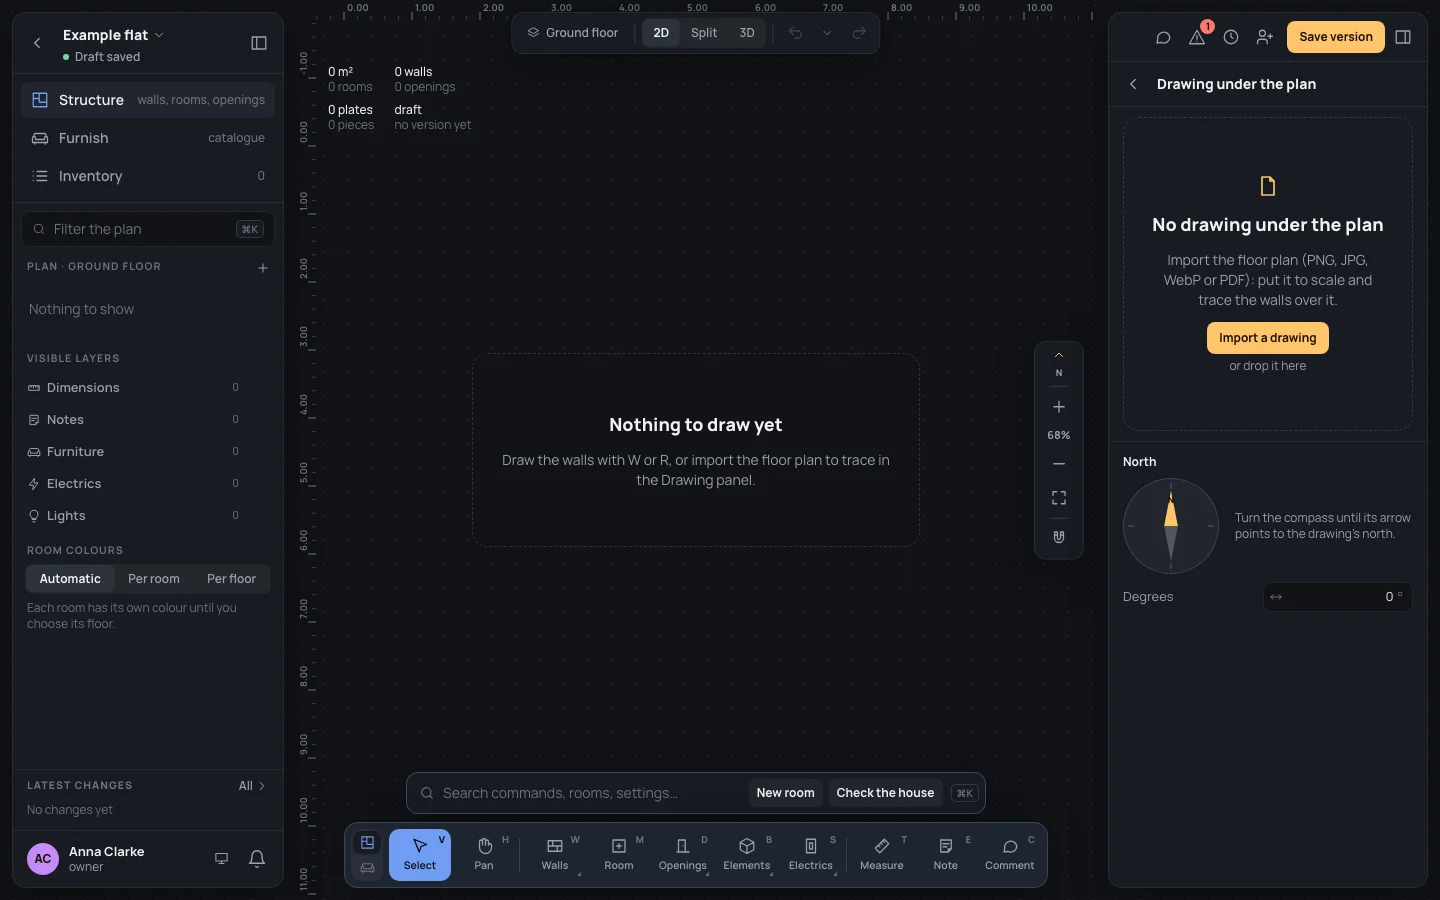
Section titled “Where it is”Press EscEsc until nothing is selected: the right panel shows the house. Its group Drawing under the plan has a row named after the drawing’s file (or no drawing: upload one), with whether it is to scale; a click opens the Drawing under the plan page. The arrow at its top takes you back to the house.
Bringing it in
Section titled “Bringing it in”- On the page, click Import a drawing, or drop the file on the page (or drop it here). PNG, JPEG, WebP and PDF are taken.
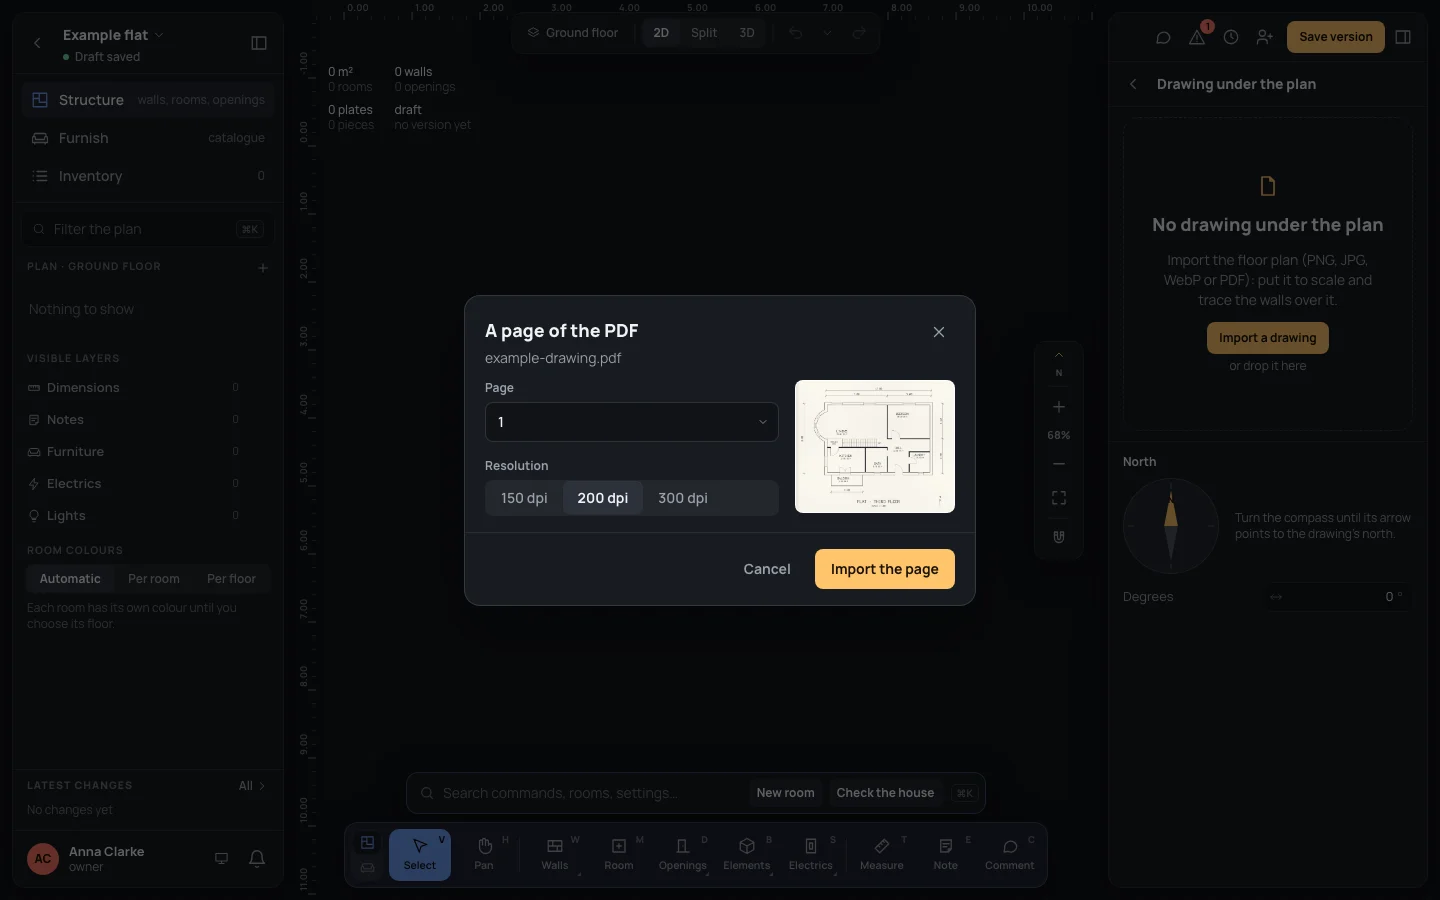
- For a PDF, A page of the PDF opens: choose the Page (its thumbnail shows beside it) and the
Resolution, 150 dpi, 200 dpi (the one it starts on) or 300 dpi, then Import the page. The
page comes in as an image named after the PDF and the page (
plan p2.png). - The view shows the whole drawing, and a toast says Drawing imported: now put it to scale., with Calibrate on a length to start at once.
On an empty plan the drawing is laid 15 m wide from the sheet’s origin; on a plan with walls already drawn, as wide as what they cover. Either way it is not to scale yet: top left, under the house’s numbers, Drawing not to scale says so in red until you calibrate it, and a click on it starts the calibration.
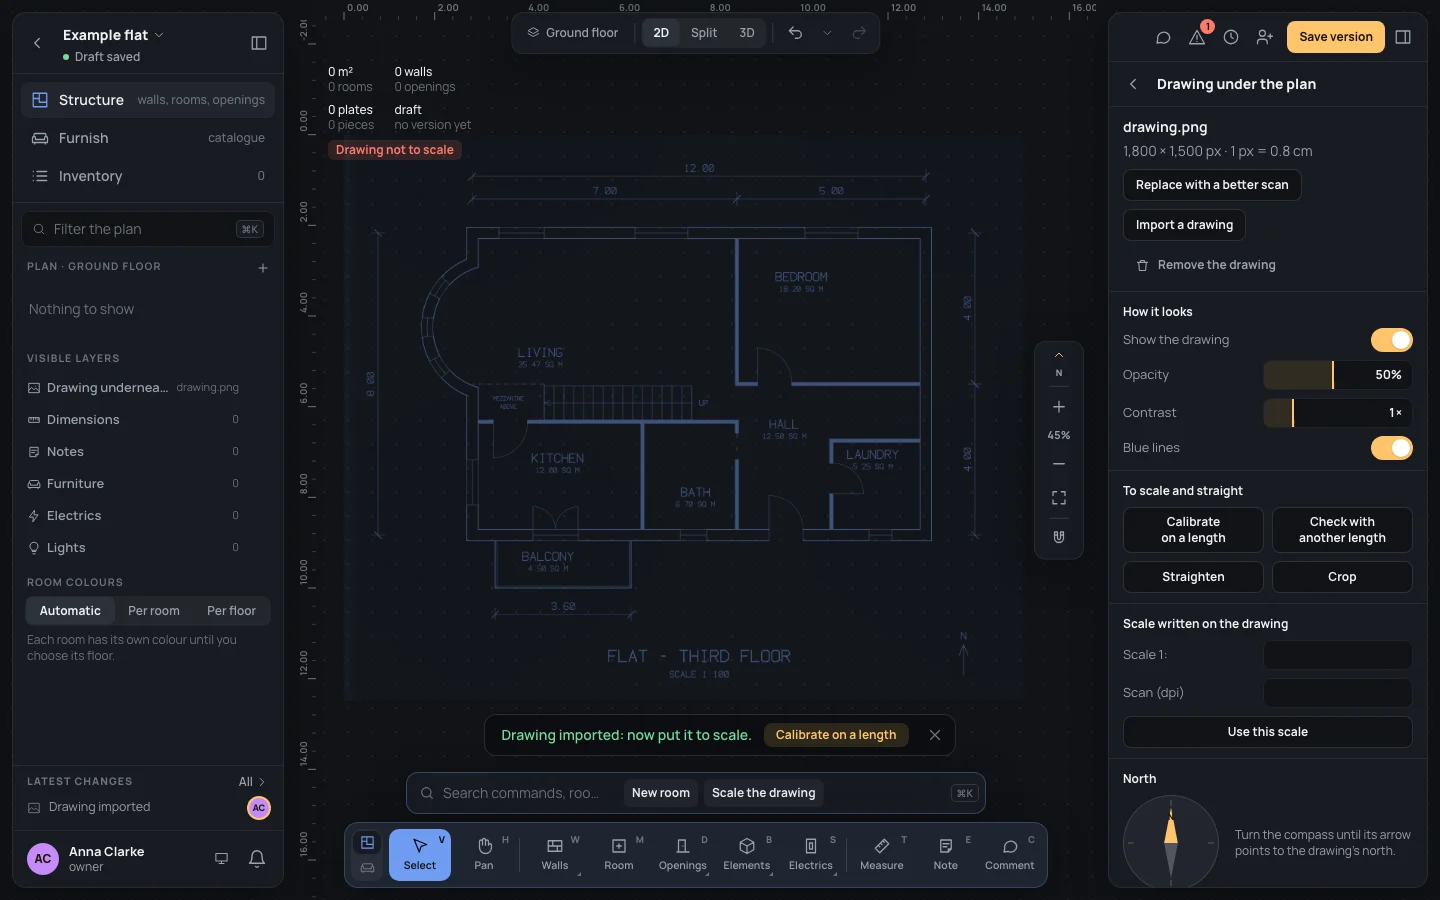
The page then says what the drawing is: its file’s name, its size in pixels, what one of its pixels measures (1 px = 0.8 cm), and the scale written on it once you give it (Scale 1:100).
A file that isn’t an image says This file can’t be read as an image., a PDF that can’t be opened This PDF can’t be read.: nothing changes. A home made by another app may name a drawing that is one of that app’s files: the page says it can’t be seen here, and Import a drawing brings in a copy to trace.
Putting it to scale
Section titled “Putting it to scale”Calibrating tells the drawing how long one length on it really is. Choose the longest length you are sure of, a dimension written on the plan or a long wall: the farther apart the two points, the more precise the scale.
- Click Calibrate on a length. Calibrate the drawing (KK, or the search) starts the same from anywhere in the editor, once there is a drawing.
- Click one end of the known length on the drawing, then the other. The points go exactly where you click, with no snapping: they are on the drawing, not on the plan.
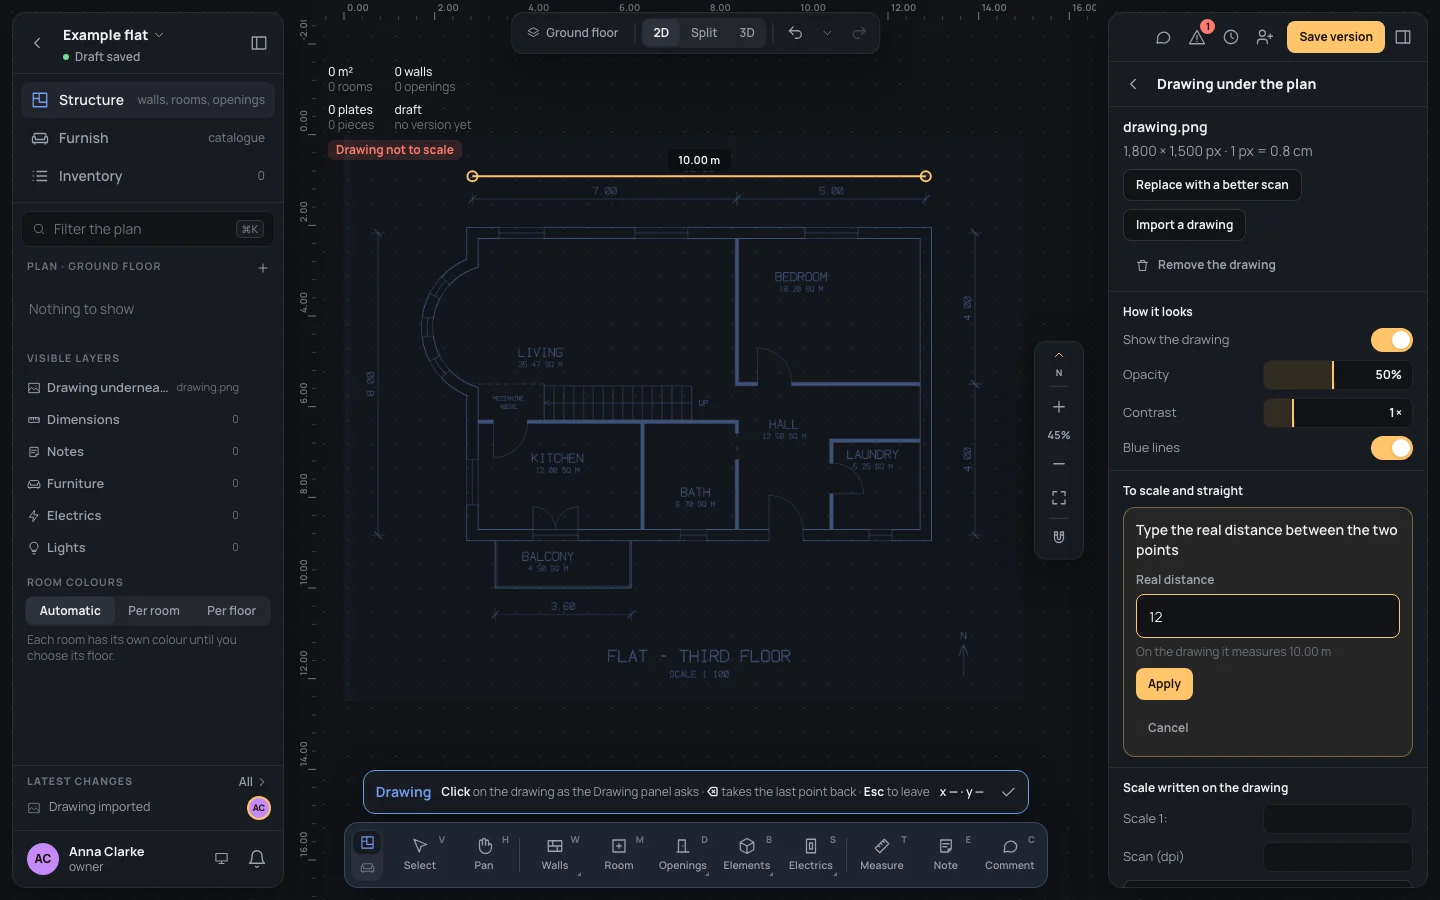
- In Real distance, type the length (under it: On the drawing it measures …, what it measures now) and press ↵↵ or Apply.
The drawing grows or shrinks about the first point, and a toast says what a pixel measures now (Drawing calibrated: 1 px = 1 cm). While you click, ⌫⌫ takes the last point back and EscEsc or Cancel leaves without changing anything.
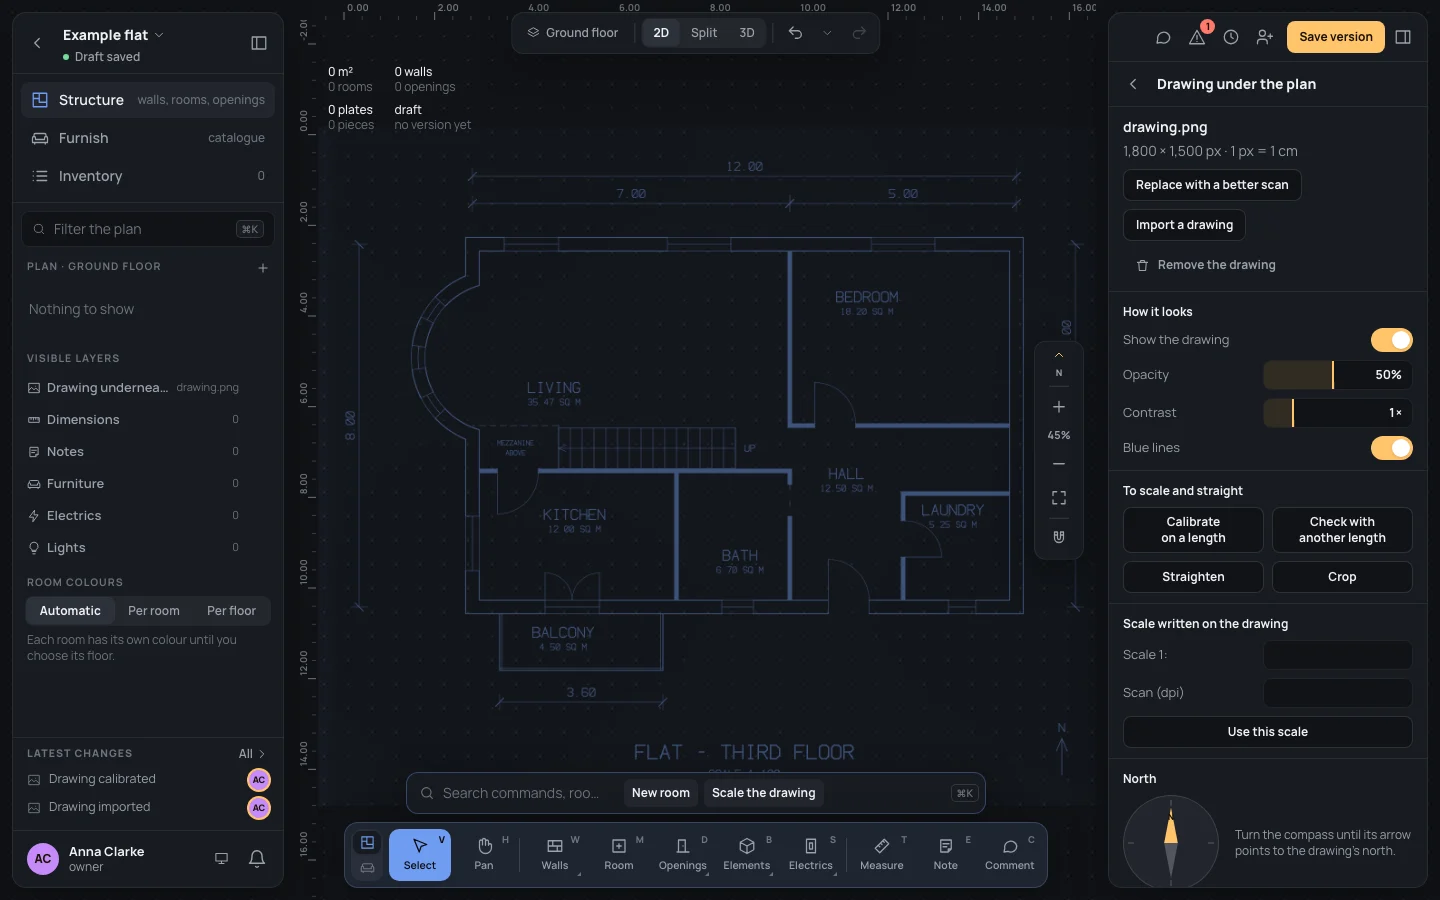
On the example: import drawing.png into an empty project, click Calibrate on a length, click the two ticks
at the ends of the north dimension 12.00 (the long one at the top), and type:
12
Before, the 12.00 dimension measured 10.00 m on the drawing; after, it runs from 0 to 12 on the ruler and the page says 1 px = 1 cm.
A length that isn’t one is refused: Type a length, for example 4.20 or 420 cm. Lengths can be typed in any unit (Units and numbers).
The scale written on the drawing
Section titled “The scale written on the drawing”When the drawing says its scale and you know the resolution it was scanned at, you can use them instead: under
Scale written on the drawing, type the Scale 1: (100 for 1:100) and the Scan (dpi), then Use this
scale. Both must be numbers above zero (Type a number above zero.). The page then writes Scale 1:100
beside the drawing’s size. The example’s drawing is 1:100 scanned at 254 dpi: Scale 1:100
254
Checking it
Section titled “Checking it”Check with another length asks for two points and a real distance as calibrating does, but changes nothing: it
says how far the drawing is from that length. Up to 1% off, The calibration holds.; more, Far off: calibrate
again on a longer length. On the example, check on the west dimension 8.00: Real distance8
Straight and cropped
Section titled “Straight and cropped”- Straighten: click the start of a line that should be horizontal or vertical, then its end. The drawing turns about the first point by the smallest turn that makes that line level or upright (a toast: Drawing straightened). The example is drawn straight; a scan that came in askew is put right this way.
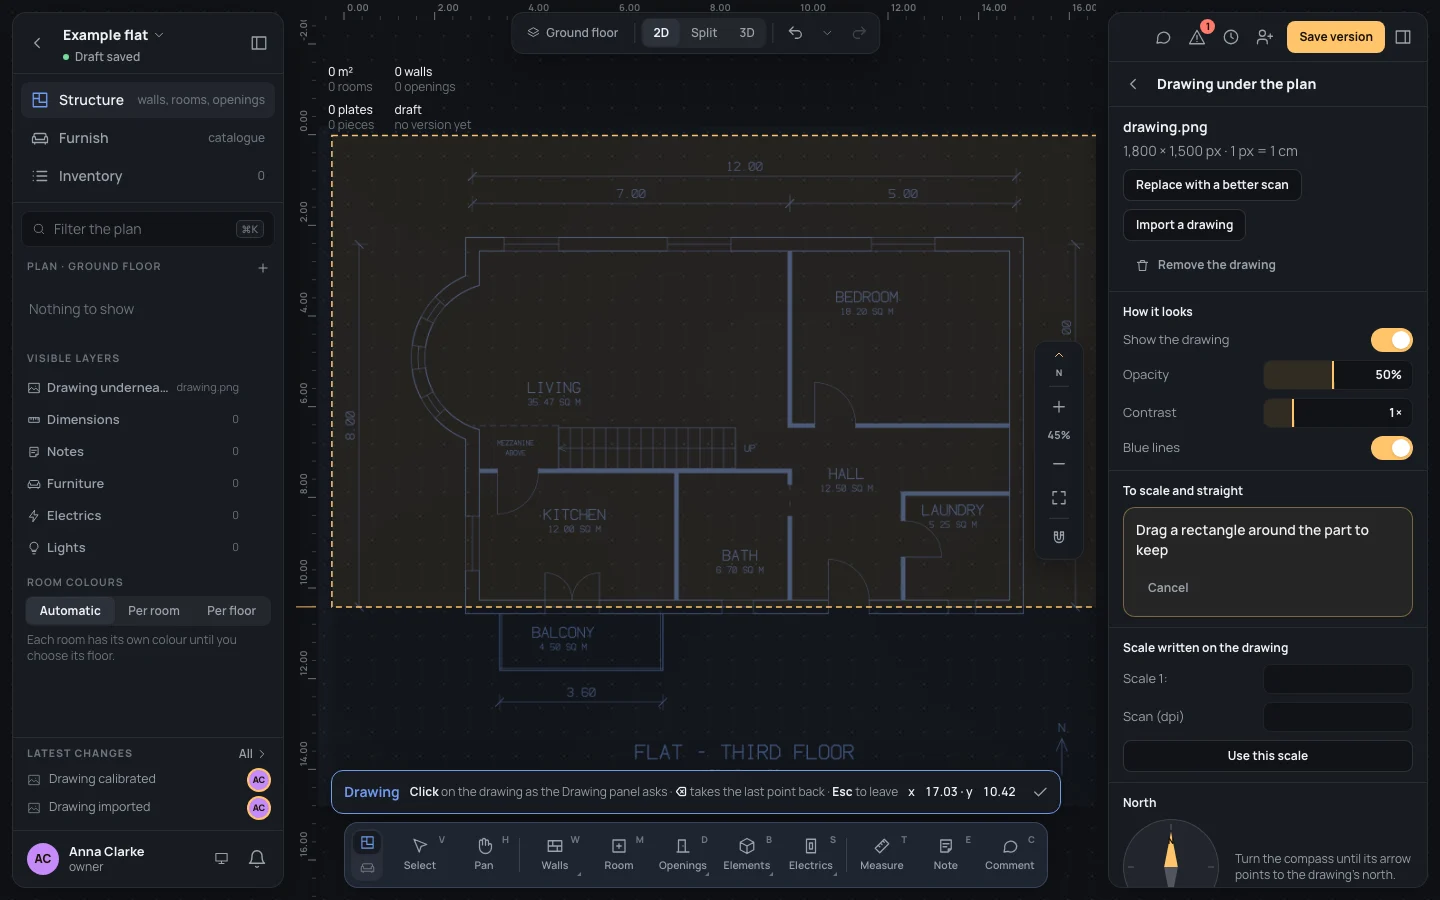
- Crop: drag a rectangle round the part to keep; the rest stops being shown. A click without a drag crops nothing. Show all of it shows the whole drawing again.
How it looks
Section titled “How it looks”How it looks is how you see the drawing. It is kept in this browser for this project, isn’t part of the home, and isn’t a step to undo: a viewer can change it too.
- Show the drawing shows or hides it. The same eye is in the left panel, under Visible layers, on the row Drawing underneath (named by its file), and in the search as Show the drawing or Hide the drawing.
- Opacity, from 5% to 100% (50% to start), and Contrast, from 0.5× to 3× (1× to start): drag the bar, use the arrow keys on it, or double click it to type the value.
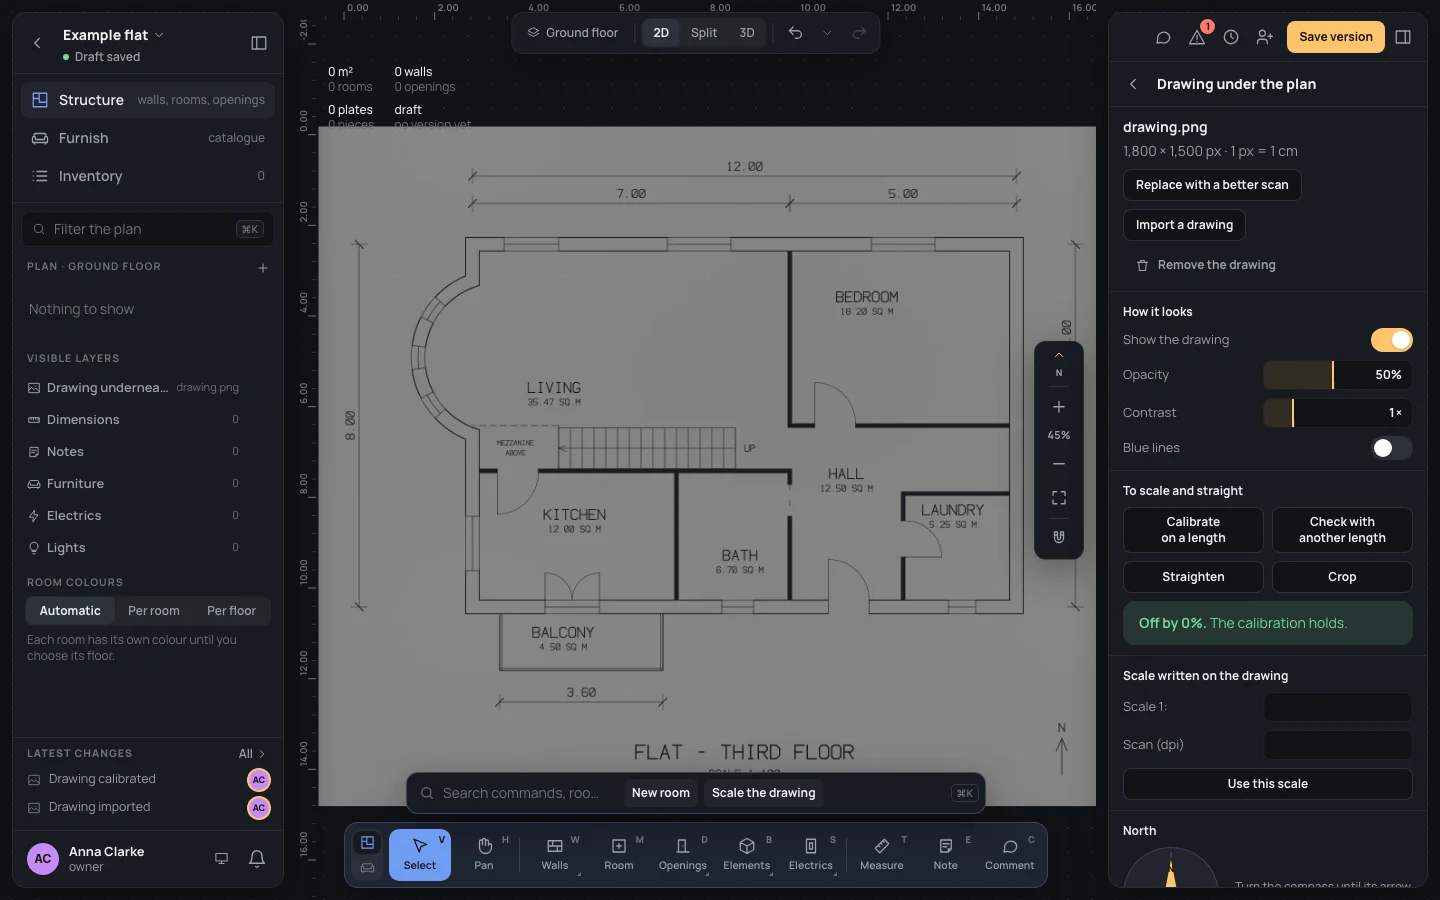
- Blue lines draws the drawing’s dark lines in blue, so your walls stand out over them (on to start).
The house’s inspector repeats the opacity under the drawing’s row, so you can fade it without opening the page.
 BeforeAfter
A better scan, another drawing, none
Section titled “A better scan, another drawing, none”- Replace with a better scan keeps what you traced in place: choose the new file, and it is laid over the old one as wide. Then four clicks, as the page asks: a point you recognise on the current drawing (in blue), the same point on the new scan (in green), a second point on the current drawing far from the first, and the same point on the new scan. The new scan takes the old one’s place, scaled, turned and moved, never stretched.
- Import a drawing when there is one already puts the new file in its place as it comes, not to scale: use it for a different drawing, not a better copy.
- Remove the drawing takes it away. ⌘ZCtrl+Z brings it back, as it does every change on this page but its look.
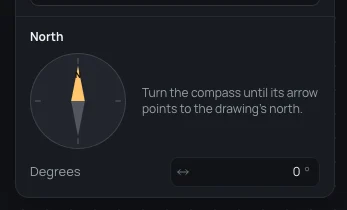
Under North, turn the compass until its arrow points to the drawing’s north, or type the Degrees. On the
compass ←←or→→ turn it 1° at a time, 15° with ⇧Shift held, and
HOMEHOME puts it back to 0°. The degrees are read as you type them, so -90 becomes 270°. North drives the sun in the 3D, and the small
arrow in the zoom column turns with it. The example’s drawing has north straight up: leave it at 0°.
What can go wrong
Section titled “What can go wrong”- Lengths traced on it are wrong: the drawing isn’t to scale, or was calibrated on a short length. Check it on another length; if it is far off, calibrate again on the longest one.
- The drawing moved after a calibration: it scales about the first point you clicked. What you traced doesn’t move: only the drawing does.
- Every step here can be undone with ⌘ZCtrl+Z (calibrating, straightening, cropping, the written scale, replacing, removing, north).
See also
Section titled “See also”- The Calibrate tool: its keys and what it refuses.
- The Wall tool: tracing over the drawing, with walls that follow its lines.
- Snapping: the Drawing switch, for the walls the drawing shows.
- A new home: the guided setup puts the drawing to scale too.