

Selecting and moving
Everything you change, you select first: on the plan with the Select tool (VV), or in the outline on the left. This page is what you can do with a selection, and how to find things in a plan full of them.
Selecting
Section titled “Selecting”- A click on the plan selects what is under it; ⇧Shift + click adds it or takes it back. A drag on a room or on nothing draws a box. ⌘ACtrl+A selects everything on the plan. The Select tool has every gesture.
- EscEsc goes back step by step: it closes a comment’s thread if one is open, then leaves the tool you are in for Select, then clears the selection. With nothing selected, the right panel shows the house.
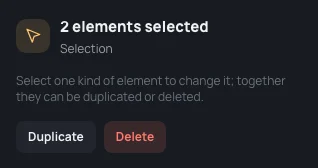
The right panel shows what is selected. Two or more things of different kinds (a room and a wall, for instance) are shown together, read only: Select one kind of element to change it; together they can be duplicated or deleted. Duplicate and Delete act on all of them at once.
The outline
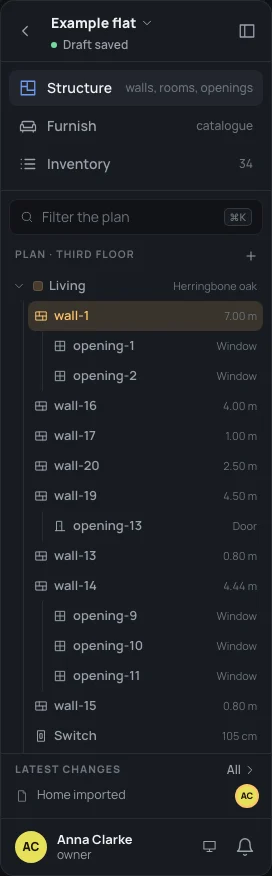
Section titled “The outline”The left panel lists the plan under Plan · Third floor (the level open). Each room comes with the walls around it, each wall with its openings, then the room’s plates; a wall between two rooms is under both. What stands in no room has a branch of its own, with how many it holds: Walls outside the rooms, Blocks, Claddings, Lights, Awnings, Plates facing no room, Stairs, Dimensions and notes.
- A click on a row selects it, ⇧Shift + click adds it; a double click also frames it on the plan. Pointing at a row shows it on the plan.
- The arrow before a room or a branch opens or closes it; the one holding what is selected opens by itself.
- Filter the plan, at the top of the panel, keeps what matches by name or id, with the branches leading to it. Where nothing matches, it says Nothing with “…” here. with Search everywhere, and ↵↵ in the field does the same: the search opens on all the editor.
- + beside the title (Add) opens the search on its commands, to add something.
On the example: type in the filter
Filter the planwall-19
and two rooms are left, Living and Kitchen, each open on wall-19 and its door: the wall is between them, so it is under both. A double click on the row frames it.
The layers
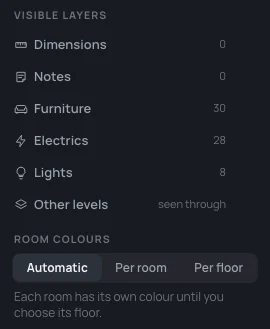
Section titled “The layers”Under the outline, Visible layers chooses what the plan shows you, each with an eye (it appears when you point at the row) and how many there are: Drawing underneath (when there is one, named by its file), Dimensions, Notes, Furniture, Electrics, Lights and, when the house has other levels, Other levels (seen through). Room colours colours the rooms Automatic (each its own colour until it has a floor), Per room (always) or Per floor (the floor’s colour). None of this changes the home, nor what others see.
Moving by the centimetre
Section titled “Moving by the centimetre”With walls, blocks, lights, furniture, stairs, dimensions or notes selected, the arrow keys move them 1 cm (←← →→ ↑↑ ↓↓), and with ⇧Shift 10 cm. ↑ is north on the plan. Walls joined to what moves stretch to follow. Each press is a step. To move by dragging, or to type the distance, see the Select tool and Typing and dragging numbers.
Duplicating
Section titled “Duplicating”⌘DCtrl+D (Duplicate the selection, or Duplicate in the right-click menu) copies what is selected half a metre to the right and down, and selects the copies, ready to move. Walls come with their openings, awnings and plates; a plate alone is copied further along its own wall; blocks, lights and furniture as they are. Rooms are not copied: a room comes from the walls around it, so draw them and make it (Rooms). The copied walls join nothing until you move them onto others. One piece of furniture can also be copied right beside itself: ⇧⌘←Ctrl+Shift+←, ⇧⌘→Ctrl+Shift+→, ⇧⌘↑Ctrl+Shift+↑.
Deleting
Section titled “Deleting”⌫⌫or⌦⌦ (Delete the selection, or Delete in the right-click menu) deletes what is selected, as one step. A wall takes its openings, plates and awnings with it; a room goes alone: its walls stay, and so does its furniture, which then belongs to no room (No room in the inventory). Where deleting walls leaves two others meeting alone and in line, a toast offers to join them (Editing walls).
To be asked first, switch on Ask before deleting in the settings, under Editor: then a dialog asks Delete the selected element? (or how many) before anything goes (Your settings).
Undoing
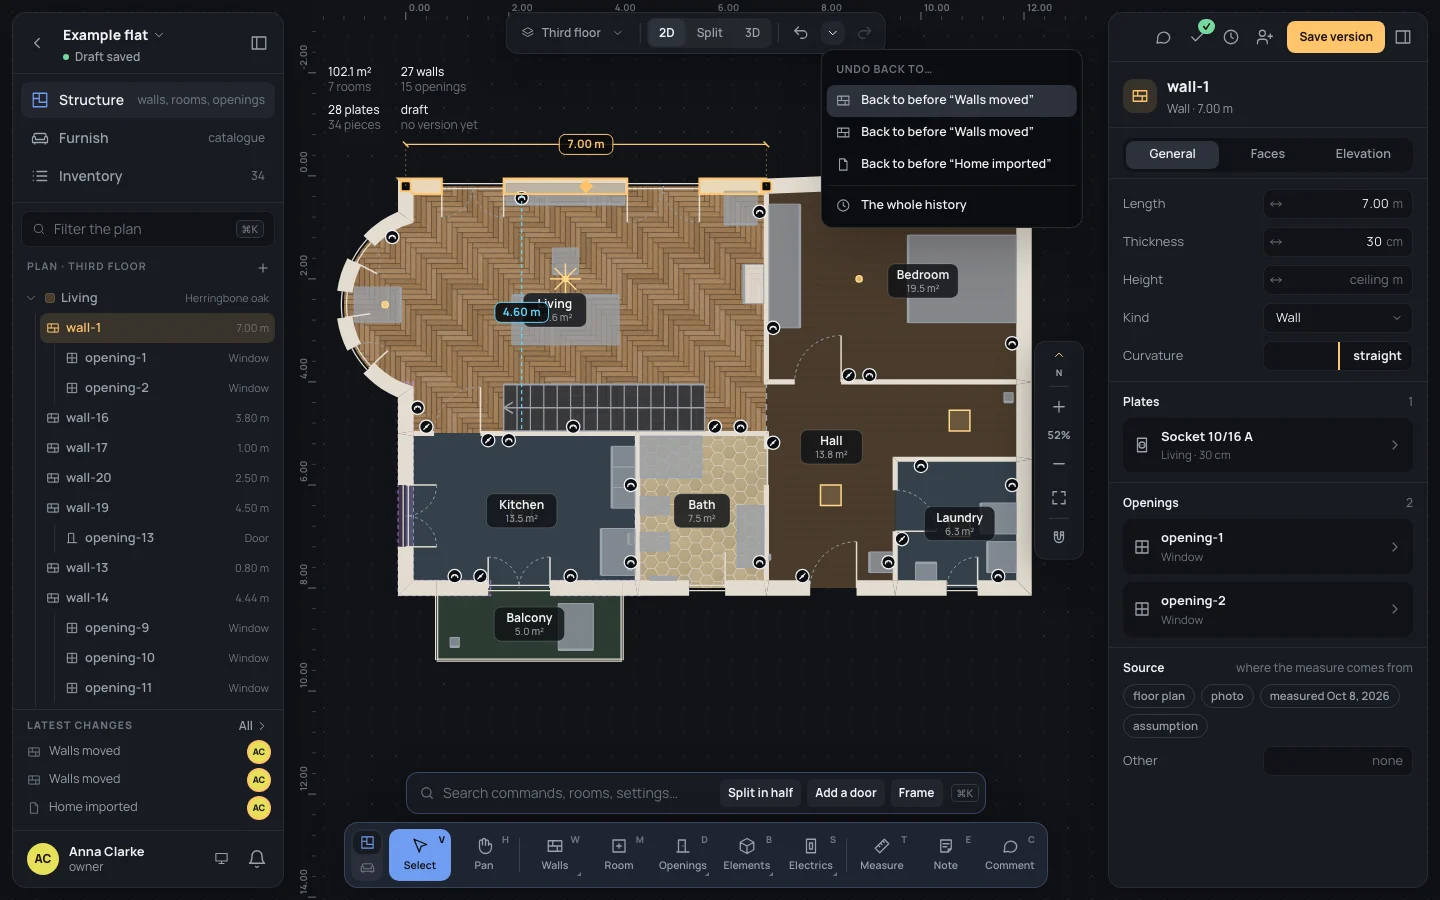
Section titled “Undoing”⌘ZCtrl+Z undoes the last step, ⇧⌘ZCtrl+Shift+Zor⌘YCtrl+Y does it again. A step is one gesture: a whole drag, a field typed, a command; a toast says what was undone (Undone: Walls moved). You undo your own steps, not those of others working on the same home.
The ▾ beside the undo arrow at the top (Undo back to…) lists your last five steps: a click goes back to just before one of them. The whole history opens the history, with every step (History and versions).
What can go wrong
Section titled “What can go wrong”- The arrows don’t move anything: the selection is a room, an opening, a plate or an awning. A room follows its walls; the others slide along their wall with a drag or their distance typed.
- A delete took more than you thought: the wall’s openings and plates went with it. ⌘ZCtrl+Z brings everything back.
- Undo skips a change: it was someone else’s. Only who made a step can undo it.
See also
Section titled “See also”- The Select tool: clicks, boxes, drags, every key.
- Editing walls, Snapping.
- Every key.